Advertisement
Quick Links
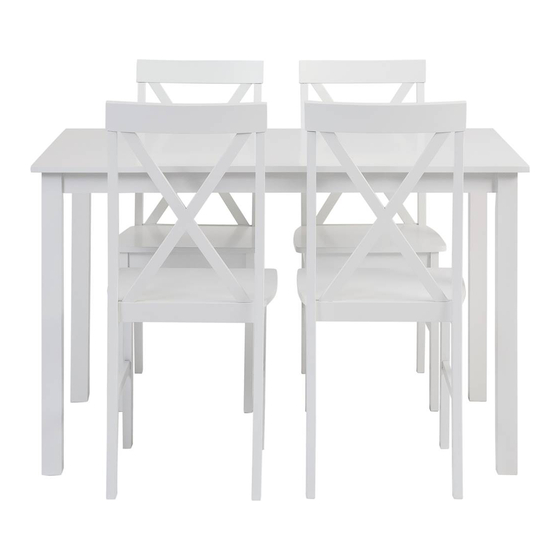
Item # : TW485PCXB
Assembly Instructions
跷
Please visit our website for the most current instructions, assembly tips, report damage,
Revised 14/03/2019(L)
or request parts. www.walkeredison.com
Walker Edison
®
Copyright©2019, by Walker Edison Furniture Co., LLC. All rights reserved.
P.1
Advertisement

Related Manuals for Walker Edison TW485PCXB


Summary of Contents for Walker Edison TW485PCXB
- Page 1 Item # : TW485PCXB Assembly Instructions 跷 Please visit our website for the most current instructions, assembly tips, report damage, Revised 14/03/2019(L) or request parts. www.walkeredison.com Walker Edison ® Copyright©2019, by Walker Edison Furniture Co., LLC. All rights reserved.
- Page 4 Bent washer Hex Key Hex Key...
- Page 5 Using bolt(A) connect spring washer (B) and washer (C) to secure top panel (1) to legs (2) with hex key (H) as per diagram .
- Page 6 Step 2 Insert dowel (G) into part (3) attach part (3) to part (6) as per diagram. Copyright©2019, by Walker Edison Furniture Co., LLC. All rights reserved.
- Page 7 Using bolt (D) insert bent washer (E) secure part (3,6) with hex key (J) as per diagram. Please do not fully tighten the bolts when assemble this step ,otherwise it may be caused the next step can not be assembled. Copyright©2019, by Walker Edison Furniture Co., LLC. All rights reserved.
- Page 8 Insert dowel (G) into part (4) attach part (4) secure to part (6) as per diagram.
- Page 9 Using bolt (D) insert bent washer (E) into part (4) to part (6) with hex key (J) as per diagram. Please do not fully tighten the bolts when assemble this step ,otherwise it may be caused the next step can not be assembled.
- Page 10 Put part (5) into parts (3,4) as per diagram.
- Page 11 Using bolt (D) insert bent washer (E) secure part (3,4,5) with hex key (J) as per diagram. Please do fully tighten all the bolts .
- Page 12 After full adjustment,secure part (7) to parts (4,5,6) with screw (F) and a Philips Head screwdriver as per diagram .
Need help?
Do you have a question about the TW485PCXB and is the answer not in the manual?
Questions and answers