Advertisement
Table of Contents
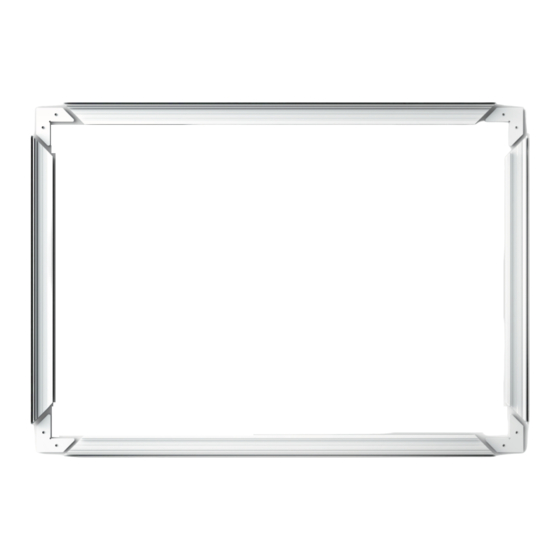
assembly instructions
SS101 - single-sided ReFrame®
2
Insert corner brackets into the channels of the top and bottom lengths of frame (screws may need to be loosened to
allow brackets to slide into position)
NOTE: To ensure a precise line-up of the frame profiles, do not tighten any of the screws until you have reached step 6
3
Slide top and side length together
www.afibranding.com.au
scan for
assembly video
4
|
1300 652 514
|
33 Lakewood Blvd, Carrum Downs, Vic, 3201
1
1
Lay out the ReFrame®
components on a flat
surface and ensure you have
everything required before
you start the assembly.
CHECKLIST
4x
4x
1x
Repeat on the opposite corner so that 3 lengths are
connected
Corner Brackets
ReFrame® Lengths
Allen Key
Advertisement
Table of Contents

Related Manuals for AFi SS101


Summary of Contents for AFi SS101
- Page 1 SS101 - single-sided ReFrame® Lay out the ReFrame® components on a flat surface and ensure you have everything required before you start the assembly. CHECKLIST scan for assembly video Corner Brackets ReFrame® Lengths Allen Key Insert corner brackets into the channels of the top and bottom lengths of frame (screws may need to be loosened to allow brackets to slide into position) NOTE: To ensure a precise line-up of the frame profiles, do not tighten any of the screws until you have reached step 6...
- Page 2 ReFrame® fabric skin. NOTE: The assembly instructions for the SS101 (and included components) illustrate the fundamental steps to assemble a ‘standard’ Single-Sided type ReFrame®. If your Reframe® is oversize, has additional components such as joiners (not shown on this fact sheet), accessories, or has bends/curves and you are unsure how to proceed with assembly, please contact the team at AFI Branding on 1300 652 514 and we will guide you through the assembly process.
Need help?
Do you have a question about the SS101 and is the answer not in the manual?
Questions and answers