Advertisement
Quick Links
Advertisement

Related Manuals for EdilKamin TITANO UP2


Summary of Contents for EdilKamin TITANO UP2
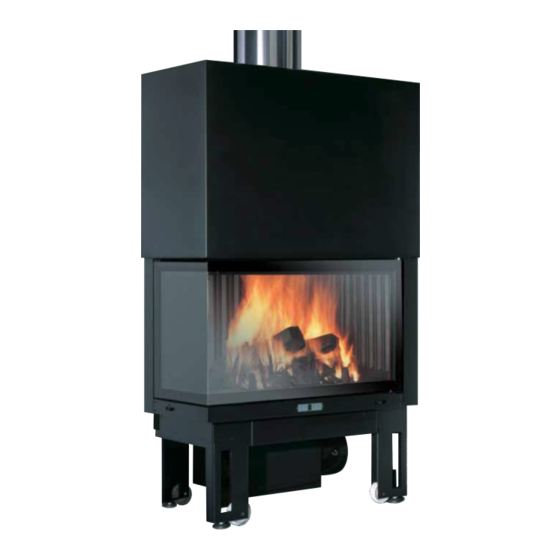
- Page 1 TITANO UP2 Installation, use and maintenance...
- Page 2 - All images are for illustration purposes only; actual products may vary. The undersigned EDILKAMIN S.p.a. with head office headquarters at Via Vincenzo Monti 47 - 20123 Milan - Italy - tax code and VAT no. 00192220192...
- Page 3 THE TECHNOLOGY • AVAILABLE VERSIONS N natural convection V forced ventilation • CLEAN COMBUSTION SYSTEM: S.C.P. Ensures high thermal efficiency and clean emissions The system combines an innovative air distribution method of primary combustion (A) and post-combustion (B) the primary combustion air is fed into the firebox and is uniformly distributed over the embers.
-
Page 4: Specifications
THE TECHNOLOGY • AIR INTAKE MECHANISM heating air damper control the air is drawn in from the outside and mixed with the air inside using a new wire controlled mechanism recessed in the bottom front panel of the firebox. Open Closed When the fireplace is operating control lever 1b must be par- tially or fully positioned to the right (room + outside air). -
Page 5: Installation Instructions
INSTALLATION INSTRUCTIONS Important warnings Vorwort Floor opposite the hearth • The TITANO UP2 hearths must be Floors made with fuelling materials As well as that indicated in the pre- installed keeping to the following must be protected by a sufficiently... - Page 6 The smoke channel must be made with - service only one hearth (chimney or Edilkamin will not be held responsible stiff steel or ceramic pipes, flexible stove). for costs deriving from demolition or metal or fibre-cement pipes are not allo-...
- Page 7 INSTALLATION INSTRUCTIONS - build the frame with the fitting for Installing the hot air circulation system outlet "B3" into the wall of the room jacket of the fireplace absolutely must requiring heating be conducted into the indoor environ- - connect the two aluminium pipes to ment.
- Page 8 INSTALLATION INSTRUCTIONS External air inlet (figures E-F-G) Transporting the fireplace It is absolutely necessary, without In order to facilitate transportation, the fireplace can be made lighter by remo- exception, to build a connection to the outside with a cross-section of 300 cm² ving the following: for the proper functioning of the fire- - counter weights, cast iron bottom, cast...
- Page 9 INSTALLATION INSTRUCTIONS - ensure that the electrical wires do not • the first side panel Electric cable connections (fig. N) • front Panel In order to connect the electrical cables have any areas of contact with the - secure outlets (22) in the top part of to the control unit inside the mecha- prefabricated appliance and the smoke the frames after making a hole of...
- Page 10 INSTALLATION INSTRUCTIONS Placement of damper control air Fan 12 then pushes the air through the Buttons intake mechanism air jacket of the fireplace, through ope- On/Standby to the right = Open ning 4f, where it is heated and then, with the fireplace on adjust the outdoor Automatic or manual through the aluminium pipes, exits air mixed with indoor air.
-
Page 11: Use Instructions
Only use burning wood with minimum two installed The TITANO UP2 hearth is able to work years seasoning in an airy and dry room. In require a sufficient air flow, so that this cri-... - Page 12 Sequenza montaggio “GHISE FOCOLARE” sinistro N.B. L'unico elemento da avvitare è il “fondale (2a)”. i fianchi (2b-2c) devono essere semplicemente posizionati in sede (attenzio- ne, restano instabili fino al fissaggio del fondale (2a). • fianco anteriore sinistro (2c) • fianco posteriore sinistro (2b) •...
- Page 13 n° 2 viti 2 screws 2 tornillos 2 parafusos 2 βίδες 2 винта...
- Page 14 Sequenza montaggio “GHISE FOCOLARE” destro N.B. L'unico elemento da avvitare è il “fondale (2a)”. i fianchi (2b-2c) devono essere semplicemente posizionati in sede (attenzio- ne, restano instabili fino al fissaggio del fondale (2a). • fianco anteriore destro (2c) • fianco posteriore destro (2b) •...
- Page 15 n° 2 viti 2 screws 2 tornillos 2 parafusos 2 βίδες 2 винта...
- Page 16 942074-GB 04.19/A w w w . e d i l k a m i n . c o m...
Need help?
Do you have a question about the TITANO UP2 and is the answer not in the manual?
Questions and answers