Advertisement
Quick Links
Advertisement

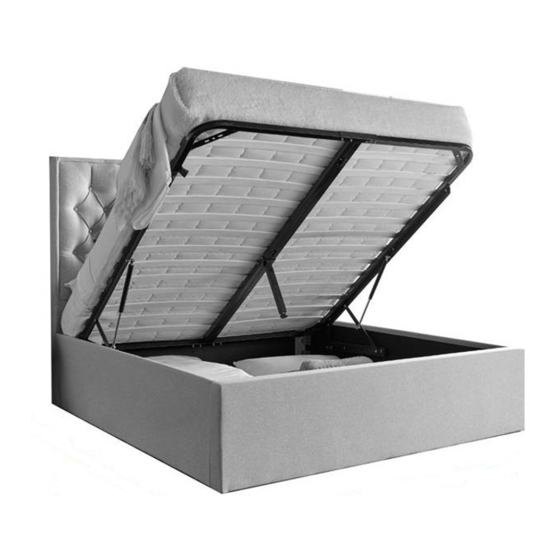
Summary of Contents for Happybeds WILSON STORAGE BED 4FT6
- Page 1 WILSON STORAGE BED 4FT6 ASSEMBLY INSTRUCTIONS Page 1 of 10...
- Page 2 REQUIRE 2 PEOPLE TO ASSEMBLE Page 2 of 10...
- Page 3 No Part List No Hardware List Headboard 1 pc JCBC M6 x 45mm 8 pcs Footboard 1 pc JCBC M6 x 80mm 2 pcs Side Rail 2 pcs JCBB M8 x 16mm 10 pcs Metal Frame Bed 1 set JCBB M8 x 20mm 12 pcs U-bracket 2 pcs...
- Page 4 Step 1: To fix the left side rail (C) and right side rail (C) to the headboard (A) and footboard (B) you will need to use hardware parts 4 with the M5 allen key (13). JCBB M8 x 20mm 12 pcs 13 Allen Key M5 1 pc Do Not Use Power Tools...
- Page 5 Step 3: To install Hydraulic (H) to the (G), you will need to loose out the M8 HEX nut from the part (G). After the part (H) go inside the position, put back the M8 HEX Nut and tighten it using M8 Spanner (11). To install the complete set of (G) to the left and right side rail (C), you will need to use hardware 5 and 7 with Allen key M5 (13).
- Page 6 Step 4: To assemble part D, it is a must to make sure the hole go into the right position as shown in (NOTE). And before tighten the screw, please make sure part G is in same alignment in between left and right side of part G. DO NOT use any power tools as this may damage the bed frame and will invalidate any claims.
- Page 7 Step 5: To assemble part D, it is a must to make sure the hole go into the right position as shown in (NOTE). And before tighten the screw, please make sure part G is in same alignment in between left and right side of part G. DO NOT use any power tools as this may damage the bed frame and will invalidate any claims.
- Page 8 Step 5: To assemble part D, it is a must to make sure the hole go into the right position as shown in (NOTE). And before tighten the screw, please make sure part G is in same alignment in between left and right side of part G. DO NOT use any power tools as this may damage the bed frame and will invalidate any claims.
- Page 9 Step 6: To put the 2 X BOTTOM PANEL (K), you will need to slightly raise up the beds from the footboard (B) and slot in the panel go direct to the headboard and continue the second pieces there after the first pieces was in right position. COMPLETE WARNING: Take care when assembling the base, assemble the ottoman as closed to its final position.
-
Page 10: General Care
General Care Recommendations Warning Notes When've correctly adjusted the centre support leg on this bed frame should be raised by 5mm from the floor with added weight of the mattress and bedding. This bed may fail if it is used on a wooden floor WITHOUT the use of non-slip pads on all the support legs and bed posts.


Need help?
Do you have a question about the WILSON STORAGE BED 4FT6 and is the answer not in the manual?
Questions and answers