Sign In
Upload
Download
Table of Contents
Contents
Add to my manuals
Delete from my manuals
Share
URL of this page:
HTML Link:
Bookmark this page
Add
Manual will be automatically added to "My Manuals"
Print this page
×
Bookmark added
×
Added to my manuals
Manuals
Brands
Z GRILLS Manuals
Grill
ZPG-5502G
Owner's manual
Z GRILLS ZPG-5502G Owner's Manual
Wood pellet grills
Hide thumbs
1
2
Table Of Contents
3
4
5
6
7
8
9
10
11
12
13
14
15
16
17
18
19
20
21
22
23
24
25
26
page
of
26
Go
/
26
Contents
Table of Contents
Troubleshooting
Bookmarks
Table of Contents
Table of Contents
Important Safety Info
Component List
Assembly Instructions
Initial Firing Instructions
Subsequent Start-Up
Operating Tips
Maintenance & Cleaning
Troubleshooting
Digital Thermostat Control Wiring Diagram
Z Grills Support
3-Y Limited Warranty
Advertisement
Quick Links
Download this manual
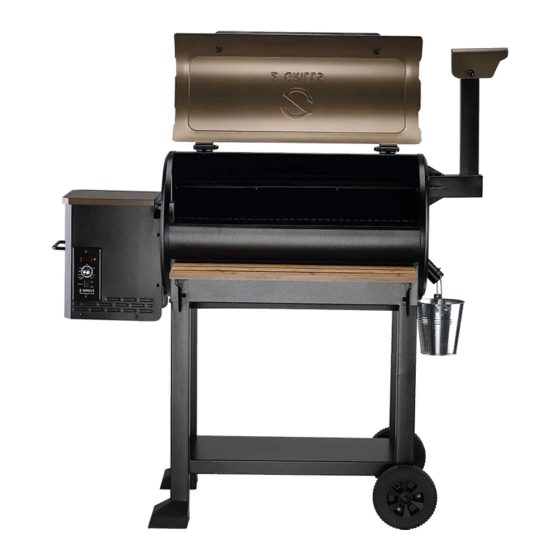
WOOD PELLET GRILLS
ZPG-5502G
OWNER'S MANUAL
MON TO FRI, 8:00 A.M. - 5:00 P.M. PACIFIC STANDARD TIME
SERVICE CONTACT: 1-833-947-4557/1-833-ZGRILLS
EMAIL: support@zgrills.com
WEBSITE: www.zgrills.com
VN092020
Table of
Contents
Previous
Page
Next
Page
1
2
3
4
5
Advertisement
Table of Contents
Need help?
Do you have a question about the ZPG-5502G and is the answer not in the manual?
Ask a question
Questions and answers
Related Manuals for Z GRILLS ZPG-5502G
Grill Z GRILLS ZPG-7002E Owner's Manual
Wood pellet grill (13 pages)
Grill Z GRILLS ZPG-550B Owner's Manual
Wood pellet grill (24 pages)
Grill Z GRILLS ZPG-550B Owner's Manual
Wood pellet grills (21 pages)
Grill Z GRILLS ZPG-550A Owner's Manual
Wood pellet grills (21 pages)
Grill Z GRILLS ZPG - 50B Owner's Manual
Wood pellet grill (12 pages)
Grill Z GRILLS ZPG-5502H Owner's Manual
Wood pellet grills (24 pages)
Grill Z GRILLS ZPG-550C Owner's Manual
Wood pellet grills (26 pages)
Grill Z GRILLS ZPG-550B2 Owner's Manual
Wood pellet grills (25 pages)
Grill Z GRILLS ZPG-550A2E Owner's Manual
Wood pellet grills (25 pages)
Grill Z GRILLS ZPG-550B4 Owner's Manual
Wood pellet grills (27 pages)
Grill Z GRILLS ZPG-450A Owner's Manual
Wood pellet grills (26 pages)
Grill Z GRILLS ZPG-450A Owner's Manual
Wood pellet grill (21 pages)
Grill Z GRILLS ZPG-450A Owner's Manual
Wood pellet grills (23 pages)
Grill Z GRILLS ZPG-450A Owner's Manual
(26 pages)
Grill Z GRILLS ZPG-450A Owner's Manual
Wood pellet gril (13 pages)
Grill Z GRILLS ZPG-10002B Owner's Manual
Wood pellet grills (24 pages)
This manual is also suitable for:
550c
Table of Contents
Print
Rename the bookmark
Delete bookmark?
Delete from my manuals?
Login
Sign In
OR
Sign in with Facebook
Sign in with Google
Upload manual
Upload from disk
Upload from URL


Need help?
Do you have a question about the ZPG-5502G and is the answer not in the manual?
Questions and answers