Advertisement
IMPORTANT SAFEGUARDS
When using electrical equipment, basic safety precautions should
always be followed including the following:
READ AND FOLLOW ALL SAFETY
INSTRUCTIONS
1.
DANGER- Risk of shock- Disconnect power before installation.
DANGER – Risque de choc – Couper l'alimentation avant
l'installation.
2.
This luminaire must be installed in accordance with the NEC or
your local electrical code. If you are not familiar with these codes
and requirements, consult a qualified electrician.
Ce produit doit être installé conformément à NEC ou votre code
électrique local. Si vous n'êtes pas familier avec ces codes et ces
exigences, veuillez contacter un électricien qualifié.
SAVE THESE INSTRUCTIONS FOR
FUTURE REFERENCE
TO INSTALL:
1
Rear Mounting Bracket
Grommet
2
U-Bolt
1 of 3
Set Screws
Hex Head
Bolts
Front Plate
Nuts
Lock Nuts
NOTES:
•
Before installing, ensure the mounting surface and
securement points are structurally sound and capable of
supporting the weight of the luminaire.
•
DO NOT lift the luminaire by the cord.
DIRECT MOUNT
STEP 1:
Install grommet into rear mounting bracket. Orient
grommet as shown in Figure 1
STEP 2:
Route power cord from luminaire through grommet in
Rear Mounting
rear mounting bracket. See Figure 1.
Bracket
STEP 3:
Slide the rear mounting bracket into the luminaire
housing. See Figure 1.
STEP 4:
Secure rear mounting bracket using (2) 3/8-16 hex
head bolts. Torque bolts to 240 in-lbs (27 N-m). See
Figure 1.
STEP 5:
Secure rear mounting bracket using (2) 5/16-24 set
Grommet
screws. Torque set screws to 120 in-lbs (14 N-m). See
Figure 1.
STEP 6:
Align front plate with luminaire housing and insert
U-bolt. See Figure 2 and 3.
STEP 7:
Install (2) 1/4-20 nuts with integral lock washer
onto U-bolt. The lock washer should be against the
mounting plate. Torque to 60 in-lbs (7 N-m). See
Figure 2.
STEP 8:
Install (2) 1/4-20 lock nuts and torque to 120 in-lbs
(14 N-m) while holding the nuts installed previously in
Step 7 to prevent rotation. See Figure 2.
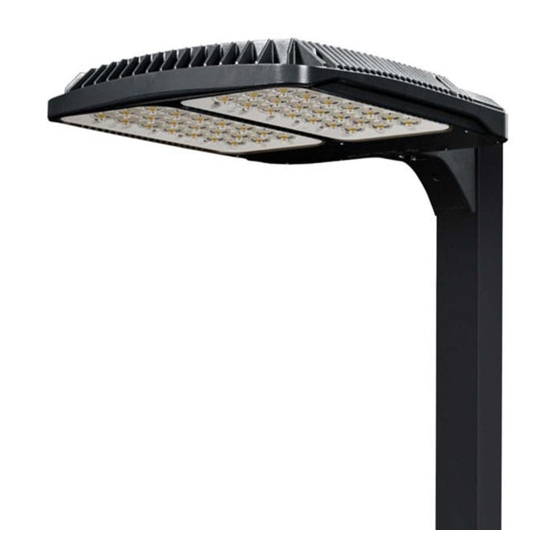
OSQ HO Series
LED Area Light
Transportation Mount
INSTALLATION INSTRUCTIONS
INSTRUCTIONS D'INSTALLATION
LPN00597X0001A0_A
Advertisement
Table of Contents

Subscribe to Our Youtube Channel
Related Manuals for Cree OSQ HO Series


Summary of Contents for Cree OSQ HO Series
- Page 1 OSQ HO Series LED Area Light Transportation Mount INSTALLATION INSTRUCTIONS IMPORTANT SAFEGUARDS INSTRUCTIONS D’INSTALLATION When using electrical equipment, basic safety precautions should always be followed including the following: READ AND FOLLOW ALL SAFETY INSTRUCTIONS DANGER- Risk of shock- Disconnect power before installation.
- Page 2 U-Bolt Position Bolt Locations Mounting Holes for 3/8" Fasteners Top Plate (4) Washers and Nuts 6.00 in 11.10 in 18.00 in 26.00 in STEP 9: STEP 11: Place (4) 3/8-16 carriage bolts into top plate slots. Align the top plate Insert luminaire cord into customer supplied junction box with suitable on an appropriate mounting surface.
- Page 3 GREY DIM (-) GREY © 2018 Cree, Inc. All rights reserved. For informational purposes only. Content is subject to change. See http://lighting.cree.com/warranty for warranty and specifications. Cree is a registered trademark, and the Cree logo is a ®...
Need help?
Do you have a question about the OSQ HO Series and is the answer not in the manual?
Questions and answers