Daikin FXFN50A2VEB Installation And Operation Manual
Hide thumbs
Also See for FXFN50A2VEB:
- Installer and user reference manual (88 pages) ,
- Installation and operation manual (28 pages)

Related Manuals for Daikin FXFN50A2VEB


Summary of Contents for Daikin FXFN50A2VEB
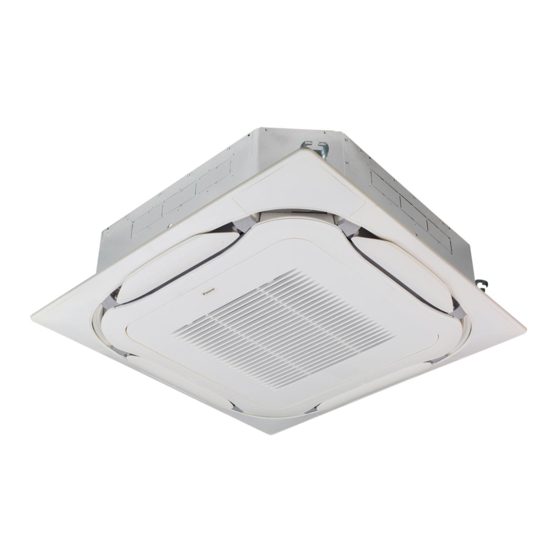
- Page 1 Installation and operation manual CO₂ Conveni-Pack: indoor unit FXFN50A2VEB Installation and operation manual FXFN71A2VEB English CO₂ Conveni-Pack: indoor unit FXFN112A2VEB...
- Page 2 2P613087-2G...
-
Page 3: Table Of Contents
14 Electrical installation 14.1 Specifications of standard wiring components ......19 ▪ The full set of latest technical data is available on the Daikin 14.2 To connect the electrical wiring to the indoor unit ..... 20 Business Portal (authentication required). -
Page 4: Specific Installer Safety Instructions
WARNING Make sure installation, servicing, maintenance, repair and ▪ All wiring MUST be performed by an authorised applied materials follow the instructions from Daikin and, in electrician and MUST comply with the applicable addition, comply with applicable legislation and are legislation. -
Page 5: For The User
3 User safety instructions For the user ▪ Units are marked with the following symbol: User safety instructions Always observe the following safety instructions and regulations. General This means that electrical and electronic products may NOT be WARNING mixed with unsorted household waste. Do NOT try to dismantle the system yourself: the dismantling of the system, treatment of If you are NOT sure how to operate the the refrigerant, of oil and of other parts MUST be done by an... - Page 6 3 User safety instructions CAUTION WARNING ▪ NEVER touch the internal parts of the Do NOT place a flammable spray controller. bottle near the air conditioner and do NOT use sprays near the unit. Doing ▪ Do NOT remove the front panel. so may result in a fire.
-
Page 7: About The System
4 About the system WARNING About the system Do NOT let the indoor unit get wet. NOTICE Possible consequence: Electrical The appliance shall be stored so as to prevent mechanical shock or fire. damage. refrigerant" [ 4 12]) About the refrigerant (see "7.3 About the WARNING Do NOT modify, disassemble, remove, reinstall or repair... -
Page 8: System Layout
5 User interface System layout User interface INFORMATION CAUTION The following illustration is an example and might NOT ▪ NEVER touch the internal parts of the controller. match your system layout. ▪ Do NOT remove the front panel. Some parts inside are dangerous to touch and appliance problems may happen. -
Page 9: Basic Operation Modes
6 Operation 6.2.1 Basic operation modes 6.2.3 Adjusting the airflow direction The indoor unit can operate in various operation modes. The following airflow directions can be set: Icon Operation mode Cooling. In this mode, cooling will be activated as Direction Screen required by the setpoint, or by Setback operation. -
Page 10: Maintenance And Service
7 Maintenance and service Following symbols may occur on the indoor unit: Maintenance and service Symbol Explanation Measure the voltage at the terminals of main circuit Precautions for maintenance and capacitors or electrical components before servicing. service WARNING: System contains refrigerant under very high pressure. -
Page 11: To Clean The Suction Grille
7 Maintenance and service Design panel: Design panel: 3 Remove the air filter. 3 Clean the air filter. Use a vacuum cleaner or wash with water. If the air filter is very dirty, use a soft brush and neutral detergent. 4 Clean the suction grille. -
Page 12: About The Refrigerant
8 Troubleshooting About the refrigerant NOTICE After the refrigerant leakage is detected, the unit will send This product contains refrigerant gases. a signal at regular intervals to confirm if the CO concentration is at a safe level. Even when the CO Refrigerant type: R744 (CO concentration is at a safe level, do NOT resume operation WARNING... -
Page 13: For The Installer
11 About the box For the installer 12.1 Preparing the installation site About the box Avoid installation in an environment with a lot of organic solvents such as ink and siloxane. 11.1 Indoor unit 12.1.1 Installation site requirements of the 11.1.1 To remove the accessories from the indoor unit... -
Page 14: Additional Installation Site Requirements For Co₂ Refrigerant
12 Unit installation ▪ A: Minimum distance to the wall. Depends on the air flow WARNING directions towards the wall. Install the unit ONLY in locations where the doors of the occupied space are NOT tight fitting. ≥1500 ≥500 ≥200 WARNING When using safety shut-off valves, make sure to install measures such as a bypassing piping with a pressure relief... -
Page 15: Mounting The Indoor Unit
12 Unit installation QLAV QLMV 12.2 Mounting the indoor unit 12.2.1 Guidelines when installing the indoor unit INFORMATION Optional equipment. When installing optional equipment, also read the installation manual of the optional equipment. Depending on the field conditions, it might be easier to install the optional equipment first. -
Page 16: Guidelines When Installing The Drain Piping
12 Unit installation ▪ Paper pattern for installation (upper part of the packing). Use ▪ Installation guide. Use the installation guide to determine the the paper pattern to determine the correct horizontal positioning. It correct vertical position. contains the necessary dimensions and centers. You can attach the paper pattern to the unit. - Page 17 12 Unit installation 1~1.5 m Hanging bar Allowed Not allowed ▪ Condensation. Take measures against condensation. Insulate the complete drain piping in the building. ≤4 mm ▪ Rising piping. If necessary to make the slope possible, you can install rising piping. A-A' ▪...
-
Page 18: Piping Installation
13 Piping installation 4 Gradually pour approximately 1 l of water through the air Refrigerant piping diameter discharge outlet, and check for leaks. Liquid piping Gas piping Ø9.5 mm Ø12.7 mm Refrigerant piping material ▪ Piping material: K65 copper-iron alloy (CuFe2P), maximum operating pressure = 120 bar ▪... -
Page 19: Electrical Installation
14 Electrical installation Brazed connection WARNING Refrigerant pipe connection (attached to the unit) ▪ Use K65 piping for high-pressure applications with a Unit Sealing pads: Medium 1 (gas pipe), medium 2 (liquid working pressure of 120 bar or 90 bar, depending on its pipe) (accessories) location in the system. -
Page 20: To Connect The Electrical Wiring To The Indoor Unit
14 Electrical installation Opening for cables 14.2 To connect the electrical wiring to Connection of power supply the indoor unit Tie wrap Connection of user interface and transmission cable NOTICE Complete system example ▪ Example: 1 user interface controls 1 indoor unit. ▪... -
Page 21: To Connect Appropriate Measures For Appliances Filled With Co₂
Next Do NOT interrupt the test run. commissioning instructions in this chapter, a general commissioning checklist is also available on the Daikin Business Portal (authentication required). The general commissioning checklist is complementary to the instructions in this chapter and can be used as a guideline and reporting template during the commissioning and hand-over to the user. -
Page 22: Configuration
16 Configuration Setting: Airflow direction range Configuration This setting must correspond with the needs of the user. If you want set the airflow direction Then 16.1 Field setting range to… SW/C1 —/C2 Make the following field settings so that they correspond with the Upper 13 (23) actual installation setup and with the needs of the user:... -
Page 23: Technical Data
Daikin website (publicly accessible). If the system contains a remote sensor, set the increase/decrease ▪ The full set of latest technical data is available on the Daikin increments. Business Portal (authentication required). If you want to change increments to…... - Page 24 17 Technical data Symbol Meaning Symbol Meaning Diode bridge Transformer DIP switch TC, TRC Transmitter Heater V*, R*V Varistor FU*, F*U, (for characteristics, Fuse Diode bridge, Insulated-gate refer to PCB inside your unit) bipolar transistor (IGBT) power module Connector (frame ground) Wireless remote controller Harness Terminal...
- Page 28 3P672850-1A 2021.07 Verantwortung für Energie und Umwelt...
Need help?
Do you have a question about the FXFN50A2VEB and is the answer not in the manual?
Questions and answers