Table of Contents
Advertisement
Quick Links
Advertisement
Table of Contents

Subscribe to Our Youtube Channel
Related Manuals for Stelpro Allia ASAT402ZB


Summary of Contents for Stelpro Allia ASAT402ZB
- Page 1 USER GUIDE ASAT402ZB | Smart thermostat INS-ASAT402ZB-US-0221...
- Page 2 DESIGNED AND DEVELOPED FOR NORTH AMERICA Established in Quebec, Canada for over 35 years, Stelpro understands the special needs of our climate as well as Americans’ safety and environmental protection concerns. By choosing Stelpro’s Allia, you are encouraging local innovation and the development of...
-
Page 3: Table Of Contents
CONTENTS COMPATIBILITY CONNECTION Allia hub WHAT’S IN THE BOX Connecting via the Allia app AND REQUIRED TOOLS Connecting via the Allia hub Connecting to another Zigbee network WARNING SETUP BEFORE YOU GET STARTED Temperature display unit Where to set up your hub Heating mode Where to install your thermostats Lobby mode... -
Page 4: Compatibility
COMPATIBILITY ✘ ✓ WARNING: This thermostat is not compatible with: • inductive load systems ELECTRIC BASEBOARDS • central heating systems • resistive load systems: - less than 150 W and 120 VAC /260 W and 208 VAC /300 W and 240 VAC - greater than 2000 W and 120 VAC /3400 W and at 208 VAC /4000 W and at 240 VAC CONVECTORS... -
Page 5: Warning
WARNING: High voltage. Switch off the power before installation and maintenance. NOTE: Stelpro reserves the right to modify its product without notice to improve its operation. Therefore, the instructions in this guide may not apply exactly to your thermostat model. Refer to the Stelpro website for the most recent documentation. Your... -
Page 6: Before You Get Started
BEFORE YOU GET STARTED WHERE TO SET UP YOUR HUB With a minimum amount of planning, you can optimize the Allia mesh network and ensure good communication between devices. The hub allows you to manage the Allia thermostats and other Allia-compatible connected objects in your home. Install the hub in the most central location possible to boost communication between the various rooms. -
Page 7: Where To Install Your Thermostats
WHERE TO INSTALL YOUR THERMOSTATS 1 - Install an Allia thermostat in every room where you want to control the temperature. 2 - Install the thermostat about 5 ft above the floor, on an inside wall facing the heating system. The thermostat must be placed on an electrical box. 3 - The space in front of the thermostat must be completely clear for it to operate optimally. -
Page 8: Installation
INSTALLATION WARNING: The thermostat must be installed by a certified electrician. TURNING THE POWER OFF To protect yourself against electric shock, switch off the power to the wires at the electrical panel. Then, make sure the wires are no longer powered, e.g., checking that the heating system remains off even when the setpoint temperature is higher than the room temperature (mechanical thermostat). -
Page 9: Connecting The Electrical Wires
CONNECTING THE ELECTRICAL WIRES 1 - Using the supplied connection caps,* connect the Allia thermostat wires to those of the heating system and power supply wires according to the corresponding connection diagram. For baseboards, 2 - Tighten the caps on the wires to make convectors and sure the connection is secure. -
Page 10: Attaching The Thermostat To The Mounting Plate
ATTACHING THE THERMOSTAT TO THE MOUNTING PLATE 1 - Make sure that the thermostat’s ventilation openings are clean and unobstructed. 2 - Align the notch at the top of the thermostat with the notch on the mounting plate. 3 - Then, place the thermostat on the mounting plate, taking care not to pinch the wires between the device and the mounting plate. -
Page 11: Thermostat Interface
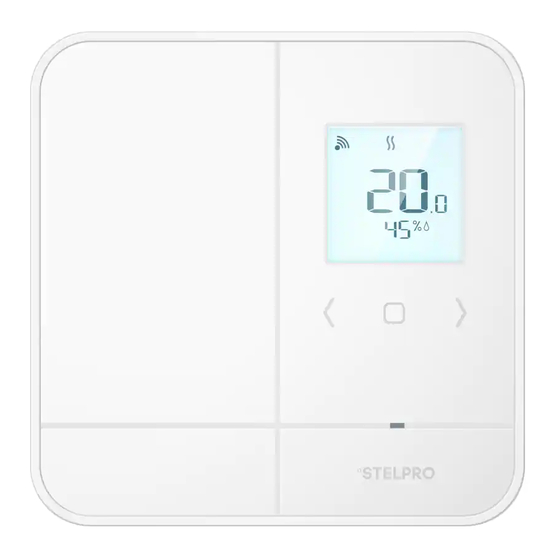
THERMOSTAT INTERFACE The Allia thermostat’s three-button interface puts 360° comfort at your fingertips. ROOM TEMPERATURE OUTSIDE TEMPERATURE ADJUSTMENT BUTTONS ADJUST THE SETPOINT TEMPERATURE / NAVIGATE ADVANCED MENUS CENTRAL BUTTON ACCESS ADVANCED MENUS / CONFIRM SELECTIONS IN ADVANCED MENUS MEANING OF THE ICONS ZIGBEE CONNECTION ESTABLISHED LOCKED KEYPAD HEATING MODE... -
Page 12: Use
NAVIGATING THE ADVANCED MENUS Here are the steps to access the advanced menus and their options: 4 - After selecting an option, press the central 1 - From the home screen, press the for three (3) button to confirm the selection. The central button seconds to access the advanced selected value flashes rapidly for two (2) -
Page 13: Navigating The Technical Menus
NAVIGATING THE TECHNICAL MENUS Access the technical menus from the home screen by pressing the central button for ten (10) seconds. After three (3) seconds, the advanced menus will be displayed (menu 10). Continue to press the button until the technical menus appear. -
Page 14: Connection
CONNECTION ALLIA HUB To create your Allia network, you must connect your thermostats to the Allia hub through its Zigbee network. Install all your thermostats before connecting them. Make sure to connect the thermostat closest to the Allia hub first, and then connect the other thermostats, progressively working away from the hub. -
Page 15: Connecting Via The Allia Hub
CONNECTING VIA THE ALLIA HUB The Zigbee channel will be displayed when the connection is established. 3 - When the icon disappears and BUTTON you see °F on the screen, press the central button for three seconds. The display stops flashing and the room temperature will be displayed. -
Page 16: Setup
SETUP The first time you start the thermostat, set up the three basic preferences. The thermostat will display temperature format and heating mode options and Lobby mode options if the heating mode is set to Fan Heater. You must also set up the Zigbee connection if you want to connect your thermostat to an Allia hub. -
Page 17: Lobby Mode
LOBBY MODE 1 - Go to menu 31. 2 - Use the buttons to select Standard (Std) or Lobby (LbY) mode. 3 - Press the central button to confirm the selection. Lobby mode can only be selected if the heating mode is set to fan heater and open window detection is disabled. -
Page 18: Backlighting
BACKLIGHTING By default, the thermostat screen lights up 1 - Go to menu 60. when you touch one of the buttons. You 2 - Use the buttons to turn OFF or can deactivate this function or adjust the change the backlight intensity to HI intensity of the backlighting. -
Page 19: Troubleshooting
The following table lists the most common problems and alerts you may encounter with your thermostat. If your problem is not listed in this table, or if the proposed solution does not solve the issue, please visit our support site or contact our customer service team: www.stelpro.com/en/allia/support 1-844-STELPRO (783-5776) elec.tech@stelpro.com PROBLEM SOLUTION The heating system is overheating. - Page 20 PROBLEM SOLUTION Even when the thermostat is operating normally, the thermostat housing The thermostat is hot. can become warm to the touch. This does not affect the thermostat’s efficiency or operation. The heating system is Make sure the thermostat wires are properly connected (see page 9). operating continuously even once the setpoint NOTE: The thermostat can also control low power heating to maintain the...
-
Page 21: Technical Specifications
TECHNICAL SPECIFICATIONS DEFAULT VALUES TEMPERATURE DISPLAY Setpoint temperature 70 °F 32 °F to 122 °F Actual measured temperature Zigbee connection Disconnected 1 °F Temperature display increments Temperature display format ° Fahrenheit 41 °F to 86 °F Setpoint temperature Heating mode Electric baseboard 1 °F Setpoint temperature increments... -
Page 22: Warranty
If the installer or user modifies the device in any way, they will be held responsible for any damage resulting from this modification. The warranty is limited to factory repair or replacement of the unit and does not cover disconnection, transportation and installation costs. NEED HELP? CONTACT STELPRO CUSTOMER SERVICE. WWW.STELPRO.COM CONTACT@STELPRO.COM 1-844-STELPRO...
Need help?
Do you have a question about the Allia ASAT402ZB and is the answer not in the manual?
Questions and answers