Advertisement
Quick Links
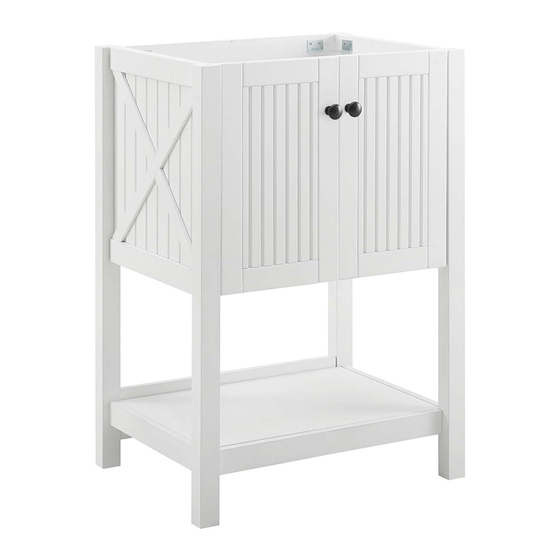
Thank you for purchasing the MODWAY Vanity!
Before you start, here are some helpful advice:
1.We suggest you spend a short time reading through this leaflet and then follow the simple step-by-step instructions.
2.Owing to the size and weight of the vanity, we recommend that it is assembled by two adults, on a carpeted or
padded area, in the room that it is intended for. Approximate assembly time: 60 minutes.
3.Please do not use any tools other than those provide or recommended in these instructions.
4.Please do not throw away any of the packaging or instructions until you have checked all the components and
hardware and the furniture is fully assembled.
5.Assemble all components loosely until advised to tighten. Depending on use, it may be necessary to tighten the
components from time to time, so please save the tools that have been provided.
6.Please keep all pieces out of reach of children.
Advertisement

Related Manuals for modway EEI-3942-WHI


Summary of Contents for modway EEI-3942-WHI
- Page 1 Thank you for purchasing the MODWAY Vanity! Before you start, here are some helpful advice: 1.We suggest you spend a short time reading through this leaflet and then follow the simple step-by-step instructions. 2.Owing to the size and weight of the vanity, we recommend that it is assembled by two adults, on a carpeted or padded area, in the room that it is intended for.
- Page 3 Carefully insert the Wood Dowels (A) at the designated holes on the relevant parts. Hardware required. Hammer not included (Power tool not recommended) Use Philips screwdriver to insert the Cambolt (B) carefully at the designated holes on the relevant parts. Please ensure the Cambolt is inserted and secured at the correct pre-drilled holes.
- Page 4 Assemble 2 pieces of Door Hinges (G) to the 'Door Left (6)' and 'Door Right (7)' on each sides and secure it with 2 pieces of Screws (F) for each hinges. Hardware required. Screwdriver not included Properly insert the Camlock (C) in the pre-drilled hole then align it to the assembled Cambolt (B) to secure both Back Panel 1 (4) and Back Panel 2 (5) to the Vertical Panel 3 (14) and Vertical Panel 4 (15).
- Page 5 5.1- Lay flat the Side Panel Left (1) which already assembled with 8 pieces of Wood Dowel (A) and 2 pieces of Cambolt (B). 5.2- Properly align the Bottom Panel (3) Wooden Dowels to the pre-drilled hole. 5.3- Once aligned push the Bottom Panel (3) in and align the Camlocks (C) to the Cambolt (B) to secure the Bottom Panel (3) to the Side Panel Left (1).
- Page 6 Properly insert the Camlock (C) in the pre-drilled hole then align it to the assembled Cambolt (B) to secure both of Side Panel Left (1) and Side Panel Right (2) to the Vertical Panel 3 (14) and Vertical Panel 4 (15). Hardware required.
- Page 7 Properly insert the Camlock (C) in the pre-drilled hole then align it to the assembled Cambolt (B) to secure both Base Panel 1 (8) and Base Panel 2 (9) to the Vertical Panel 1 (12) and Vertical Panel 2 (13). This assembly namely Front Frame Assembly Hardware required.
- Page 8 Insert the Shelf Pin (H) to the pre-drilled holes. Insert Adjustable Shelf (11) above the Shelf Pin (H).
- Page 9 Hardware required. Screwdriver not included Assemble Door Knob (D) on each 'Door Left (6)' & 'Door Right (7)' and secure it with a Screw (E) by using screwdriver. Hardware required. Screwdriver not included...
- Page 10 Use Screwdriver to secure the Metal Bracket (J) on each corner of the top portion of the Vanity Cabinet with 4 pieces of Screw (F). Hardware required. Screwdriver not included Hole=Ø6mm Screw and Wall Plug are not provided. Please use appropriate fixtures for your wall.
Need help?
Do you have a question about the EEI-3942-WHI and is the answer not in the manual?
Questions and answers