Table of Contents
Advertisement
Quick Links
Assembly Instructions
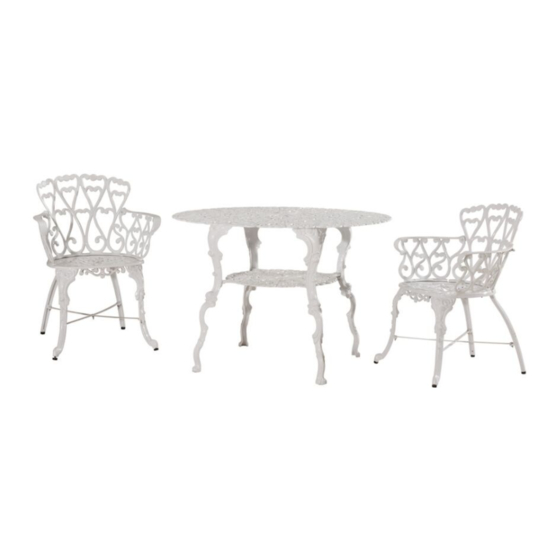
Item# D-BS958SAL
IMPORTANT:
Please read instructions thoroughly before assembly, get yourself familiar with the parts
list and assembly illustrations to ensure the safe and proper assembly.
Please keep the instructions for future reference.
WARNING:
Repeated assembly can weaken the locking ability of the washers. Please periodically
check all bolted connections on your bistro to ensure they are tight and secure.
DO NOT over tighten any screws or nuts.
DO NOT operate if any part is damaged or broken.
NOT FOR USE BY CHILDREN.
Advertisement
Table of Contents

Subscribe to Our Youtube Channel
Related Manuals for Sunjoy D-BS958SAL


Summary of Contents for Sunjoy D-BS958SAL
- Page 1 Assembly Instructions Item# D-BS958SAL IMPORTANT: Please read instructions thoroughly before assembly, get yourself familiar with the parts list and assembly illustrations to ensure the safe and proper assembly. Please keep the instructions for future reference. WARNING: Repeated assembly can weaken the locking ability of the washers. Please periodically check all bolted connections on your bistro to ensure they are tight and secure.
- Page 2 Table assembly instruction Part# Description Tabletop Shelf Bolt M6x35 M6 Spring washer M6 Nut M6 Wrench Foot pad (Preassembled on legs) Step 1: Attach leg(C) to shelf (B) with bolt (AA) and spring washer(BB), lock with nut (CC) by using wrench(DD) and Philips -screwdriver, do not tighten fully...
- Page 3 Step 2: Attach leg(C) to tabletop (A) with bolt (AA) and spring washer (BB), lock with nut (CC) by using wrench (DD) and Philips -screwdriver. Adjust the table to be stable, tighten all the bolts and you may have the complete table.
- Page 4 Chair assembly instruction Part Description Back Armrest1 Armrest2 Seat Front side Leg Backside Leg Decorative part Support bar Bolt M6x35 Spring washer M6 Nut M6 Wrench M6 Foot Pad (Preassembled on legs) Step 1: Attach leg (E1/E2) to seat (D) with (AA) and spring washer (BB), lock by nut M6 (CC) by using wrench (DD) and Philips-screwdriver as Fig.
- Page 5 Step 2: Attach decorative part (F) to seat (D) with bolt (AA) and spring washer (BB), secure by nut (CC) by using wrench (DD) and Philips-screwdriver as showed on picture. Fix the two support bar (G) by bolt (AA) and nut (CC). Adjust the chair base to be stable, and tighten all bolts.
- Page 6 Step3: Attach back (A) to seat (D) with bolt (AA) and spring washer (BB), then lock And tighten with nut (CC) using wrench (DD) and Philips-screwdriver. Step 4: Attach bottom of armrest (B), (C) to seat (D) with bolt (AA) spring washer (BB), lock and tighten by nut (CC) using wrench (DD) and Philips-screwdriver.
- Page 7 Limited Warranty: This product carries a one (1) year warranty against defects in workmanship and materials. Important: For technical assistance on assembly or replacement parts. In the continental U.S., you can call us toll-free at 1-866-578-6569 from 8 a.m. to 5 p.m. CST Monday – Friday. In the continental Canada, you can call us toll-free at 1-844-SUNJOY1 (1-844-786-5691) from 8 a.m.
Need help?
Do you have a question about the D-BS958SAL and is the answer not in the manual?
Questions and answers