Advertisement
Table of Contents
- 1 Table of Contents
- 2 Intended Use
- 3 Dimensions
- 4 Tie down Points
- 5 Lifting Points
- 6 Cab Layout & Controls
- 7 Start up Sequence
- 8 Shut down Sequence
- 9 Mechanical Hitch Unlock
- 10 Maintenance Position
- 11 Service & Maintenance
- 12 Service & Access Covers
- 13 Fluids & Lubricants
- 14 Machine Attachments
- 15 Troubleshooting/Faqs
- 16 Your Notes
- Download this manual
Advertisement
Table of Contents

Related Manuals for jcb 8025 ZTS


Summary of Contents for jcb 8025 ZTS
- Page 1 Quick Start Guide Compact Excavators 8025 ZTS, 8026 CTS, 8030 ZTS, 8035 ZTS...
- Page 2 This machine should not be operated by any person who isn’t appropriately qualified or had the appropriate training. > Operation of this machine without periodic maintenance could cause it to malfunction. For more information please contact your JCB Dealer. Please see operator manual for full details.
-
Page 3: Table Of Contents
Shut Down Sequence ........................13 Mechanical Hitch Unlock ........................14 Maintenance Position ........................15 Service & Maintenance ........................16 Service & Access Covers......................17-18 Fluids & Lubricants ..........................19 Machine Attachments ........................20 Troubleshooting / FAQs ........................21 Your Notes ..........................22-23 8025 ZTS, 8026 CTS, 8030 ZTS, 8035 ZTS... -
Page 4: Intended Use
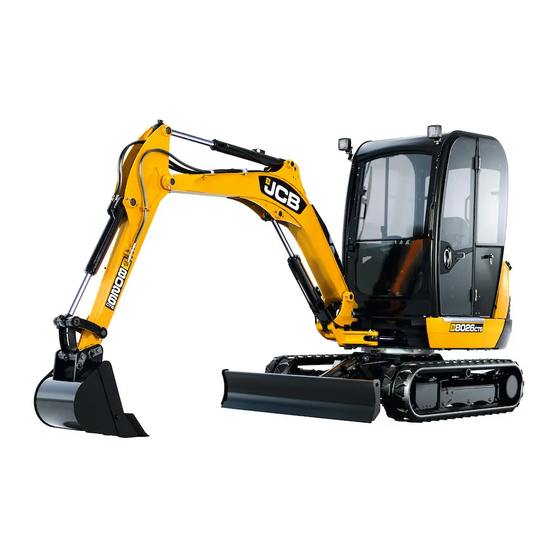
Intended Use General > Machine Type – Compact Excavator > Self propelled machine with a tracked undercarriage > 360° revolving upper structure with boom, dipper, bucket and slew mechanism Intended Use > Machine intended to be used in normal conditions as detailed in the operators manual >... -
Page 5: Dimensions
1650 1750 Superstructure width 1550 1550 1650 1656 Track centres 1440 1440 1597 1707 Operating weight* 2685 2700 3217 3651 * Standard machine specification, please see data plate for specific machine weight. 8025 ZTS, 8026 CTS, 8030 ZTS, 8035 ZTS... -
Page 6: Tie Down Points
Tie Down Points Fig 2 A Securing strap (bucket) C Skids B Securing strap (front and rear of the two track legs D Securing strap (kingpost Fig 3 A Length = 900 + 100mm B Length = 950 + 100mm Tie down position decal. -
Page 7: Lifting Points
A Boom lift point B Spacer bar C Dozer blade lift point The correct lifting positions are identified on the machine by their labels: Lifting point position label. REFER TO OPERATORS MANUAL TRANSPORTING MACHINE 8025 ZTS, 8026 CTS, 8030 ZTS, 8035 ZTS... -
Page 8: Cab Layout & Controls
Cab & Switch Panel Operator Station Layout Fig 5 A Track control B Swing/auxiliary pedals C Horn D Excavator controls E Two-speed tracking switch K Auxiliary power socket F Dozer blade control L Console switches G Hand throttle control M Operator seat H Instrument panel N Swing/auxiliary switch J Ignition switch... - Page 9 G Hourmeter H Indicator is not installed on this machine J Indicator is not installed on this machine K Engine oil (low) indicator L Coolant temperature (high) indicator M Charge (fault) indicator 8025 ZTS, 8026 CTS, 8030 ZTS, 8035 ZTS...
- Page 10 Excavator Controls ISO Control Pattern Fig 9 A Slew cab left B Slew cab right C Raise boom D Lower boom E Dipper in F Dipper out G Crowd bucket (to gather a load) H Dump bucket (to dump a load) J Swing boom SAE Control Pattern Fig 10...
- Page 11 Dozer Lever Fig 12 Fig 13 A Lower the dozer B Raise the dozer C Control lever 8025 ZTS, 8026 CTS, 8030 ZTS, 8035 ZTS...
-
Page 12: Start Up Sequence
Start Up Sequence Insert Isolator Key Raise LH Arm Rest Engage Seat Belt Insert isolator key (A) and Ensure the hydraulic isolation Engage seat belt (A) into latch turn in a clockwise direction. lever (left hand arm rest) is in (B) before starting machine. -
Page 13: Shut Down Sequence
Position the machine using the and remove key. attachment (A) just above handrails and the ground and dozer (B) footholds. on the ground. Close & lock all doors and windows to secure machine. 8025 ZTS, 8026 CTS, 8030 ZTS, 8035 ZTS... -
Page 14: Mechanical Hitch Unlock
Mechanical Hitch Unlock System Park Machine Up Disconnect Attachment Insert tommy bar Park the machine on firm level Stop the engine, remove any Insert the tommy bar into the ground. Position the attach- connected hydraulic hoses and hole of the latch hook. Attachments ment (A) just above the ground remove the locking pin. -
Page 15: Maintenance Position
Isolate the controls and remove ignition key Isolate the battery to prevent accidental operation of the engine The double-acting ball valve must be open for single-acting attachments and closed for double-acting attachments. 8025 ZTS, 8026 CTS, 8030 ZTS, 8035 ZTS... -
Page 16: Service & Maintenance
Service & Maintenance Daily Checks (10h) Action Check condition of attachments / optional equipment Visual check Grease attachments / optional equipment/ pivot pins as required Lubricate Clean bodywork and framework Clean Check condition of bodywork and framework Visual check Check condition of cab/canopy including seat belt Visual check Check engine for leaks and oil level Visual check... -
Page 17: Service & Access Covers
Fig 16 A Button A Button B Handle B Handle C Engine compartment cover C Engine compartment cover Battery Cover Toolbox Fig 17 Fig 18 A Bolts A Toolbox B Lower trim panel 8025 ZTS, 8026 CTS, 8030 ZTS, 8035 ZTS... - Page 18 Service & Access Covers Engine Compartment Fig 19 A Water separator B Radiator cap and expansion bottle C Air intake D Drive belt tensioner E Engine oil filler cap F Engine oil dipstick G Fuel tank filler cap Hydraulic Compartment Fig 20 A Air intake B Hydraulic oil filler cap...
-
Page 19: Fluids & Lubricants
All Other Grease JCB MPL-EP Grease 4003/1501 0.4kg required JCB part numbers are liable to change and may also vary by region. For the latest information, always check with your dealer/distributor. 8025 ZTS, 8026 CTS, 8030 ZTS, 8035 ZTS... -
Page 20: Machine Attachments
Machine Attachments Description Weight (kg) Machines Hydraulic Requirements Mechanical Quickhitch 8025 – 8035 None Bucket GP 230mm 48 – 57 8025 – 8035 None Bucket GP 300mm 58 – 69 8025 – 8035 None Bucket GP 460mm 8025 – 8026 None Bucket GP 450mm 8030 –... -
Page 21: Troubleshooting/Faqs
* * This is known by if the aux lamp on the instrument panel is not on. If it is press the left joystick button in until the lamp is turned off. 8025 ZTS, 8026 CTS, 8030 ZTS, 8035 ZTS... -
Page 22: Your Notes
Your Notes Please see operator manual for full details. - Page 23 Your Notes 8025 ZTS, 8026 CTS, 8030 ZTS, 8035 ZTS...
- Page 24 They should not therefore be relied upon in relation to suitability for a particular application. Guidance and advice should always be sought from your JCB Dealer’. JCB reserves the right to change specifications without notice. Illustrations and specifications shown may include optional equipment and accessories.
Need help?
Do you have a question about the 8025 ZTS and is the answer not in the manual?
Questions and answers