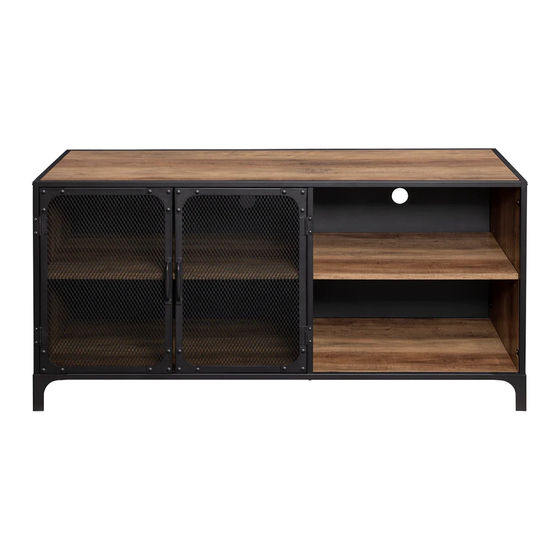
Summary of Contents for Walker Edison W52SOI2D
-
Page 2: General Assembly Guidelines
A Phillips head screwdriver is required for the assembly of this product . VII. Power tools should not be used to assemble this product. 勹 VIII. Drill may be needed for securing product to wall. Copyright©2019 by Walker Edison Furniture Co., LLC. All rights reserved. - Page 5 Using bolt (A) attach part (12,13) onto part (2) to secure with hex key (P).
- Page 6 Using bolt (A) attach part (7) onto part (1) with hex key (P).
- Page 7 Using bolt (A) to attach part (15) onto part (6) to secure with hex key (P) .
- Page 8 Using bolt (C) attach part (14) onto part (1) to secure with hex key (P), put door stopper (F) attach part (1), using screw (G) onto poor stopper with Philips screwdriver as diagram.
- Page 9 using bolt A attach part (3) onto part (14) to secure with hex key (P) as diagram.
- Page 10 Using bolt (B) attach part (12,13) onto part (7) to insert part (12,13) with hex key (P) as diagram.
- Page 11 Using bolt (B) attach part (15) onto part (12,13,14), secure with hex key per diagram.
- Page 12 Insert screw (D) onto part (6) to connect part (3) by Philips head screwdriver per diagram.
- Page 13 Attach part (11) onto part (15,1) ,using bolt (A,B) secure with hex key (P) per diagram.
- Page 14 Place plastic cap (M,N) onto part (15) as per diagram.
- Page 15 Insert screw (L) onto part ( 8,9,10,18 ) with Philips head screwdriver .
- Page 16 Insert shelf support pin (E) onto part (2,3).
- Page 17 Put part (4,5) onto cabinet as per diagram.
- Page 18 Attach handle (H) onto ( 16,17) insert bolt (J) secure with Philips head screwdriver as per diagram.
- Page 19 Attach part (16) onto part (12) ,insert screw (K) with Philip head screwdriver as diagram.
- Page 20 Using screw (K) attach part (17) onto part (14) to secure with Philips head screwdriver as diagram.


Need help?
Do you have a question about the W52SOI2D and is the answer not in the manual?
Questions and answers