Advertisement
Quick Links
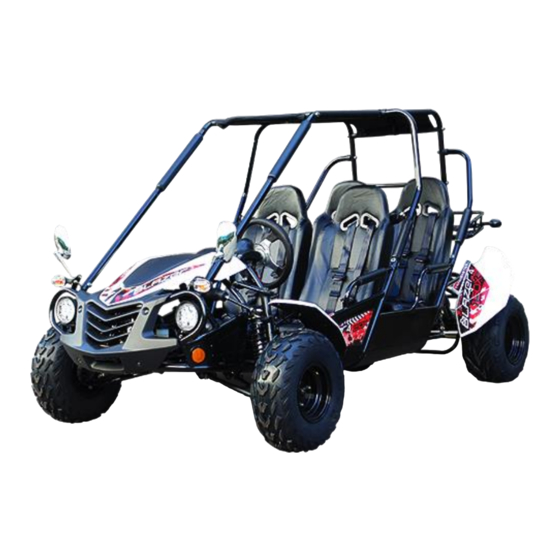
TrailMaster
Blazer4 150X/200X
Set up instruction
Version: 1.1
2020/09/02
This set up instruction is prepared for mechanic or experienced customer only! This instruction will introduce the
set up of Blazer4 150X/200X step by step to ensure a correct assembly, however all information in this instruction
is for reference only! Before assembly, please make sure you have proper tools and knowledge to do it!
Advertisement

Subscribe to Our Youtube Channel
Related Manuals for TrailMaster Blazer4 150X


Summary of Contents for TrailMaster Blazer4 150X
- Page 1 This set up instruction is prepared for mechanic or experienced customer only! This instruction will introduce the set up of Blazer4 150X/200X step by step to ensure a correct assembly, however all information in this instruction is for reference only! Before assembly, please make sure you have proper tools and knowledge to do it!
- Page 2 Blazer4 150X/200X Set up instruction Check the components after opening the box (pic.1). Pic.1...
- Page 3 Blazer4 150X/200X Set up instruction Assembly 2.1 Assemble the rear shocks (pic.2): take down the bolts from the shocks; lift the rear swing arm to let the top of shock into the mounting of frame, use 37-44NM torque to fix the shocks attached the frame.
- Page 4 Blazer4 150X/200X Set up instruction Pic.3 2.3 Assemble the front fender (pic.4 and pic. 5): assemble the front fender brackets and front fenders. Pic. 4...
- Page 5 Blazer4 150X/200X Set up instruction Pic. 5 2.4 Assemble the rear fender (pic.6 and pic.7): assemble the rear fender brackets and rear fenders. Pic.6...
- Page 6 Blazer4 150X/200X Set up instruction Pic.7 2.5 Assemble the rear wheels (pic.8): screw the castle nut M16x1.5 tightly with 98-103NM, put on the cotter pin 3X40, lift the frame to install the wheel (please pay attention to the right direction of wheel installation as shown in the pic.
- Page 7 Blazer4 150X/200X Set up instruction 2.6 Assemble the front wheel (pic.9): Take down the tire bolts on the hub, set up the front wheel on the right position of hub, fix the tire bolts with 37-44NM torque, put on the hub cover.
- Page 8 Blazer4 150X/200X Set up instruction Pic.10 2.7 Assemble the fuel tank (pic.11) and connect the tail light wiring: install the tank on the mount position of rear cargo rack with M8x25 bolts using 22-29 NM torque. Connect the tail light wiring.
- Page 9 Blazer4 150X/200X Set up instruction 2.8 Connect the fuel tubes: connect the fuel tube and vacuum tube as shown in pic.12. Vacuum tube t-cock, fuel tube, connect fuel tube, vacuum tube Pic.12 2.9 Assemble the seats back (pic.13): Insert the seat back into the mount holes of seats frame.
- Page 10 Blazer4 150X/200X Set up instruction 2.10 Assemble the roll cage bars (pic.14 and Pic15): put two sides of long bar cages onto the connection rods on frame and rear cargo rack fixing with bolt M8x55, R-washer and M8 nut. Pic.14...
- Page 11 Blazer4 150X/200X Set up instruction 2.11 Install the seatbelts (pic.16): Install the seatbelts onto the seat belt mounting brackets Pic.16 2.12 Assemble the steering wheel adapter and steering wheel (pic.17): Pic.17...
- Page 12 Blazer4 150X/200X Set up instruction 2.13 connect turn lights wirings (pic.18): plug in the wires of rear left / right turn light according to cable colors. After all wires are connected, bundle the cables. Pic.18 2.14 Assemble canopy top (pic.19): Put on the canopy top and foam padding.
- Page 13 (protective glove, Prevent electric screwdriver). Before driving please read the user manual of TrailMaster Go-kart Blazer4 150X/200X carefully, you will be given with important safety information and advices. Thanks a lot for choosing TrailMaster Go-kart Blazer4 150X/200X, For...
Need help?
Do you have a question about the Blazer4 150X and is the answer not in the manual?
Questions and answers