Table of Contents
Advertisement
Quick Links
Advertisement
Table of Contents

Related Manuals for Body Sculpture BR-3175


Summary of Contents for Body Sculpture BR-3175
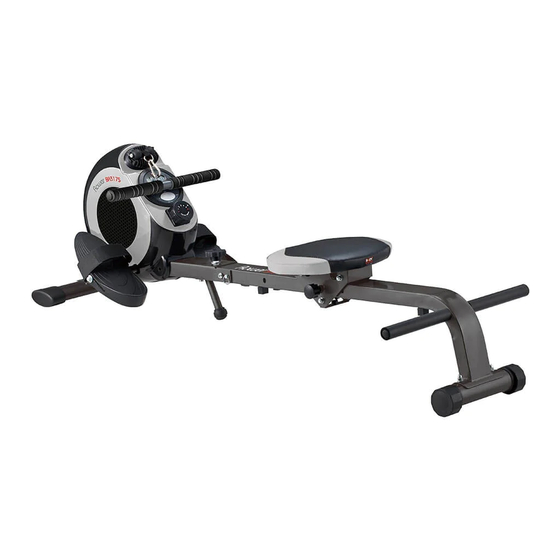
- Page 1 BR-3175 MAGNETIC GYM N ROWER...
- Page 3 Please keep this manual in a safe place for reference. 1. It is important to read this entire manual before assembling and using the equipment. Safe and efficient use can only be achieved if the equipment is assembled, maintained and used properly. It is your responsibility to ensure that all users of the equipment are informed of all warnings and precautions.
- Page 6 PART PART DESCRIPTION Q'TY DESCRIPTION Q'TY End Cap Screw Foam Grip Wire holder Handlebar Main Frame Computer Nut (M10) Plastic Bushing Carriage Bolt (M8*50) Lock Nut (M8) Nut (M6) Washer(φ8) Axle for Pedal Pedal Bolt (M6*10) Lock nut (M6) Upper Wire Screw (ST4.2*19) Flat Washer (φ8) Screw (M5*12)
- Page 8 STEP 2 STEP 1 Attach the Rear stabilizer (pt.19) to the Rower Attach the seat bracket (pt.15) to the underside frame (pt.12) using two sets of Carriage bolt of the seat (pt.14) using four sets of Washers (M8*70) (pt.61), Curve washer (φ8) (pt.8) and (φ6) (pt.16) and Screw (M6*15) (pt.17).
- Page 9 STEP 5 Attach Rower frame (pt.12) to the Main frame (pt.46), connect Upper wire (pt.52) with lower wire (pt.26).Fix them tightly by Pivot (pt.28) and Bolt (M6*10) (pt.51), then insert Pull Pin (pt.27), at last tight tighten adjustment knob (pt.31).
- Page 10 STEP 6 Insert the Axle for Pedal (pt.50) to the Main Frame (pt.46), cover the Plastic Bushing (pt.5), pedal (pt.8) and Washer (φ8) (pt.7) in order. Then fix tightly by lock Nut (M8) (pt.6). STEP 7 Connect upper wire (pt.52) with Computer wire (pt.4) then attach computer to the Main Frame.
- Page 11 STEP 8 Insert the Push up bar (pt.80) to the Rower frame (pt.12) then fix with Screw (M8*16) (pt.80). NOTIE: The Foam Grip (pt.78) can be tricky to fit as they are designed to grip tightly. Please use a mild soapy water solution to help you slide the foam onto the Push up bar (pt.80). STEP 9 Buckle the handlebar (pt.3) or Pull bar (pt.82) with weave belt hook.
- Page 12 STEP 10 Adjust the Seat to the position using Adjustment knob (76).
-
Page 13: F O L D I N G F O R S T O R A Ge
Unscrew the adjustment knob (pt.31) from the mainframe (pt.46) and remove the pull pin (pt.27), then pull the rower frame (pt.12) in towards the main housing unit and replace the pull pin to keep the rower in a folded position. (NB please ensures that the sensor cables do not get trapped when tilting the mainframe bar in towards the main housing). -
Page 14: Exercise Guide
Rowing is an extremely effective form of exercise. It strengthens the heart and improves circulation as well as exercising all the major muscle groups; the back, waist, arms, shoulders, hips and legs. The Basic Rowing Stroke 1) Sit on the saddle and fasten your feet to the pedals using the Velcro straps. Then take hold of the rowing bar. -
Page 15: Exercise Instructions
Using your MAGNETIC GYM N ROWER will provide you with several benefits. It will improve your physical fitness, tone your muscles and, in conjunction with a calorie-controlled diet, help you lose weight. 1. The Warm-Up Phase This stage helps get the blood flowing around the body and the muscles working properly. It will also reduce the risk of cramp and muscle injury. - Page 16 if possible to space your workouts evenly throughout the week. To tone muscle while on your MAGNETIC GYM N ROWER you will need to have the resistance set quite high. This will put more strain on our leg muscles and may mean you cannot train for as long as you would like. If you are also trying to improve your fitness you need to alter your training program.
-
Page 17: Function Button
FUNCTION BUTTON MODE 1. To select each function for presetting. 2. To enter and switch to next function after pressetting. UP/DOWN To make adjustment of each function datas of TIME,COUNT,CALORIES and Pulse. TOTAL RESET To clear all preset datas and restart the computer. FUNCTIONS SCAN Automatically scans through each function in every 6 seconds.
Need help?
Do you have a question about the BR-3175 and is the answer not in the manual?
Questions and answers