
Related Manuals for Broan BCSQ1 Series


Summary of Contents for Broan BCSQ1 Series
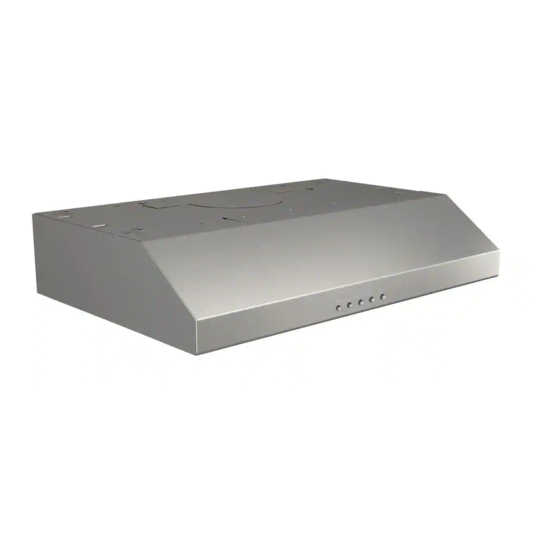
- Page 1 WWW.BROAN.COM RANGE HOOD Series: BCSQ1 and CCSP1 INSTALLATION, USE AND CARE MANUAL Serial number: 99045652-109A...
-
Page 2: Table Of Contents
Safety ....... . . 3-4 Operation ....... 5 Cleaning and Maintenance . -
Page 3: Safety
READ AND SAVE THESE INSTRUCTIONS Intended for domestic cooking only INSTALLER: LEAVE THIS MANUAL WITH HOMEOWNER. Register your range hood online at www.broan.com WARNING TO REDUCE THE RISK OF FIRE, ELECTRIC SHOCK, OR INJURY TO PERSONS, OBSERVE THE FOLLOWING: • Use this unit only in the manner intended by the manufacturer. If you have questions, contact the manufacturer at the address or telephone number listed in the warranty. - Page 4 WARNING TO REDUCE THE RISK OF A RANGE TOP GREASE FIRE: a) Never leave surface units unattended at high settings. Boilovers cause smoking and greasy spillovers that may ignite. Heat oils slowly on low or medium settings. b) Always turn hood ON when cooking at high heat or when flambeing food (i.e.: Crêpes Suzette, Cherries Jubilee, Peppercorn Beef Flambé).
-
Page 5: Operation
Let the blower run for a few minutes to clear the air after you turn off the range. This will help keep the whole kitchen cleaner and fresher. Operate the hood as follows: BCSQ1 SERIES ON/OFF BLOWER PUSH BUTTON When blower is OFF, push this button to turn ON the blower at the last selected speed. Push this button again to turn OFF the blower. -
Page 6: Cleaning And Maintenance
Cleaning and Maintenance Proper maintenance of the Range Hood will assure proper performance of the unit. MOTOR The motor is permanently lubricated and never needs oiling. If the motor bearings make excessive or unusual noise, replace the motor with the exact service motor. The fan blade should also be replaced. -
Page 7: Installation
For ADA compliance installation guidelines, please visit www.broan-nutone.com Recommended Tools and Accessories for Installation • Measuring tape • Phillips screwdriver no. 2 • Flat blade screwdriver (to open knockout holes) • Drill, 1/8” drill bit and 1½” hole saw (to mark holes for ducting and cut electrical access hole) •... -
Page 8: Contents
Before proceeding to the installation, check the contents of the box. If items are missing or damaged, contact the manufacturer. Make sure that the following items are included: BCSQ1 Series and CCSP1 Series (2) LED B (4 W, GU10) ULBS... -
Page 9: Prepare The Hood
Prepare the Hood 1 ] If present, remove all protective polyfilm from the hood and/or parts. 2 ] Using the tab, remove the grease filters from the hood by pushing down and tilting filters out. 3 ] Remove both screws holding damper assembly to hood. Remove parts bag (captured behind the damper assembly). - Page 10 5 ] Remove 7” Round Duct Plate from top/back of hood (see illustration below). 7” ROUND DUCT PLATE 2 SCREWS 1 ] Remove Electrical Power Cable Knockout from top (vertical wiring) or back (horizontal wring) of hood. Install an appropriate strain relief, 1/2” diameter (not included). ELECTRICAL POWER CABLE KNOCKOUT...
- Page 11 DUCTED INSTALLATION ONLY 8 ] Remove 3¼” x 10” vertical, 3¼” x 10” horizontal, or 7-inch round knockout plate as appropriate for your ducting method (see F 1 A and 1 B). IGURES IGURE IGURE 7” ROUND KNOCKOUT PLATE ( ALSO REMOVE VERTICAL KNOCKOUT PLATE 3¼”...
-
Page 12: Prepare The Hood Location
Prepare the Hood Location 1 ] Use the proper diagram below for placement of ductwork and electrical cutout in cabinet or wall. For a non-ducted installation, DO NOT cut a duct access hole, only cut the hole for electrical wiring. 3¼"... -
Page 13: Install The Hood
Install the Hood 1 ] Run house power cable between service panel and hood location. Run the house power cable into the hood through the strain relief previously installed in step 6 on page 10. 2 ] Hang hood from (4) mounting screws previously installed. Slide hood back towards wall until mounting screw heads are engaged in narrow end of keyhole slots in top of hood. -
Page 14: Connect The Wiring
Connect the Wiring WARNING Risk of electric shock. Electrical wiring must be done by qualified personnel in accordance with all applicable codes and standards. Before connecting wires, switch power off at service panel and lock service disconnecting means to prevent power from being switched on accidentally. -
Page 15: Wiring Diagrams
BCSQ1 SERIES COLOR CODE BLACK GREEN/YELLOW ref: 990729752_REV-A BLUE ORANGE BROWN BN/W BROWN/WHITE WHITE Motor Speeds Motor Lights On/Off On/Off FAN MOTOR R (Low) O (Medium) BK (High) Line Neutral BN/W Ground CCSP1 SERIES COLOR CODE BLACK GREEN/YELLOW ref: 990729751_REV-A... -
Page 16: Service Parts
EPAIRS In order to ensure your unit remains in good working condition, you must use Broan-NuTone LLC genuine replacement parts only. Broan- NuTone LLC genuine replacement parts are specially designed for each unit and are manufactured to comply with all the applicable certification standards and maintain a high standard of safety. - Page 17 EPAIRS In order to ensure your unit remains in good working condition, you must use Broan-NuTone LLC genuine replacement parts only. Broan-NuTone LLC genuine replacement parts are specially designed for each unit and are manufactured to comply with all the applicable certification standards and maintain a high standard of safety.
-
Page 18: Warranty
Limited Warranty Warranty Period and Exclusions: Broan-NuTone LLC (the “Company”) warrants to the original consumer purchaser of its product (“you”) that the product (the “Product”) will be free from material defects in the Product or its workmanship for a period of one (1) year from the date of original purchase (or such longer period as may be required by applicable law).
Need help?
Do you have a question about the BCSQ1 Series and is the answer not in the manual?
Questions and answers