Table of Contents
Advertisement
CAUTION!
This manual contains important information for the correct installation, operation and maintenance of the equipment
described herein. All persons involved in such installation, operation, and maintenance should be thoroughly
familiar with the contents. To safeguard against the possibility of personal injury or property damage, follow the
recommendations and instructions of this manual and keep it for further reference.
WARNING!
1
The equipment shown in this manual is intended for industrial use only and should not be used to lift, support, or
otherwise transport people.
Advertisement
Table of Contents

Related Manuals for Duff-Norton TracMaster 6415 Series


Summary of Contents for Duff-Norton TracMaster 6415 Series
- Page 1 CAUTION! This manual contains important information for the correct installation, operation and maintenance of the equipment described herein. All persons involved in such installation, operation, and maintenance should be thoroughly familiar with the contents. To safeguard against the possibility of personal injury or property damage, follow the recommendations and instructions of this manual and keep it for further reference.
-
Page 2: Table Of Contents
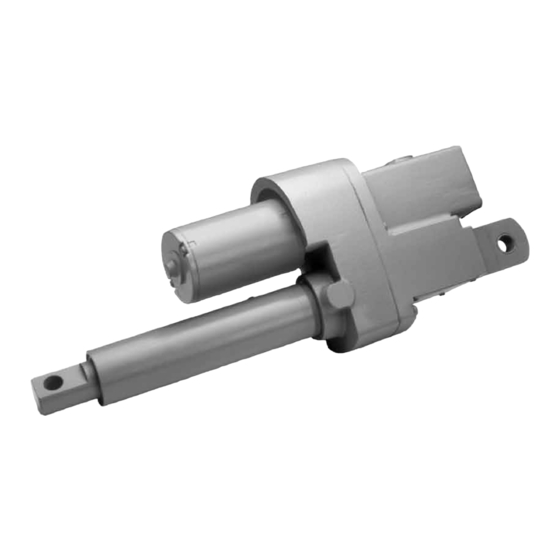
Contents Section I Introduction 1-1. General ............................3 1-2. Industrial Use Only ........................3 1-3. Factory Preparation ........................3 1-4. Warranty and Warranty Repair ....................3 1-5. Specifications ..........................3 Table 1-1. 6415 Series DC Actuator Specifications ..................3 Table 1-2. 6415 Series DC Super Pac Actuator Duty Cycle ...............3 1-6. Dimensions and Specifications ....................4 Figure 1-1. -
Page 3: Introduction
2500 inches in material and workmanship. Claims must be made of travel within one year after date of shipment. Duff-Norton will not repair or replace any parts that become inoperative because of improper maintenance, eccentric loading, overloading, chemical or abrasive action, excessive heat, or other abuse. -
Page 4: Dimensions And Specifications
Therefore consult Duff-Norton Engineering 2. Do not operate actuator before setting limit switches. if jamming is expected. 3. Position hooded vent to prevent moisture and 5. -
Page 5: Installation
Use Figure 6-2 as a guide to properly attach the SPA the housing clevis hole centerline and the 6415 DC actuator to your power source. Duff-Norton’s translating tube clevis hole centerline equals PDC series control box or 2 SPDT Relays must be used the desired extended height. -
Page 6: Digital Position Indicator
To aid in rebuilding, a repair kit with step by step instructions is available through Duff-Norton Company under repair kit part number SK-6415-41. The repair can be performed by the customer or by any authorized repair station. -
Page 7: Maintenance
Section IV Maintenance 4-1. Lubrication potentiometer (26a). Duff-Norton recommends the use of the following 4. Remove screws (1) from capacitor box cover (2) and lubricants in conjunction with proper maintenance remove cover (2) and gasket (3). Remove insulation procedures of this unit, Mobile XHP-461 or XHP-462. -
Page 8: Assembly
lifting nut thread (64). NOTE 29. Drive the four pins (65) just far enough into the If switches (16), insulation (19) or limit switch bracket lifting nut (64) to clear the translating tube wall; then (21) do not have to be replaced, proceed to Step 16. remove the translating tube from the nut. - Page 9 damage to bearing). and worm (24) assembly into cover (9). Tilt shaft and insert into I.D. of bushing (34). Then straighten and 3. Press bushing (34) into housing (42). assemble shaft into flange bearing (25). 4. Install input pinion (29) and bearing assembly (30) in NOTE housing (42) (press load should be applied to outer Worm (24) should be facing up toward flange bearing...
- Page 10 hole in output gear (39). If pin does not drop into g. With a screwdriver turn motor shaft by inserting hole, tighten or loosen spacer nut until hole is aligned in motor shaft slot in end of motor. If couplings and one pin drops into hole.
- Page 11 Figure 4-1. Potentiometer Nut & Washer 38. Asembly of Fuse Holder in Cover (9) a. Connect jumper wire (69) to one terminal of fuse holder body (70a). b. Install fuse holder body (70a) into cover. c. Apply Permatex 2 Non-Hardening Sealant to threads of cap screws (71) and install in cover (9) to fasten fuse holder body (70a) in place.
-
Page 12: Parts List And Technical Illustration Table 5-1. Parts List For 6415 Ac Actuator
Section V Parts List and Technical Illustration Table 5-1. Parts List for 6415 AC Actuator Index Qty. Part Index Qty. Part Part Name Part Name Req. Number Req. Number Screw H-2979 Spacer Nut SK-6415-17 Cover SK-6415-38 Set Screw H-2594 Gasket SK-6415-37 Output Gear SK-6415-92... - Page 13 WARNING Use only replacement parts supplied by or approved by Duff-Norton. Non-authorized parts may be inadequate, resulting in serious injury or death in event of failure. Figure 5-1. Exploded Parts Illustration 6415 Series AC Actuator...
-
Page 14: Technical Illustrations
Pinion Coupling Alignment and Pinion Coupling Alignment 6-2. Limit Switch Wiring Diagram NOTE Duff-Norton’s PDC Series Control Box or Two SPDT relays must be used to avoid burning up the limit switches. Figure 6-2. Limit Switch Wiring Diagram, 6415 Series AC Actuator 6-3. - Page 15 Notes...
- Page 16 Fax: (704) 588-1994 Email: duffnorton@cmworks.com www.duffnorton.com 2017 © Yale Industrial Products, Inc., Duff-Norton Division ECO 9-8865 All rights reserved by Yale Industrial Products, Inc., Duff-Norton Division. SK-6415-300 May not be copied in whole or in part. PDF 01/17 Printed in the USA...
Need help?
Do you have a question about the TracMaster 6415 Series and is the answer not in the manual?
Questions and answers