Table of Contents
Advertisement
Quick Links
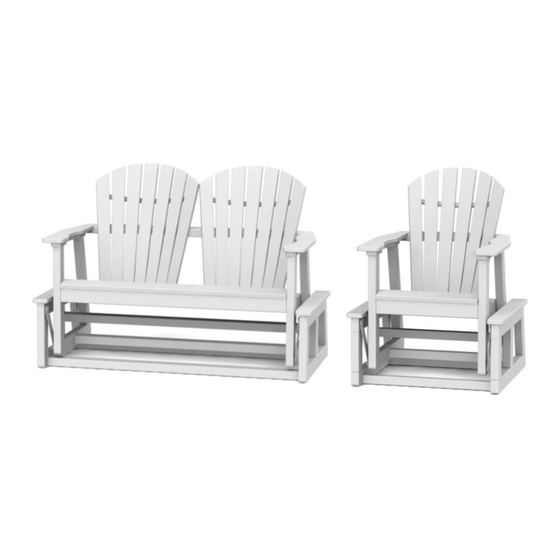
Adirondack Shellback
Glider
(016 Double)
(116 Single)
1
PLEASE READ INSTRUCTIONS COMPLETELY BEFORE BEGINNING.
Carefully remove contents from box. Make sure that all parts and hardware are
included using the Parts List below. 2 People will be required for this assembly.
Tools Required:
Seat Side Assemblies
Base Side Assemblies
Stretchers and Aprons
50mm Connector Bolt
Actual Size
WARRANTY QUESTIONS OR COMMENTS PLEASE CALL TOLL FREE AT 1-800-809-3114
Seaside Casual Furniture | 11 Industrial Drive Coventry, RI 02816 | 800-809-3114 | sales@seasidecasual.com
ASSEMBLY INSTRUCTIONS
4mm Allen Wrench (included); #2 Phillips Head Screwdriver;
#3 Phillips Head Screwdriver, 1/2" Wrench or Socket.
Back Assembly
x 1
5/16" Flat Washer
Actual Size
x 16
5/8"
x 1
x 8
1 1/2" Phillips Pan Head Screw
x 2
x 3
x 1
Part Code: 18/8-5/16-1.5PPMS
x 10
Part Code: 316-1/4-20-50B
x 1
5/16" Lock Nut
Actual Size
x 8
Bungs
3/8"
x 6
Actual Size
x 8
7 1/2" Bearing Strap
Part Code: 304-7.5GBS
Seat Assembly
4mm Allen Wrench
Actual Size
Part Code: ZINC-4A
1-3/4" Phillips Head Screw
Actual Size
Part Code: 316-8X1-3/4PFDS
1" Phillips Pan Head Screw
Actual Size
x 4
Part Code: 316-1/4-20-1PPMS
x 1
x 1
x 25
x 2
Page 1
REV A
Advertisement
Table of Contents

Summary of Contents for Seaside Casual 016
- Page 1 Actual Size x 10 Part Code: 316-1/4-20-50B Part Code: 304-7.5GBS Part Code: 316-1/4-20-1PPMS WARRANTY QUESTIONS OR COMMENTS PLEASE CALL TOLL FREE AT 1-800-809-3114 Page 1 Seaside Casual Furniture | 11 Industrial Drive Coventry, RI 02816 | 800-809-3114 | sales@seasidecasual.com REV A...
- Page 2 TO SIDE ASSEMBLIES Align Aluminum on Apron with the Align Short Stretcher with notch in Side notch in the middle seat support (016 Assembly. Secure using (4) 1-3/4” Phil- only). Attach Apron to front of seat us- lips Head Screws thru pre-drilled holes ing (3) 1-3/4”...
- Page 3 ATTACH LONG STRETCHERS ATTACH BEARING STRAPS TO ATTACH REAR STRETCHER TO BASE SIDES TO REAR LEGS BASE Secure Bearing Straps to Base Assembly using Align (2) Long Stretchers with the notches in the lower leg of the Base Side. Secure using (4) 1- (2) 1-1/2”...


Need help?
Do you have a question about the 016 and is the answer not in the manual?
Questions and answers