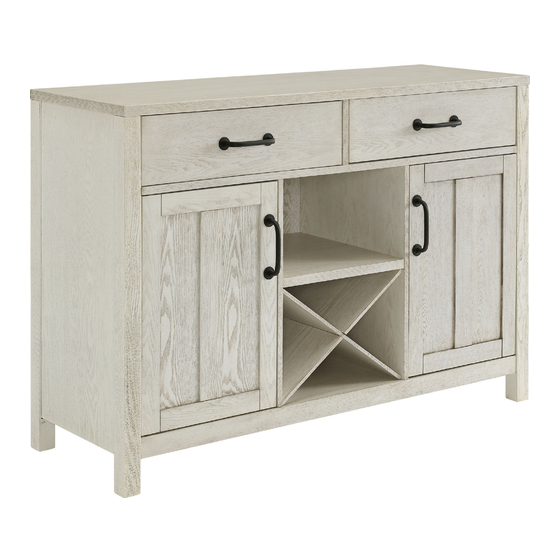
Summary of Contents for Crosley CF4202
- Page 3 8pcs 8pcs...
- Page 4 Insert Cam Bolts (B) into pre-drilled holes of parts 1,3,4,6,7 using a Phillips head screw driver as shown. Do not over tighten. Attach Handle Washers (H) and Handles (G) to Doors (15 &16) using Short Hex Socket Head Bolts (E) and Allen Key (F) . Attach Magnets (K) to Front Rail (11) using Round Head Screws (L) as shown.
- Page 5 Attach Handle Washers (H) and Handles (G) to Drawer Front Panel (17) using Short Hex Socket Head Bolts (E) and Allen Key (F) . Attach Drawer Back Panel (20) to Drawer Side Panels (18 &19) using Short Flat Head Screws (I). NOTE:be sure that drawer slide joint are facing outward .
- Page 6 Attach Front Rail (11) and Back Rail (12) to assembled parts( 6,7& 8 ) using Wood Dowels (C) Long Hex Socket Head Bolts (D) and Allen Key (F) as shown. Attach Upper Partition Panel (5) to Rails (11&12) using Wood Dowels (C) and Long Flat Head Screws (J) as shown.
- Page 7 Turn assembled parts ( 6,7,8,11&12) with the side face down.Attach Bottom Panel (2) using Wood Dowels (C) . Attach Center Support Legs (24) by turning clockwise into the pre-drilled holes as shown. Note: The adjustable leveler on the bottom of the Center Support Legs (24) should not be extended until after installation .Adjust the leveler on the bottom of the Center Support Legs (24) until it fits tightly against the floor .Use of the support leg is important to support the center of the cabinet .
- Page 8 Carefully turn cabinet over.Attach Top Panel (1) using Wood Dowels (C), Cam Locks (A), Long Flat Head Bolts (D) and Allen Key (F) as shown. Attach Doors (15 &16) to cabinet by placing bottom Pin Hinge into pre-drilled holes in Base (2) &...
- Page 9 Attach Back Panels (22&23) to cabinet using Round Head Screws (L) as shown. Insert drawers into cabinet as shown. Left drawer has a brand in it .
- Page 10 Insert assembled wine holder shelf into cabinet as shown. Insert the Shelf Holders (M) into desired position. Insert Adjustable shelf (9&10) into cabinet.
- Page 11 D 8*3/4" D 8*1-1/2" SHORT SCREW LONG SCREW SAFETY WALL STRAP SAFETY STRAP KIT WALL ANCHOR WASHER D x 1PC E x 1PC C x 1PC A x 1PC B x 2PCS SAFETY WALL STRAP ASSEMBLY INSTRUCTION 1)Insert Short Screw Part (C) through Washer Part (B) and Safety Wall Strap Part (E) and screw it into Top Panel (1).


Need help?
Do you have a question about the CF4202 and is the answer not in the manual?
Questions and answers