
Related Manuals for Crosley CF6026


Summary of Contents for Crosley CF6026
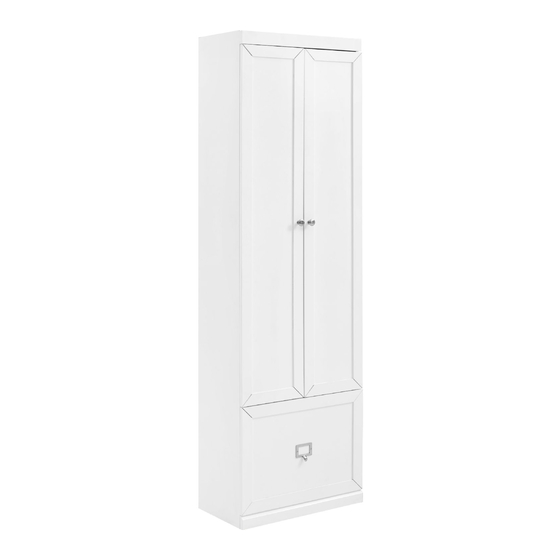
- Page 2 Adjustable Shelf...
- Page 3 Hook...
- Page 4 Please do not use tools to assemble this unit unless specifically indicated. Step 1. Attach handle (part #10) to drawer front panel (part J) using short screws (part #1) and phillips head screwdriver. Attach drawer left panel (part K) and drawer right panel (part L) to drawer back panel (part M) using wood dowels (part #7), long screws (part #4) and phillips head screwdriver.
- Page 5 Step 2. Attach hooks (part #9) to hook slat (part I) using screws (part #3) and phillips head screwdriver. Step 3. Attach hinges (part #12) and knobs (part #11) to doors (part H) using screws (part #3), round head bolts (part #5) and phillips head screwdriver.
- Page 6 Step 4. Attach top panel (part A), fixed shelves (part E), hook slat (part I) and bottom panel (part D) to left panel (part B) and right panel (part C) using wood dowels (part #7) and lock the hardware. Step 5. Attach top rail (part O) and bottom rail (part P) to top panel (part A) and bottom panel (part D) using bolts (part #6) and allen wrench (part #13).
- Page 7 Step 6. Carefully turn unit upright. Attach back panel (part F) to assembled unit (parts A, B, C, D, E & I) using round head screws (part #2) and phillips head screwdriver. Step 7. Attach hinges to left panel (part B) and right panel (part C) using screws (part #3) and phillips head screwdriver.
- Page 8 Step 8. Place shelf holders (part #8) into desired position and then slide adjustable shelves (part G) into place. Step 9. Slide assembled drawer into place. NOTE: It is important to adjust levelers once fully assembled and upright. Extend adjustable leveler until it's firmly in contact with the floor. If relocating, adjust leveler as needed until it's firmly in contact with the floor in new location.
- Page 9 D8*3/4" D8*1-1/2" Wall Anchor Washer Short Screw Long Screw Safety Wall Strap...
Need help?
Do you have a question about the CF6026 and is the answer not in the manual?
Questions and answers