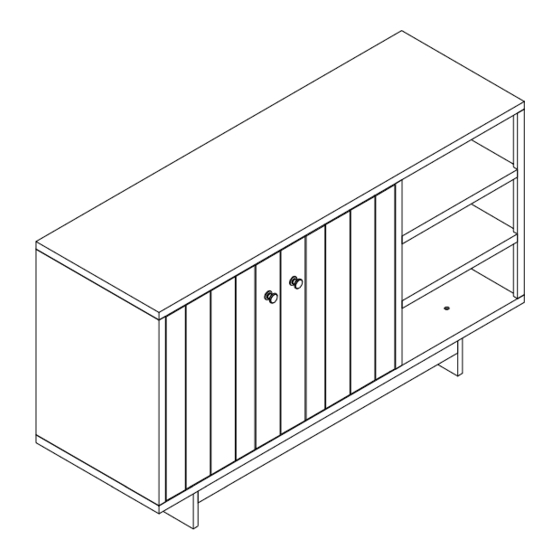
Summary of Contents for Crosley CF4203
- Page 4 Insert Cam Bolts (B) into pre-drilled holes of parts 1,4,6 using a Phillips head screw driver as shown. Do not over tighten. Attach Knobs (H) to Doors (9 &10) using Round Head Bolts (I) . Attach Magnets (J) to pre-drilled holes of Left Partition Panel (5) using Round Head Screws (K) as shown.
- Page 5 Attach Fixed Shelves (8) to Right Side Panel (4) using Wood Dowels (C) and Cam Locks (A) as shown. Attach Right Partition Panel (6) using Wood Dowels (C) and Cam Locks (A) as shown.
- Page 6 Attached Bottom Side Rails (12) to Bottom Horizotal Rails (11) using Long Hex Socket Head Bolts (E), Barrel Nut (F) as shown. Attach Bottom Panel (2) to Rails (11&12) using Wood Dowels (C),Short Hex Socket Head Bolts (D) and Allen Key (G) as shown.
- Page 7 Attach assembled parts (4,6,&8) to Top Panel (1) using Wood Dowels (C) and Cam Locks (A) as shown. Attach Left Side Panel (3) and Left Partition Panel (5) to Top Panel (1) using Wood Dowels (C) and Cam Locks (A) as shown.
- Page 8 Attach assembled parts (2,11&12) to cabinet using Wood Dowels (C) ,Short Hex Socket Head Bolts (D) ,Flat Head Screw (M) and Allen Key (G) as shown. Carefully turn the cabinet with top face up.Attach Doors (9 &10) to cabinet by placing bottom Pin Hinge into pre-drilled holes in Base (2) &...
- Page 9 Attach Side Back Panel (13) and Middle Back Panel (14) to cabinet using Round Head Screws(K) as shown. K x 22 Insert the Shelf Holders (L) into desired position. Insert Adjustable shelf (7) into cabinet.
- Page 10 D 8*3/4" D 8*1-1/2" SHORT SCREW LONG SCREW SAFETY WALL STRAP SAFETY STRAP KIT WALL ANCHOR WASHER D x 1PC E x 1PC C x 1PC A x 1PC B x 2PCS SAFETY WALL STRAP ASSEMBLY INSTRUCTION 1)Insert Short Screw Part (C) through Washer Part (B) and Safety Wall Strap Part (E) and screw it into Top Panel (1).


Need help?
Do you have a question about the CF4203 and is the answer not in the manual?
Questions and answers