Advertisement
For software and instructional manual:
1
Visit www.lorextechnology.com
Search your product's model number
2
Select your product from the search results
3
Click the Downloads tab
4
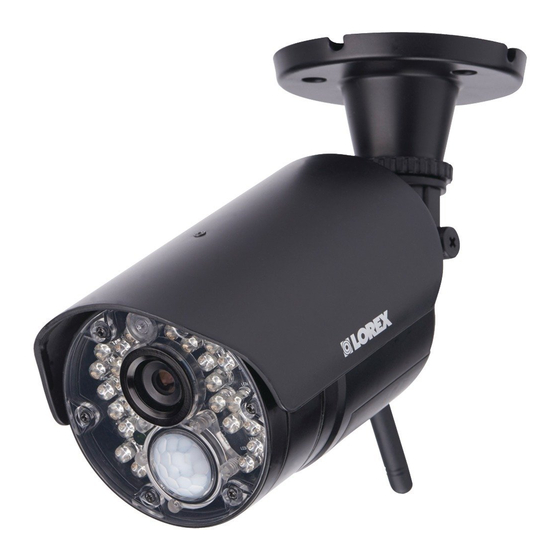
ADD-ON CAMERA
LW2770HAC1
QUICK START GUIDE
Pairing the Camera with the Receiver
Connect the new camera to a power outlet. Place the camera
1
within 1ft of the wireless receiver.
1ft
Tap
, then go to General Settings > Camera Setup >
2
Pairing.
3
Select the channel you wish to pair
the camera to.
NOTE: If you pair a new camera to a channel that is already being
used by an existing camera, the new camera will be connected to
that channel. The old camera will automatically be disconnected.
Following the on-screen prompt,
4
you have 30 seconds to press
the Pair button on the camera.
Once paired, the camera will be immediately displayed on-screen.
NOTE: If you do not press the Pair button on the camera during
the 30 second pairing window, repeat steps 2~4 to try the pairing
process again.
NOTE: If the speaker begins squealing, move the camera and
receiver away from each other.
What's Included
x1
x3
x1
Camera Setup
Before installing camera(s), carefully plan where and
how it will be positioned, and where you will route the
cable that connects the camera to the power adapter.
Installation Tips
• Cameras are rated for indoor/outdoor installation, but are not
intended for direct exposure to rain or snow. For outdoor applications,
install under shelter protected from the elements.
• Wireless cameras require a power source to operate.
• Ensure power outlets are sheltered from the elements.
Use the included mounting screws to attach the
1
camera(s) to the mounting surface:
a. Mark the positions of the screw holes on the mounting surface.
b. Drill holes and insert the drywall anchors (included) as needed.
c. Firmly attach camera(s) to the surface using the included screws.
NOTE: If you run the power cable through the mounting surface,
connect power before attaching the camera to the wall.
Loosen the thumbscrews (1, 2) and the adjustment
2
2 ring (3) by turning them counter clockwise.
Adjust the angle
1
of the camera(s) as
needed, then tighten
2
the thumbscrews and
3
the adjustment ring.
Connect one end of the camera's power adapter to
3
the camera and the other end to an electrical outlet.
Make sure the power connector is fully inserted
to avoid water getting in the plug.
Remove the protective film from the front of the
4
camera(s). If the film is not removed, it will block
the microphone and will affect picture quality.
LW2770HAC1_QSG_R1
Page 1
Advertisement
Table of Contents

Related Manuals for FLIR LOREX LW2770HAC1


Summary of Contents for FLIR LOREX LW2770HAC1
- Page 1 ADD-ON CAMERA LW2770HAC1 QUICK START GUIDE What’s Included Pairing the Camera with the Receiver Connect the new camera to a power outlet. Place the camera within 1ft of the wireless receiver. Camera Setup Before installing camera(s), carefully plan where and how it will be positioned, and where you will route the cable that connects the camera to the power adapter.
- Page 2 CAMÉRA SUPPLÉMENTAIRE CÁMARA ADICIONAL LW2770HAC1 LW2770HAC1 GUÍA DE INICIO RÁPIDO GUIDE DE DÉMARRAGE RAPIDE Coupler la caméra au récepteur Ce qui est inclus Cómo emparejar la cámara con el receptor Lo que se incluye Connectez la nouvelle caméra à une prise de courant. Placez la Conecte la nueva cámara a una toma de corriente.
Need help?
Do you have a question about the LOREX LW2770HAC1 and is the answer not in the manual?
Questions and answers