Advertisement
Quick Links
Advertisement

Summary of Contents for Kogan KAMN27Q18CSA
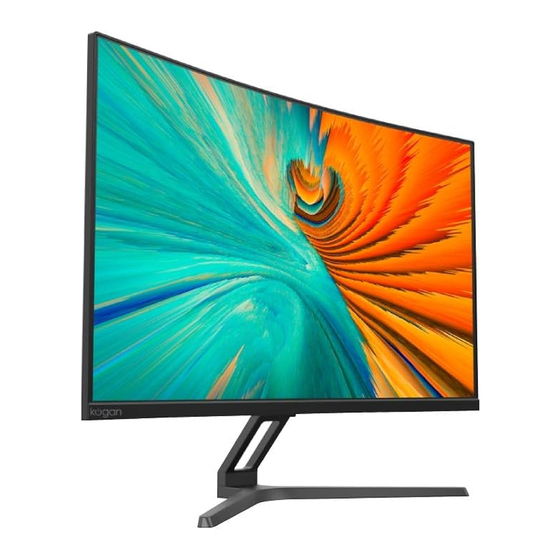
- Page 1 27" Curved QHD 180Hz 1ms Gaming Monitor (2560 x 1440) KAMN27Q18CSA...
- Page 2 The terms HDMI, HDMI High-Definition Multimedia Interface, HDMI Trade dress and the HDMI Logos are trademarks or registered trademarks of HDMI Licensing Administrator, Inc.
- Page 3 COMPONENTS Monitor Stand connector Stand base screw Stand base VESA screws (M4 x 10mm, x2) (M4 x 10mm, x4) DisplayPort cable Power Adapter User guide...
- Page 4 OVERVIEW Monitor Controls a. press and hold the "OK key" for 6 seconds to turn on and o . b. When the display is turned on, click "OK" to wake up the main menu for one second. Power button c. Select "direction key" to select the items to be adjusted up and down in the main menu.
- Page 5 Monitor Ports Power port (DC 12V) HDMI2 connector HDMI1 connector DP2 connector DP1 connector AUDIO OUT...
-
Page 6: Stand Assembly
STAND ASSEMBLY VESA WARNING: The panel of the monitor is fragile.Keep the foam underneath the monitor screen while assembling the stand. M4 x 10mm, x2 Attach the stand base to the stand Carefully remove the monitor, stand connector using the M4 screw connector and stand base from the provided. - Page 7 VESA MOUNT MOUNT VESA mounting pattern 75 x 75mm, screw size M4. Note: VESA mount or mounting accessories are included. Open the box, take out the monitor with protection form attached and gently place it on a desktop or table. Remove the extra parts and the foam covering the back of the monitor.
- Page 8 CONNECTIVITY Power cable Connect the included Power Adapter to the monitor power port, then connect the other end to a power outlet. Power Adapter Earphones (Audio Out) Earphones, headphones or other audio devices can be connected to the 3.5mm output on the monitor.
- Page 9 HDMI In order for the monitor to receive HDMI signals from the computer, use the HDMI cable to connect the monitor to the computer. HDMI Cable (Not Included) HDMI OUTPUT DisplayPort In order for the monitor to receive DisplayPort signals from the computer, use the DisplayPort cable to connect the monitor to the computer.
-
Page 10: Operation
OPERATION Connect the monitor to the input device via HDMI/ DisplayPort . Connect the power cable to the monitor, then connect the other end directly to a power socket. Use the power button to turn the monitor on. FreeSync... - Page 11 The On-Screen Display (OSD) Menu may be used to adjust your monitor’s settings and appears on the screen a er turning on the monitor and pressing the “OK key” button. When using the monitor for the first time, it will configure optimal settings automatically. Press "...
- Page 12 Refer to the following pages for a detailed list of the OSD menu functions. Menu Sub-Menu Options Description Brightness ~0-100 Adjust display brightness Contrast ~0-100 Adjust display contrast Turns dynamic contrast ratio On/ O on/o STANDARD/PHOTO/ Preset colour modes GAME/MOVIE/FPS/RTS/ sRGB Normal Warm...
- Page 13 Wide Screen Aspect Ratio Select the display's aspect ratio Auto Low blue Light Blue light reduction adjustment Medium High MaxHigh Enable or disable overdrive Response Time On/ O for faster response time FreeSync On/ O Enable or disable AMD FreeSync On/ O /Auto Enable or disable HDR when the refresh rate reaches...
-
Page 14: Specifications
SPECIFICATIONS Screen size Aspect ratio 16:9 Brightness Panel Resolution 2560x1440 Refresh rate 180Hz Response time 1 ms Viewing angle 5000:1 Contrast ratio VESA mounting 75 x 75mm Colours 16.7M Signal input HDMI 2.0 x 2, DP 1.4 x 2 Power 12 V --- 4.0A Audio Speakers...


Need help?
Do you have a question about the KAMN27Q18CSA and is the answer not in the manual?
Questions and answers