
Subscribe to Our Youtube Channel
Related Manuals for araknis 310 Series


Summary of Contents for araknis 310 Series
- Page 1 310 SERIES LAYER 2 MANAGED NETWORK SWITCHES Quick Start Guide AN-310-SW-F/R-8 AN-310-SW-F/R-16 AN-310-SW-F/R-24 AN-310-SW-F-48 AN-310-SW-F/R-8-POE AN-310-SW-F/R-16-POE AN-310-SW-F/R-24-POE...
-
Page 3: Fcc Warning
Araknis Networks 310 Series Layer 2 Managed Network Switches Quick Start Guide FCC Warning Changes or modifications not expressly approved by the party responsible for compliance could void the user’s authority to operate the equipment. This device complies with Part 15 of the FCC Rules. Operation is subject to... - Page 4 Araknis Networks 310 Series Layer 2 Managed Network Switches Quick Start Guide CE Warning This is a Class A product. In a domestic environment, this product may cause radio interference, in which case the user may be required to take adequate measures.
-
Page 5: Welcome To Araknis Networks
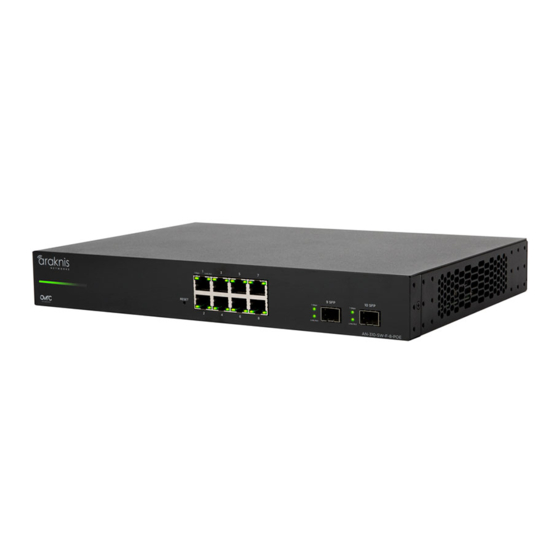
Welcome to Araknis Networks™ Thank you for choosing an Araknis 310-series Network Switch. With Gigabit connectivity on all ports, updated modern aesthetics, and a managed Layer 2 interface, the Araknis 310-series switch is a sleek and highly capable addition to any network. - Page 6 Araknis Networks 310 Series Layer 2 Managed Network Switches Quick Start Guide Step 1: Unbox Switch (1) Rubber Feet for Flat Rack-Mount Kit: Quick Start Guide Surfaces (4) Ears (2), Screws (8) AC Power Cord...
- Page 7 Araknis Networks 310 Series Layer 2 Managed Network Switches Quick Start Guide Step 2: Install Rack Mount Wall Mount Shelf Mount The switch must be wall mounted with the Ethernet ports facing either the floor or the ceiling. NOTES: Do not stack other equipment on top of the switch to avoid possible interference or damage.
- Page 8 Link/Act 10 SFP Switch Wall Outlet Computer NOTE: Connect SFP ports using Araknis SFP adapters for RJ45 or multi-mode fiber cables. SFP adapters sold separately. NOTE: AN-310-SW-R-8-POE shown. Connection is the same for models with both front- and rear-facing ports.
-
Page 9: Step 4: Poe Budget
Araknis Networks 310 Series Layer 2 Managed Network Switches Quick Start Guide Step 4: PoE Budget The power budget for delivering Power over Ethernet limits the total number of watts available between all of the ports (limited to 30W total consumption on each port). Add the total number of watts consumed by all connected PoE devices to ensure that every thing can be powered, as illustrated in the example below. - Page 10 Araknis Networks 310 Series Layer 2 Managed Network Switches Quick Start Guide Step 5: Verify 9F 10F 1 Gbps Link/Act AN-310-SW-R-8-POE AN-310-SW-R-8-POE AN-310-SW-F-8-POE AN-310-SW-F-8-POE Power LED – On: system is up. Off: system is down. 1Gbps LED – On: port connected at 1000Mbps speed.
- Page 11 Araknis Networks 310 Series Layer 2 Managed Network Switches Quick Start Guide Step 6: Connect Device to OvrC Account OvrC provides remote firmware upgrades, real-time notifications, and intuitive customer management, right from your computer or mobile device. Setup is plug-and-play, with no port forwarding or DDNS address required. To add this device to your OvrC account: Connect the switch to the network (Internet access required).
- Page 12 Araknis Networks 310 Series Layer 2 Managed Network Switches Quick Start Guide Step 7: Log into Web Interface In the OvrC interface, find the Open a web browser and enter Log in to the interface using the IP address of the switch in the...
- Page 13 Araknis Networks 310 Series Layer 2 Managed Network Switches Quick Start Guide Other Access Methods: DHCP IP Address The switch is configured to be DHCP by default so that it can receive a new IP address when connected to the network (the DHCP server is usually in the network router).
- Page 14 Araknis Networks 310 Series Layer 2 Managed Network Switches Quick Start Guide Other Access Methods: Default IP Address If the switch is not issued an IP address on the network, or needs to be accessed while not connected to a network, you can configure your computer's network connection to allow access using the default IP address, “192.168.20.254”.
- Page 15 Araknis Networks 310 Series Layer 2 Managed Network Switches Quick Start Guide Other Access Methods: Default IP Address Cont'd Windows 7 screenshots shown for reference. In the left bar, left-click “Change Right-click the icon for the Left-click to highlight “Internet adapter settings”.
- Page 16 Araknis Networks 310 Series Layer 2 Managed Network Switches Quick Start Guide Other Access Methods: Default IP Address Cont'd Windows 7 screenshots shown for reference. In the “General” tab, left-click Left-click “OK” to close Internet Open a web browser and "Use the following IP address:"...
- Page 17 Araknis Networks 310 Series Layer 2 Managed Network Switches Quick Start Guide Pro Tip: Resetting the Switch Rear Facing Models 48 Port Models 1 Gbps Link/Act 1 Gbps RESET 1 Gbps/PoE Link/Act 9 SFP 10 SFP Front Facing Models Reboot –...
-
Page 20: Year Limited Warranty
2-Year Limited Warranty Araknis Networks® products have a 2-Year Limited Warranty. This warranty includes parts and labor repairs on all components found to be defective in material or workmanship under normal conditions of use. This warranty shall not apply to products that have been abused, modified, or disassembled.
Need help?
Do you have a question about the 310 Series and is the answer not in the manual?
Questions and answers