Table of Contents
Advertisement
Quick Links
Advertisement
Table of Contents
Troubleshooting

Related Manuals for Caple CM140


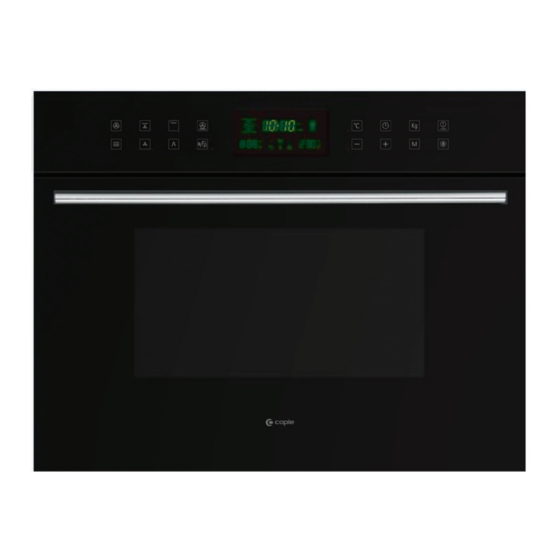
Summary of Contents for Caple CM140
- Page 1 CM140 Caple Built in Microwave Technical information Technical information...
- Page 4 CM140 - Caple Built in Microwave Item Part Code Description 11300410000018 RING 12171100000295 Handle 12270000004942 ASS'Y CAVITY 12570000000067 SPLASH COVER A16/A13 12270000008244 THERMOSTAT BRKT. 12270000005573 ASS'Y BRKT HINGE 12270000009910 BASE PLATE 17270000000313 ASS'Y CONTROL 12270000007448 ASS'Y DOOR 17470000000806 MAGNETRON 17470000003445 H.V.TRANSFORMER...
- Page 5 CM140 - Caple Built in Microwave Item Part Code Description 12470000000021 HEAT INSULATOR *Back 12970000000613 PIN COVER R20+R23 12270000003380 INSULATOR HEAT *L R21+R24 12270000003359 INSULATOR HEAT *R 12470000000015 #N/A 12270000008463 Chamber Over T01/Z33 11002014000043 TURNTABLE MOTOR T01/Z33 11002014000043 TURNTABLE MOTOR...
- Page 6 CM140 Caple Built in Microwave Service Manual Service Manual...
-
Page 7: Table Of Contents
REPAIR INSTRUCTION 1 SAFETY·································································2 FAULT DIAGNOSTICS······································· 16 Danger ·················································································2 Troubleshooting plan - fuse is tripping································ 16 Caution!················································································2 Troubleshooting plan - appliance does not function at all ··· 17 Leak test (leak detection measurement) ·······························3 Troubleshooting plan - appliance does not start ················· 18 Troubleshooting plan - no microwave power ······················... -
Page 8: Safety
Caution! SAFETY Danger Always comply with the following instructions to prevent damage to the appliance or to components: Repairs may be carried out by an electrician only! • Comply with ESD instructions! Improper repairs may endanger and injure the user! •... -
Page 9: Leak Test (Leak Detection Measurement)
Leak test (leak detection measurement) Leak test (leak detection measurement) 1.3.2 Abnormal operation (no-load operation) Setting: maximum power setting of the appliance The leak rate is the microwave energy which escapes despite the The leak rate is the microwave energy which escapes despite the Load: none (no-load operation) intact sealing systems. -
Page 10: Components
Set to insulation resistance. COMPONENTS High-voltage diode Blocking direction = infinite. The high-voltage diode can be tested like a standard diode. Use an EHG tester for this. • Full continuity in conducting direction. • Infinite in blocking direction. Set to insulation resistance. Conducting direction = full continuity. -
Page 11: High-Voltage Capacitor
High-voltage capacitor The high-voltage capacitor can be tested by ‘ohmic’ measurement’ (resistance measurement range 20 ΜΩ). A correctly functioning capacitor indicates transient continuity. The resistance then increases proportionally with the load. A defective capacitor (e.g. short-circuit) indicates permanent continuity. The measuring instrument must indicate infinitely between the connection and housing. -
Page 12: High-Voltage Transformer
High-voltage transformer This transformer supplies the heater voltage for the magnetron and the operating voltage for doubling the voltage. • Input voltage 230 V • Heater voltage approx. 3.3 V • Operating voltage approx. 2300 V The operating voltage cannot be measured!! Heater voltage approx. -
Page 13: Magnetron
Magnetron The magnetron can be tested by ‘ohmic’ measurement´ only. The volume resistance of the terminals F and FA should be less than 1 Ω. The insulation resistance between the two terminals and the housing should be infinite. Measure the resistance with an EHG tester. Note: An internal flashover (short-circuit between cathode and anode) cannot usually be established by taking a measurement. -
Page 14: Safety Switches
4.5.1 Switching sequence Safety switches Each door switch independently switches off the power supply for the microwave oven when the door is opened. Microwave ovens usually feature at least three safety switches. The switching sequence is specified by the arrangement and is as These switches are supported by the switch brackets. -
Page 15: Repair
REPAIR Removing the door Disconnect the power supply cord. 2. Remove the eight screws from the housing, and free the housing from the cavity. Remove the three screws from the left and right hinges. Disconnect the top hinge from front plate. Now, the door is free. -
Page 16: Removing The Turntable Motor
Removing the turntable motor 1. Take the metal plate out of the appliance. 2. VERY CAREFULLY prise out the turntable shaft with a flat screwdriver. 3. Place the appliance on its back. 4. Remove the cover from the turntable motor. This cover has been punched into the base plate. -
Page 17: Removing The Cooling Fan
Removing the cooling fan 1. Remove the housing. 2. Unscrew and remove the cooling fan assembly. 3. Unscrew the fan retaining plate and remove in the direction of the structure. Page 12 of 22 pages... -
Page 18: Removing The Upper Heating Elements
Removing the upper heating elements 1. Remove the housing. 2. Discharge the HV capacitor. 3. Unscrew the H.V. transformer. 4. Disconnect the heating elements. 5. Remove the nuts on the upper of cavity. 6. Lift out the upper heating elements from the cavity. Page 13 of 22 pages... -
Page 19: Removing The Hot Air Motor
Removing the hot air motor 1. Remove the housing. 2. Discharge the HV capacitor. 3. Remove the rear cover. 4. Disconnect the Hot air assembly. 5. Remove oven sensor. 6. Unscrew the Hot air assembly and lift out carefully. 7. Disconnect the Hot air motor. 8. -
Page 20: Removing The Magnetron
Removing the magnetron 1. Remove the housing. 2. Discharge the HV capacitor. 4. Disconnect the magnetron. 5. Unscrew the Control Panel Assembly. 6. Unscrew the magnetron. NOTE: When re-installing the magnetron, ensure that the fastening screws are tightened to prevent microwave energy from escaping. Also ensure that there is no gap between the hollow conductor and magnetron. -
Page 21: Fault Diagnostics
FAULT DIAGNOSTICS Troubleshooting plan - fuse is tripping The appliance does not function at all; there are no symbols/numerals on the display and no inputs are accepted. Page 16 of 22 pages... -
Page 22: Troubleshooting Plan - Appliance Does Not Function At All
Troubleshooting plan - appliance does not function at all Page 17 of 22 pages... -
Page 23: Troubleshooting Plan - Appliance Does Not Start
Troubleshooting plan - appliance does not start Page 18 of 22 pages... -
Page 24: Troubleshooting Plan - No Microwave Power
Troubleshooting plan - no microwave power Page 19 of 22 pages... -
Page 25: Troubleshooting Plan - Input Module
Troubleshooting plan - input module The following statuses indicate a potentially defective input module. 1. Display segments incomplete. • Segment is missing. • Partial segment is missing. • Character is flickering (note: slight flickering is normal). 2. Comma/decimal point is not displayed or is flashing. 3. - Page 26 Page 21 of 22 pages...
-
Page 27: Determining The Microwave Output Power
Determining the microwave output power The output power P is determined by heating a specific volume of water (cold tap water). Required aids: • 2 microwave-proof utensils, each with a capacity of 1 l. • 1 thermometer with immersion sensor. Proceed as follows: 1.
Need help?
Do you have a question about the CM140 and is the answer not in the manual?
Questions and answers