
Related Manuals for AIRLESSCO ProLight Contractor Series


Summary of Contents for AIRLESSCO ProLight Contractor Series
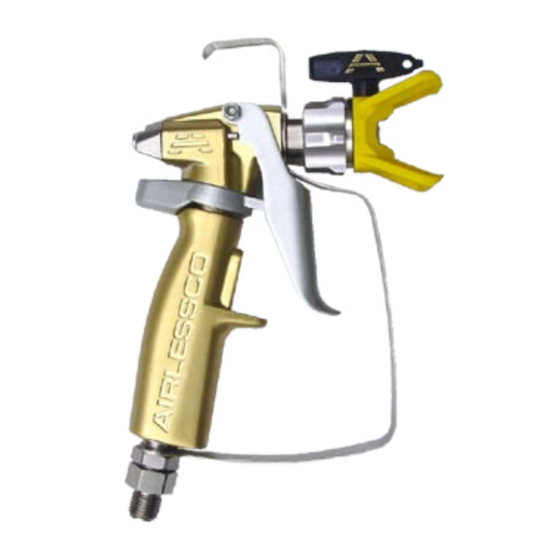
- Page 1 ProLight ™ Contractor Series Convertible Spray Gun Convertible Spray Gun Convertible Spray Gun Form No. 001-627 Aug04...
-
Page 2: Pressure Relief Procedure
Step 4. If you suspect that pressure hasn't been relieved due to damaged Prime/Pressure Relief Valve or other reason, engage the gun safety latch and take your unit to an authorized Airlessco Service Center. Manufactured by: AIRLESSCO BY DUROTECH CO. - Page 3 PROLIGHT GUN OPERATION SPRAY GUN Attach spray gun to airless unit and tighten fittings securely. Set the gun safety latch. (Also may be called gun safety lock, or trigger lock) * The gun safety latch should always be set when the gun is not being triggered.
-
Page 4: Spray Technique
SPRAY TECHNIQUE Good spray gun technique is at the core of any If you are not familiar with spraying techniques, spray paint operation. Operator skill and efficiency we recommend that you study this section of your is as important as good equipment and good paint. manual and practice the proper technique on pieces Good spray technique is a skill that can be quickly of cardboard or a suitable surface. - Page 5 SPRAY TECHNIQUE It is important to “trigger” the gun after the gun movement (arm movement) has started and release trigger (shut gun off) before gun movement ends. Gun movement is always longer than actual paint (spray) stroke. In that manner, even blending and uniform paint coat thickness is achieved over the entire surface.
-
Page 6: Airless Spray Gun Troubleshooting
AIRLESS SPRAY GUN TROUBLESHOOTING DEFECTS CAUSE CORRECTION Coarse spray Low pressure Increase the pressure. Excessive fogging High pressure Reduce pressure for satisfactory pattern. (overspray) Material too thin Use less thinner. Pattern too wide Spray angle too large Use smaller spray angle tip. Pattern too narrow Spray angle too small Use larger spray angle tip. - Page 7 GUN DISMANTLING AND REASSEMBLY IMPORTANT NOTE: Whenever working on Airless Equipment, be sure to follow the Pressure Relief Procedure found in your manual. If the gun is attached to a sprayer, engage the gun trigger lock (which may be called the gun safety latch). The gun trigger lock should always be set when the gun is not being triggered.
- Page 8 GUN DIAGRAM AND PARTS LIST Part # Description 119-050 Screw 119-053 120-049 Retaining Ring 120-055 Wave Washer 120-056 Plastic Washer 120-082 Handle Seal 120-088 Handle Spring 120-090CX Course Filter 120-090FX Fine Filter 120-106 Handle Assembly 120-109 Gun Head 120-506 4 Finger Gun Trigger 120-542 120-529 Gun Seat Adapter...
- Page 9 Never leave pressure in the system while not in use. Airlessco spray guns are designed for use with Airlessco spray tips only. If any other attachments are used, the spray gun is considered to be modified and safe operation is now limited to the safety of the attachment.
- Page 10 NEVER OPERATE GUN WITHOUT TIP GUARD ATTACHED INJECTION HAZARD NEVER use Airlessco tip guard on other attachments. Airlessco’s tip guard is designed for use with standard spray Fluid under high pressure from spray or leaks can tips only. When using other than standard spray tips, consult penetrate the skin &...
- Page 11 100-037 1/2” Hose, 50 Ft. 032-053 24” Long 100-010 1/4" Hose Connector 032-054 36” Long 100-009 3/8" Hose Connector For a complete listing of Airlessco Airless Accessories, see catalog # For a complete listing of Airlessco Airless Accessories, see catalog # 001-357 001-357.
Need help?
Do you have a question about the ProLight Contractor Series and is the answer not in the manual?
Questions and answers