Kramer PT-102VN Quick Start Manual
Hide thumbs
Also See for PT-102VN:
- User manual (14 pages) ,
- User manual (12 pages) ,
- User manual (14 pages)
Advertisement
Scan for full manual
Step 1: Check what's in the box
PT-102VN 1:2 Video DA
1 Power supply (12V DC)
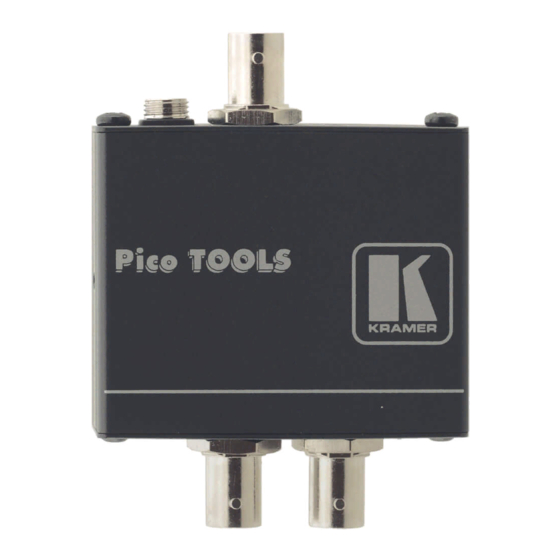
Step 2: Get to know your PT-102VN
#
Feature
1
OUT 1 BNC Connector
2
OUT 2 BNC Connector
3
ON LED
4
EQ. Trimmer
5
LEVEL Trimmer
6
INPUT BNC Connector
7
12V DC
Step 3: Mount PT-102VN
Install
PT-102VN
using one of the following methods:
•
Attach the rubber feet and place the unit on a flat surface.
•
Mount the unit in a rack using the recommended rack adapter
(see www.kramerav.com/product/PT-102VN).
• Ensure that the environment (e.g., maximum ambient temperature & air flow) is compatible for the device.
• Avoid uneven mechanical loading.
• Appropriate consideration of equipment nameplate ratings should be used for avoiding overloading of the circuits.
• Reliable earthing of rack-mounted equipment should be maintained.
PT-102VN Quick Start
PT-102VN Quick Start Guide
This guide helps you install and use your
Go to
www.kramerav.com/downloads/PT-102VN
upgrades are available.
Function
Connects to composite video acceptor 1
Connects to the composite video acceptor 2
Illuminates when receiving power
Adjusts the cable compensation equalization level
(using a small screwdriver)
Adjusts the video signal level for outputs 1 and 2
(using a small screwdriver)
Connects to the composite video source
+12V DC connector for powering the unit
PT-102VN
for the first time.
to download the latest user manual and check if firmware
4 Rubber feet
1 Quick start guide
P/N: 2 9 0 0 - 3 0 1 2 7 6 QS
Rev: 4
Advertisement
Table of Contents

Related Manuals for Kramer PT-102VN


Summary of Contents for Kramer PT-102VN
- Page 1 Step 1: Check what’s in the box PT-102VN 1:2 Video DA 4 Rubber feet 1 Power supply (12V DC) 1 Quick start guide Step 2: Get to know your PT-102VN Feature Function OUT 1 BNC Connector Connects to composite video acceptor 1...
- Page 2 Step 4: Connect inputs and outputs Always switch OFF the power on each device before connecting it to your PT-102VN. To achieve specified extension distances, use the recommended Kramer cables available at www.kramerav.com/product/PT-102VN. Using third-party cables may cause damage! Step 5: Connect power...
Need help?
Do you have a question about the PT-102VN and is the answer not in the manual?
Questions and answers