Table of Contents
Advertisement
Quick Links
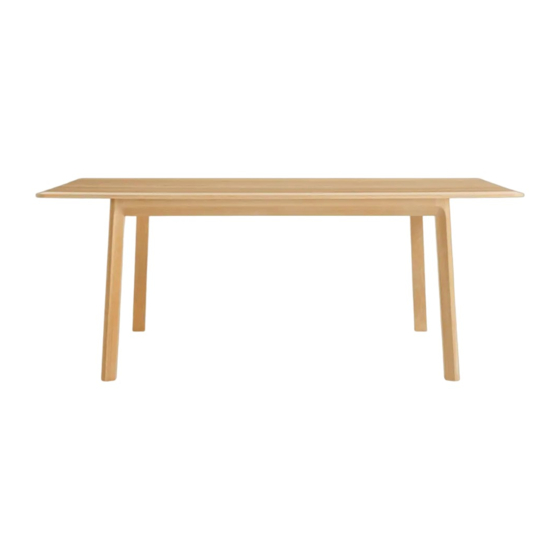
Keeps Table Collection
D E S I G N E D I N 2 0 1 9
A S S E M B LY N O T E S | R E V 0 1
N E E D A H A N D ?
Contact us at service@bludot.com or
844.425.8368 for assistance.
@ B L U D O T
We design all our pieces in our Minneapolis studio. Follow
along on Instagram for some sneak peeks into the process.
Advertisement
Table of Contents

Related Manuals for BluDot Keeps


Summary of Contents for BluDot Keeps
- Page 1 A S S E M B LY N O T E S | R E V 0 1 N E E D A H A N D ? @ B L U D O T Contact us at service@bludot.com or We design all our pieces in our Minneapolis studio. Follow 844.425.8368 for assistance.
- Page 2 Parts & Hardware 9 | 6* 12 | 8* 6 | 4* Pt. 1057 Pt. 1104 Pt. 5014 Pt. 5018 21 | 18* 6 | 4* Pt. 3002 Pt. 5019 Pt. 9016 Pt. 9023 3 | 2* Support Rail Metal Bracket Leg Frame Top Panel Hardware and part quantities listed for 100”...
- Page 3 Step 01 AT TA C H I N G S U P P O R T R A I L S . Place the top panel face down on a soft surface. Align x2 support rails with threaded inserts on the top panel. Partially tighten Pt.
- Page 4 Step 02 P R E PA R I N G T H E S U P P O R T R A I L S . Align the arrow on Pt. 5019 parallel to the top panel and facing towards the outer edge of the support rail.
- Page 5 Step 03 AT TA C H I N G T H E L E G F R A M E S . Place the leg frames on a soft surface. Using a screwdriver install Pt. 5018 as shown. Install Pt. 5014 and align the pre-drilled holes on the leg frames with Pt.
- Page 6 Step 04 S E C U R I N G T H E L E G F R A M E S . Using Pt. 9023 turn the hardware clockwise until secured. After securing the leg frames, center the base assembly on the top panel by sliding as shown.
- Page 7 Step 05 I N S TA L L I N G T H E M E TA L B R A C K E T S . Begin installing the metal brackets to the leg frames as shown. Complete installation by securing the metal brackets to the top panel.
- Page 8 Step 06 F I N I S H T I G H T E N I N G T H E S U P P O R T R A I L S . Finish tightening Pt. 1104 before first use. Store Pt.
Need help?
Do you have a question about the Keeps and is the answer not in the manual?
Questions and answers