Advertisement
Quick Links
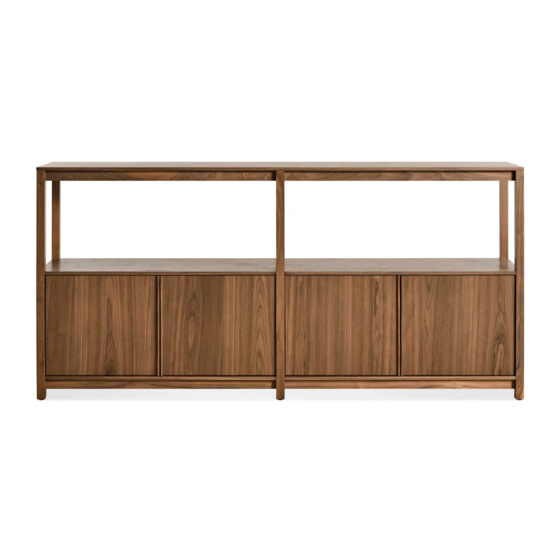
Open Plan Large Low Bookcase
D E S I G N E D I N 2 0 1 9
A S S E M B LY N O T E S | R E V 0 1
N E E D A H A N D ?
Contact us at service@bludot.com or
844.425.8368 for assistance.
@ B L U D O T
We design all our pieces in our Minneapolis studio. Follow
along on Instagram for some sneak peeks into the process.
Advertisement

Related Manuals for BluDot Open Plan Large Low Bookcase


Summary of Contents for BluDot Open Plan Large Low Bookcase
- Page 1 Open Plan Large Low Bookcase D E S I G N E D I N 2 0 1 9 A S S E M B LY N O T E S | R E V 0 1 N E E D A H A N D ? @ B L U D O T Contact us at service@bludot.com or...
-
Page 2: Parts & Hardware
Parts & Hardware Parts & Hardware 8041 8042 An�-�p Strap An�-�p Bracket Pt. 1217 Pt. 1218 Pt. 8041 Pt. 8042 Pt. 8054 Pt. 4022 Pt. 1693 Pt. 1690 Pt. 9016 Pt. 8053 Back Panel Front Corner Upright 1 | 8 4 4 . 4 2 5 . 8 3 6 8 O P E N P L A N L A R G E L O W B O O K C A S E... - Page 3 Parts & Hardware Parts & Hardware pin holes on both sides Front Center Upright Rear Center Upright pin holes pin holes Rear Left Corner Upright Rear Right Corner Upright Top Panel Shelf Panel A S S E M B LY N O T E S S E R V I C E @ B L U D O T.
- Page 4 Step 01 AT TA C H S H E L F PA N E L S T O F R O N T U P R I G H T S . Attach the shelf panels to the front uprights using the provided hardware as shown.
- Page 5 Step 02 AT TA C H R E A R C E N T E R U P R I G H T. Attach the rear center upright to the shelf panels using the provided hardware as shown. PT. 1 69 3 x 2 P T.
- Page 6 Step 03 AT TA C H B A C K PA N E L S T O R E A R C E N T E R U P R I G H T. Place metal pins in the center rear upright and align with back panel pieces as shown.
- Page 7 Step 04 AT TA C H R E M A I N I N G U P R I G H T S . Attach the remaining rear corner uprights using the provided hardware as shown. Ensure that the back panel pins align with the uprights.
- Page 8 Step 05 I N S TA L L A D J U S TA B L E G L I D E S . Install adjustable glides to the bottom of the uprights as shown. Ensure that the uprights are level prior to using the product. PT.
- Page 9 Step 06 AT TA C H T O P PA N E L . Attach the top panel using the provided hardware as shown. PT. 1 69 0 x 4 P T. 169 3 x 2 P T. 9 01 6 x 1 A S S E M B LY N O T E S S E R V I C E @ B L U D O T.
- Page 10 Step 07 AT TA C H A N T I -T I P B R A C K E T S T O B O O K C A S E . Brackets must be installed to the back rail of the top panel.
- Page 11 Step 08 AT TA C H A N T I -T I P B R A C K E T S T O W A L L . Wall anchors and fasteners are included for installation into drywall. Please consult your local hardware professional to determine the hardware best suited for your wall type.
-
Page 12: Additional Information
Step 09 S E C U R E B O O K C A S E . Install and tighten wall straps prior to using the product. 8042 An�-�p Strap P T. 80 4 2 x 2 Additional Information C LEAN Clean with a slightly damp, soft cloth.
Need help?
Do you have a question about the Open Plan Large Low Bookcase and is the answer not in the manual?
Questions and answers