Digi ConnectPort X4 H Quick Start Manual
Hide thumbs
Also See for ConnectPort X4 H:
- Quick start manual (2 pages) ,
- User manual (265 pages) ,
- User manual (237 pages)
Advertisement
Distributor of Digi International: Excellent Integrated System Limited
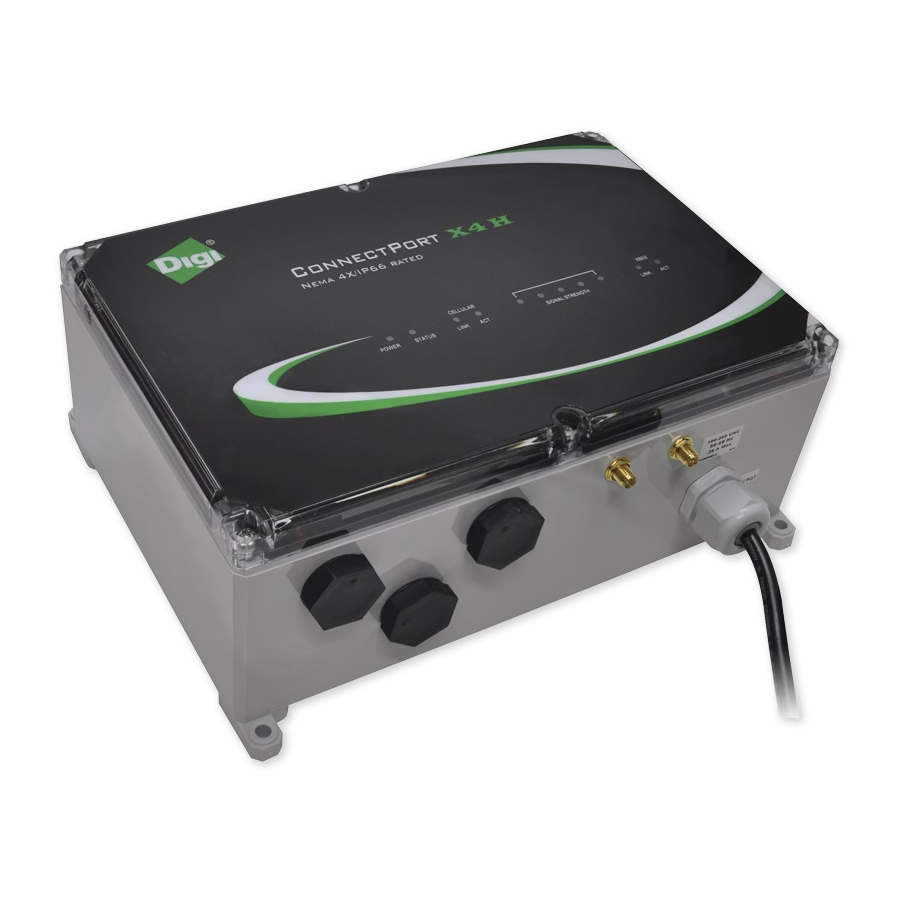
Datasheet of X4H-Z1U-B101-US - ROUTING GATEWAY X4 H ZB-ETH/CELL
Contact us: sales@integrated-circuit.com Website: www.integrated-circuit.com
Excellent Integrated System Limited
Excellent Integrated System Limited
Stocking Distributor
Stocking Distributor
Click to view price, real time Inventory, Delivery & Lifecycle Information:
Click to view price, real time Inventory, Delivery & Lifecycle Information:
Digi International
Digi International
X4H-Z1U-B101-US
X4H-Z1U-B101-US
For any questions, you can email us directly:
For any questions, you can email us directly:
sales@integrated-circuit.com
sales@integrated-circuit.com
Advertisement
Table of Contents

Related Manuals for Digi ConnectPort X4 H


Summary of Contents for Digi ConnectPort X4 H
- Page 1 Distributor of Digi International: Excellent Integrated System Limited Datasheet of X4H-Z1U-B101-US - ROUTING GATEWAY X4 H ZB-ETH/CELL Contact us: sales@integrated-circuit.com Website: www.integrated-circuit.com Excellent Integrated System Limited Excellent Integrated System Limited Stocking Distributor Stocking Distributor Click to view price, real time Inventory, Delivery & Lifecycle Information: Click to view price, real time Inventory, Delivery &...
- Page 2 In both cases, the end of Primary Secondary the SIM card with the chamfered corner should be inserted rst. Connect one end of the Ethernet cable to the ConnectPort X4 H and the other end to a PC. Connect Hardware Connect the XBee antenna.
- Page 3 Distributor of Digi International: Excellent Integrated System Limited Datasheet of X4H-Z1U-B101-US - ROUTING GATEWAY X4 H ZB-ETH/CELL Contact us: sales@integrated-circuit.com Website: www.integrated-circuit.com Finalize Unit Remove power from the unit by disconnecting it from the power source. Remove the Ethernet cable and replace the screws that were removed in Step 2.
Need help?
Do you have a question about the ConnectPort X4 H and is the answer not in the manual?
Questions and answers