Advertisement
98-BST-2DW-INST
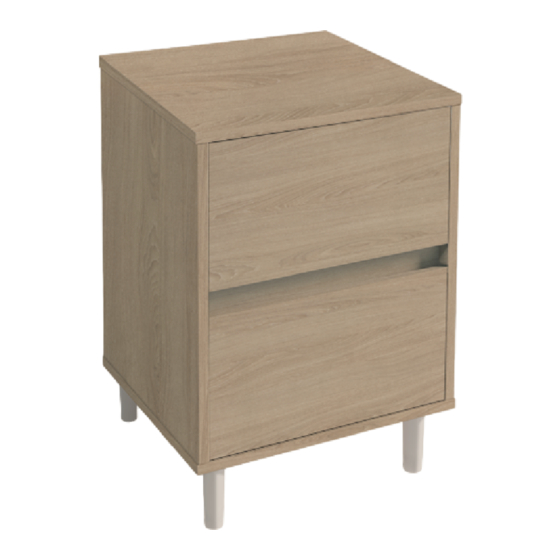
BEDSIDE UNIT
(450MM WIDE)
Assembly Instructions
CONTENTS:
1x Top panel
1x Back panel
1x Side panel (right)
1x Side panel (left)
Euro screws
1x Drawer infill panel
1x Base
4x Soft close drawer runners
(2x left, 2x right)
1x Metal infill strip
2x Drawer backs
Wood screws
2x Drawer sides (left)
2x Drawer sides (right)
2x Drawer fronts
2x Drawer bases
4x Legs
RECOMMENDED:
• Tools:
Pozidrive screwdriver
We recommend assembling on a soft surface
(e.g a carpet). If this isn't possible, use a
protective cover on your hard surface floor.
Page 1 of 4
BEDSIDE UNIT
12x
14x
20x Wooden
Cams
dowels
2x
16x
4x
Glue*
Leg brackets
DRAWER PACK
10
4x
16x Wooden
4x
Dowels
dowels
Cams
*A drop of glue needs to be added into all holes the
wooden dowels are placed into (items 3 & 9).
14x
Dowels
V1
UNB_BU_INSTR_01.19
Advertisement
Table of Contents

Related Manuals for spaceslide BEDSIDE UNIT


Summary of Contents for spaceslide BEDSIDE UNIT
- Page 1 98-BST-2DW-INST BEDSIDE UNIT (450MM WIDE) Assembly Instructions CONTENTS: BEDSIDE UNIT 1x Top panel 1x Back panel 1x Side panel (right) 20x Wooden 1x Side panel (left) Euro screws Cams dowels Dowels 1x Drawer infill panel 1x Base 4x Soft close drawer runners...
- Page 2 Slot infill (E) onto the sticky side of the tape on the drawer infill strip (H). 1 - Insert the dowels and cams into the drawer infill (E). 2 - On the metal strip (H) remove the plastic backing from the Apply to both panels (A&F).
- Page 3 Top panel Back panel Shown from underneath: Base Cams Back Back panel panel Cams Cams Fix through these holes highlighted Top panel Top panel If the top panel (A) won’t locate, loosen the cams in the If the base panel (F) won’t locate, loosen the cams in the back panel Insert the screws into the holes shown on both sides (D &...
- Page 4 Drawer side Drawer front Drawer base Drawer base Drawer back Drawer back Drawer side 1 – Lay drawer side (J) on a flat surface, insert the base (M) into the 2 – Place the other drawer side (K) over the base and fasten the 3 –...
Need help?
Do you have a question about the BEDSIDE UNIT and is the answer not in the manual?
Questions and answers