Table of Contents
Advertisement
Quick Links
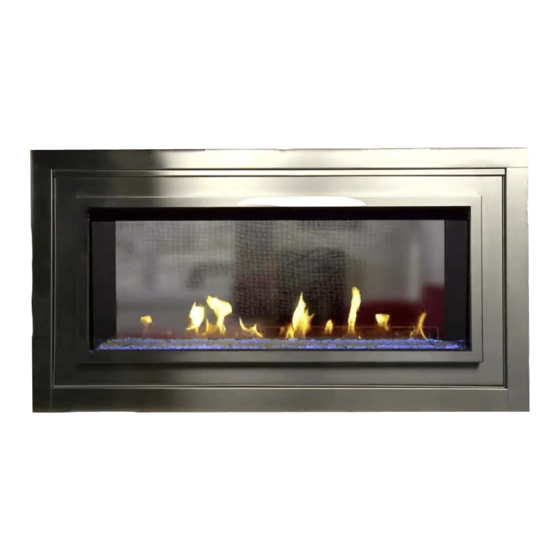
AVFLST48SSODK Stainless Steel Outdoor Kit
This kit has been tested for use with specific Hearth & Home Technologies products. Check with your local building code
agency before you begin installation to ensure compliance with local codes, including the need for permits and follow-up
inspections. If you encounter any problems regarding code approvals, or if you need clarification of any of the instructions
contained here, contact your Hearth & Home Technologies dealer. For the dealer nearest you, please visit www.hearthn-
home.com.
The AVFLST48SSODK kit is designed for use on the mod-
els shown in the chart above. Read these instructions thor-
oughly before beginning installation.
CAUTION: Allow appliance to cool completely if it has been
in operation.
The AVFLST48SSODK stainless steel outdoor kit is designed
to allow installation of the AVFLST48N(P)IP see-through
appliances on an exterior wall. The control side of the
appliance is on the interior of the building and the opposite
side is viewable from outside the building.
This kit ships with an interior glass assembly, exterior
stainless front assembly and an insulation box that needs
to be assembled to the appliance before the appliance is
installed and framed with building materials.
After installation, exterior noncombustible finishing material
such as stone or brick may be placed over the outer surround
of the facing kit only. Do not cover any portion of the stainless
screen cover or the stainless drip edge that is installed above
the screen cover.
KIT CONTENTS:
•
Outer Stainless Face
•
Inner glass frame assembly
•
4 pieces of insulation
•
Top Insulation Box
•
Installation Brackets
•
Fastener Pack
•
Installation Instructions
Hearth & Home Technologies • AVFL48SSODK Outdoor Kit Installation Manual • 4102-955 Rev. A • 03/21
Black Magic Glass
Liner Kit Model No.
AVFLST48SSODK
Figure 1
Used on Model(s)
AVFLST48NIP
AVFLST48PIP
TOOL REQUIRED:
•
Short handle Phillips head screwdriver
•
Long handle Phillips head screwdriver
•
Caulk gun & caulk material (300°F minimum continuous
exposure rating suitable for outdoor use)
INSTALLATION INSTRUCTIONS:
NOTE: The stainless steel outdoor kit can only be installed
on the side of the fireplace designed to face the outside of
the building. The interior side of the fireplace has the control
system accessible through the lower access panel.
1. Remove all loose contents from the AVFLST42N(P)IP
see-through fireplace including hardware and packag-
ing materials.
2. Carefully lean unit so the outdoor side is facing up. Use
a helper or lean against a suitable prop.
3. Remove the top non-comb board, top stand-offs,
screen, nailing flanges and hood from the outdoor side
of the AVFLST48N(P)IP appliance. See Figure 1.
4. Remove the four shoulder screws from the columns
and discard. See Figure 1.
5. Remove the screws from the left and right side of the
appliance. See Figure 1.
Top Non-Comb Board
Shoulder
Screws
Hood
Screen
Installation
Instructions
Top Stand-o s
Nailing
Flanges
Screws
Air De ection Glass
Advertisement
Table of Contents

Related Manuals for Hearth & Home AVFLST48SSODK


Summary of Contents for Hearth & Home AVFLST48SSODK
- Page 1 Used on Model(s) Liner Kit Model No. AVFLST48SSODK AVFLST48NIP AVFLST48PIP The AVFLST48SSODK kit is designed for use on the mod- TOOL REQUIRED: els shown in the chart above. Read these instructions thor- • Short handle Phillips head screwdriver oughly before beginning installation.
- Page 2 6. Install the outdoor kit installation brackets on the left and 9. Attach the inner glass assembly frame to the appliance right side of the appliance. See Figure 2. face with the self drilling screws provided. See Figure 5. Figure 5 Figure 2 10.
- Page 3 11. Remove the screws that attach the top face to the top pan 13. Place four (4) pieces of insulation in the top insulation so the outer stainless face can be installed. See Figure 8. box and install the box on the top of the appliance. See Figure 10 and 11.
- Page 4 15. Seal the seams around the facing material with caulk with a minimum of 300ºF continuous exposure rating to weather-seal the facing kit. See Figure 13 and 14. Sheathing can be installed at zero clearance on sides and top of outdoor stainless face. Adjustable Installation Bracket Figure 13...
Need help?
Do you have a question about the AVFLST48SSODK and is the answer not in the manual?
Questions and answers