
Related Manuals for Hogtunes rev 225-RM


Summary of Contents for Hogtunes rev 225-RM
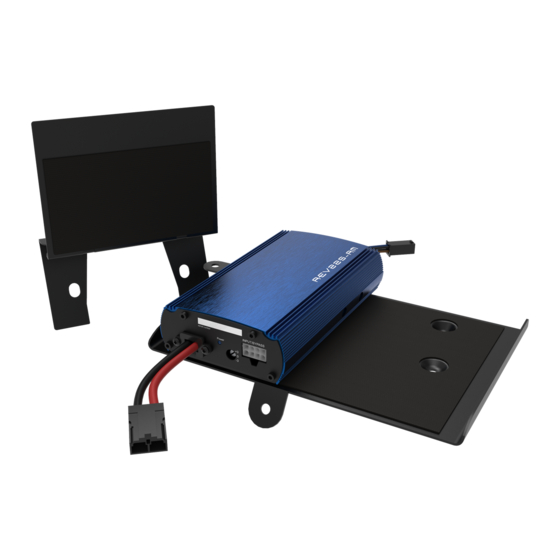
- Page 1 225-rM rev 225-rM 2 2 5 W a t t 2 - C h a n n e l A m p l i f i e r 2 2 5 W a t t 2 - C h a n n e l A m p l i f i e r...
- Page 2 If this feature is activated and the amp shuts off, it will turn the amp back on again if the voltage exceeds the 10.5 volt threshold. REV 225-RM is rated for 112.5 watts per channel @ 2 ohms. Although this amplifier makes its highest power with 2 ohm speakers, if Hogtunes 5.75 ohm speakers or 4 ohm car speakers are used there will still be a noticeable improvement in volume and sound quality.
-
Page 3: Section 1 Single Amplifier Installation In Street Glide/Ultra
Figure 1.1 - The white circle shows the new location for GPS Antenna if your bike came factory equipped with this feature. A video version of this manual is available at www.hogtunes.com/support/videos.html If you still need assistance, please consider a professional installation by your motorcycle dealer. - Page 4 Step #7: Locate the main power harness and plug it into the matching “pig-tail” on the side of the amp. If installing 2x REV 225-RM, run the second power harness at the same time as this step. The balance of the main wire harness will pass under the inner fairing where the main wire harness passes through on the brake side of the bike.
- Page 5 Step #8: The balance of the main wire harness will pass under the inner fairing where the main wire harness passes through on the brake side of the bike. Loosen the tank console and run wires up and over the gas tank, but under the tank console.
-
Page 6: Section 2 Single Amplifier Installation
section 2 single amplifier installation in road glide/ rg Ultra Figure 1.1 Before proceeding, please locate the points in the fairing identified by the letters in Figure 1.1. A= mounting points for Headlight assembly B= Wire passage from fairing to bike C= Brake side speaker harness (Pink and Pink with Black Stripe wires) D= Clutch Side Speaker harness (Pink and Pink with Black Stripe wires) Step #1: Out of the box, the amplifier comes on... - Page 7 Step #2: Locate the power harness for the amplifier. One end has ring terminals and a fuse, and the other has a 2 pin connector. Using Fig 1.1 on Page 6 for reference, to run the “ring terminal end” of the power harness through “B”.
- Page 8 If you are installing a second Rev 225-RM amplifier, please go to Section 3 of this manual. If this is the only amplifier being installed, please go to “adjusting your system”...
-
Page 9: Section 3 If This Is The Second Amp In Your System
section 3 if this is the second amp in yoUr system Step #1: Remove the seat and both wires (+ and -) from the battery. Remove the outer fairing/headlamp assembly and set aside. Refer to a service manual if you need help with this. Step #2: You will now need to run the second power harness to the battery. - Page 10 Road Glide) amplifier is to the second set of speakers in the system. If you are using Hogtunes lids, the harness that comes with the lids will work its way up the bike, and plug right into the 4 pin black amplified out “pigtail”...
- Page 11 Step #6: Attach the power harnesses black wires to the negative (-) battery terminal and the red wires to the positive (+) battery terminal. The factory battery wires are also re-installed at this point. When attaching the power and ground wires, it is always a good practice to do the neg- ative (black) first.
- Page 12 A Couple Of Tips To Have Your System Sound Great 1) Many people will store music on a hand held type player and use that as the music source for the bikes audio. PLEASE NOTE: If you “borrow” your music files from certain sites, they typically sound poor.
-
Page 13: Warranty Information
Without an ra# Will Be refused! Please Record Your Amplifier’s serial # Here_________________________ The REV 225-RM Amplifier is warranted for 3 years from original purchase date. Proof of purchase is required for all warranty claims. The warranty applies to the original retail customer and is not transferable. - Page 16 Hogtunes products will play much louder than the Original Equipment, which can be a distraction to the rider and/or passenger. Please use caution when adjusting or playing your stereo at high volume, especially in traffic. You are a valued customer so please:...
Need help?
Do you have a question about the rev 225-RM and is the answer not in the manual?
Questions and answers