Porsche 911 Installation And Conversion Instructions
Hide thumbs
Also See for 911:
- Workshop manual (1006 pages) ,
- Owner's manual (355 pages) ,
- Manual (314 pages)
Advertisement
Quick Links
Installation and Conversion Instructions
PORSCHE Dashcam 911
Retrofitting
Information:
Information
As of 2019
Model Year:
Note:
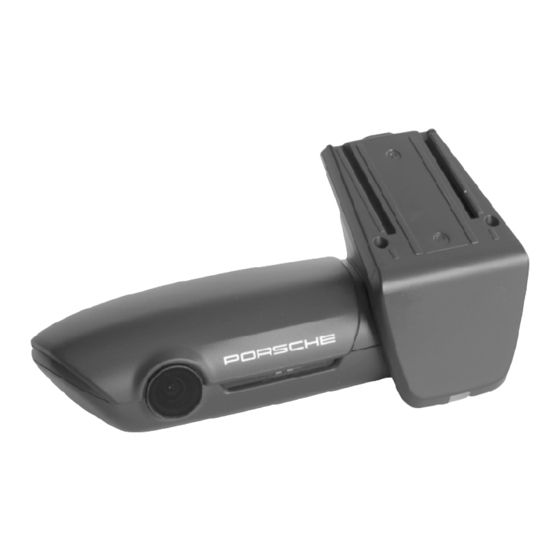
The Porsche front camera (dashcam
direction of travel) on the windshield and is connected to the vehicle electrical system.
It is ideal for making video recordings of driving situations and while parking. It can be configured and
operated using a related app on your smartphone.
Recorded videos are stored on the supplied SD card and previous recordings are overwritten.
If the dashcam detects a shake/vibration or if the radar sensor is triggered, the recorded video is stored
separately and not overwritten. Recordings can be downloaded directly from the SD card or via the app.
Figure 1
Figure 1) is affixed to the LEFT of the interior mirror (viewed in
Tequipment
911 (992)
06 / 21
9163
ENU
Jul 7, 2021
Page 1 of 21
9
Advertisement


Need help?
Do you have a question about the 911 and is the answer not in the manual?
Questions and answers