Table of Contents
Advertisement
Quick Links
User's Manual
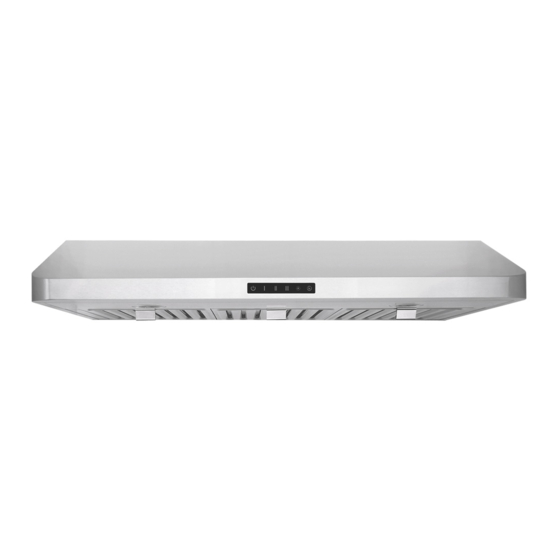
WSC-4630SS
WSC-4636SS
NOTE: PLEASE INSPECT HOOD
IMMEDIATELY UPON RECEIVING.
CLAIM OF DAMAGE AFTER 7
DAYS OF DELIVERY WILL BE
DENIED.
This unit is designed for indoor
residential use only. DO NOT USE
OVER A WOOD GRILL OR MOUNT
IN OUTDOOR ENVIRONMENT.
Please read this operation manual thoroughly before
using your range hood. Store it in a safe location for
when you need to reference it in the future.
www.windsterhood.com
TABLE OF CONTENTS
Table of Contents
Safety Information .............................................................. 2 - 4
Content Checklist ..................................................................... 5
Measurements ........................................................................... 6
Preparation ......................................................................... 7 - 8
Installation ......................................................................... 9 - 13
Operation & Features .............................................................. 14
Step by Step Diagram ............................................................. 15
Cleaning & Maintenance ......................................................... 16
Troubleshooting ...................................................................... 17
Part List / Replacement .......................................................... 18
Warranty / Contact Us ..................................................... 19 - 21
1
Advertisement
Table of Contents

Related Manuals for Windster WSC-4630SS


Summary of Contents for Windster WSC-4630SS
-
Page 1: Table Of Contents
Table of Contents www.windsterhood.com Safety Information .............. 2 – 4 User’s Manual Content Checklist ..............5 Measurements ................6 WSC-4630SS Preparation ................. 7 – 8 WSC-4636SS Installation ................. 9 – 13 Operation & Features .............. 14 NOTE: PLEASE INSPECT HOOD IMMEDIATELY UPON RECEIVING. -
Page 2: Safety Information
SAFETY INFORMATION SAFETY INFORMATION SAFETY INFORMATION TO REDUCE THE RISK OF FIRE, OR ELECTRIC SHOCK, DO NOT USE THIS FAN WITH ANY SOLID-STATE SPEED CONTROL DEVICE. TO REDUCE THE RISK OF A FIRE, ELECTRICAL SHOCK, Regardless of heat level, never leave any surface materials unattended while AND/OR INJURY OBSERVE THE FOLLOWING: operating an open flame. -
Page 3: Content Checklist
SAFETY INFORMATION CONTENT CHECKLIST CONTENT CHECKLIST PROP. 65 WARNING FOR CALIFORNIA RESIDENTS: CONTENTS INCLUDED This product may contain chemicals known to the State of California to cause cancer, birth defects, or other reproductive harm. (1) WSC-46 series (30” or 36”) hood assembly (1) User’s manual (1) Black 6”... -
Page 4: Measurements
MEASUREMENTS PREPARATION PREPARATION BEFORE YOU START **DO NOT INSTALL IF DAMAGED** **RETURN OR EXCHANGE WILL BE DENIED IF INSTALLED** Be sure you have all the content of your purchase and required tools for this installation. Installation may take at least 2 to 3 hours from start to finish. Plan to use as few elbows or turns as possible for more efficient air flow. -
Page 5: Installation
PREPARATION INSTALLATION INSTALLATION 1. UNDER CABINET INSTALLATION Make sure all preparation steps are completed. Feed the wires coming out of the hood through the bottom of the cabinet. Lift the unit up flush against the wall and bottom of the cabinet. Using the screws and washers provided, insert into each of the keyhole openings and tightly secure the unit against the bottom of the cabinet. - Page 6 INSTALLATION INSTALLATION Convert 6” top round to 3-1/4”x10” top rectangular. Feed the wires coming out of the unit through the bottom of the cabinet. Replace the 6” round duct with the half round section duct. (Fig. 3a-3b) Lift the unit up flesh against the wall and the bottom of the cabinet. Using the screws and washers provided, insert into each of the 4 keyhole openings (2 on each side) and tightly secure the unit against the bottom of the cabinet.
- Page 7 INSTALLATION INSTALLATION j. Conversion is complete after the adaptor is secured. (Fig. 4j) f. Remove the screws holding the rear outlet panel. (Fig. 4d-e) Fig. 4j Fig.4d Fig. 4e k. Feed the wires coming out of the hood through the bottom of the cabinet. g.
-
Page 8: Operation & Features
OPERATION & FEATURES STEP BY STEP DIAGRAM OPERATION & FEATURES Using the light fixture tool provided, lineup each Light Fixture Tool corner of the fixture tool in parallel with the notches located on the outer ring of the light fixture. Twist EASY ACCESS CONTROL SWITCH (from left to right) the outer ring counter clockwise to unlock the light fixture housing. -
Page 9: Cleaning & Maintenance
CLEANING & MAINTENANCE TROUBLESHOOTING CLEANING & MAINTENANCE TROUBLESHOOTING WARNING!!! WARNING!!! To prevent the possibility of a fire and explosion, do not use Check to make sure all power sources are disconnected flammable liquids or solvents to clean the unit or any of its parts. before starting any troubleshooting. -
Page 10: Part List / Replacement
For a period of (1) year from the date of purchase, if the product is determined to be defective, Windster will attempt to repair the product, at its option, at no charge. After the warranty period has expired, the consumer will be responsible for all labor fees. - Page 11 WARRANTY / CONTACT US WARRANTY / CONTACT US CONTACT US Windster Hoods, Inc. WHAT IS NOT COVERED BY MANUFACTURER WARRANTY www.windsterhood.com Information subject to change without notice Damages resulting from any of the following: Improper installation or maintenance...
Need help?
Do you have a question about the WSC-4630SS and is the answer not in the manual?
Questions and answers