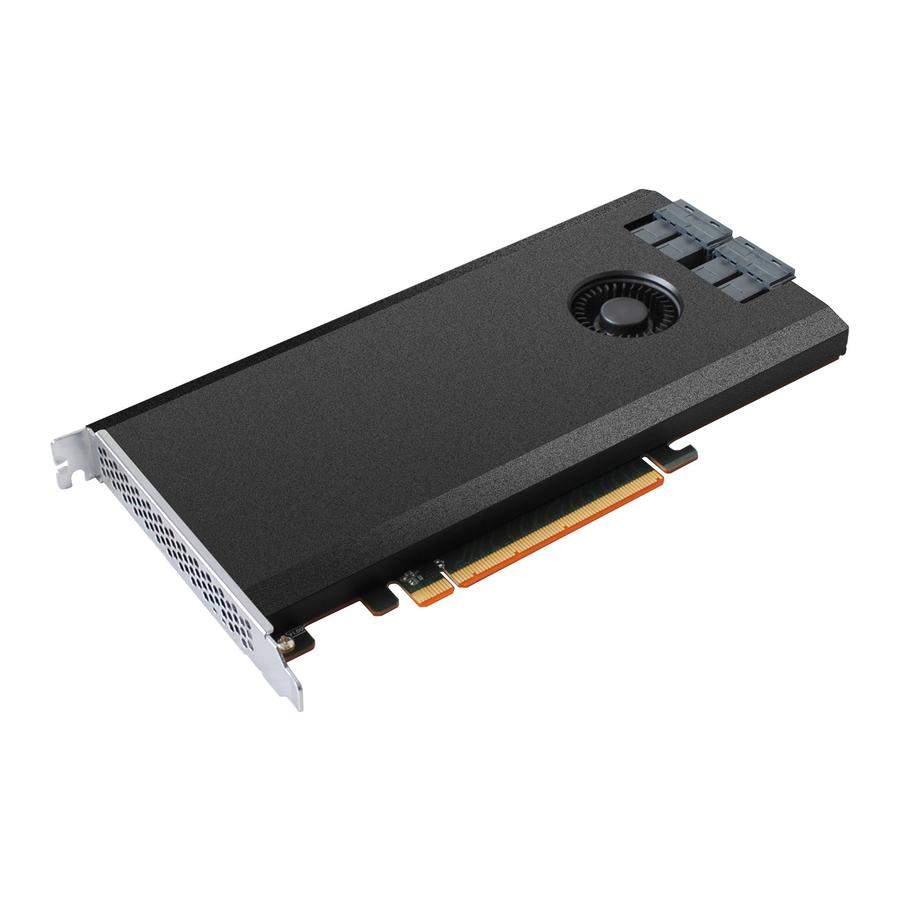
HighPoint SSD7110 Installation Manual
Macos installation
Hide thumbs
Also See for SSD7110:
- User manual (46 pages) ,
- Installation manual (9 pages) ,
- How to install (6 pages)

Related Manuals for HighPoint SSD7110


Summary of Contents for HighPoint SSD7110
- Page 1 SSD7110 Controller macOS Installation Guide SSD7110 Controller macOS Installation Guide Version 1.1.0 Copyright © 2020 HighPoint Technologies, Inc. All rights reserved. Last updated on Jan, 2020...
- Page 2 SSD7110 Controller macOS Installation Guide Content 1. Overview ..............................3 2. Installing macOS on SSD7110 controller ....................3 3. Troubleshooting ............................7...
- Page 3 SSD7110 Controller macOS Installation Guide 1. Overview The purpose of this document is to provide clear instructions on how to install and use the SSD7110 controller with a macOS system. 2. Installing macOS on SSD7110 controller If you would like to install macOS onto drives attached to SSD7110 controller, please follow the procedure bellow.
- Page 4 SSD7110 Controller macOS Installation Guide will now start in Recovery Mode; 2. When you see the macOS Utilities window, choose Utilities > Startup Security Utility from the menu bar; 3. When the Startup Security Utility window appears, select ‘No Security’ under the ‘Secure Boot’ options and ‘Allow booting from external or removable media’...
- Page 5 SSD7110 Controller macOS Installation Guide Release the Option key when you see the Startup Manager window; 4. Select ‘EFI Boot’, then click the arrow under its icon, or press Return to enter the EFI interface; Use the command “SSD711x.nsh”, and press Return when the message “Passed” appears;...
- Page 6 Use the command ‘exit’ to exit the EFI interface; Step 5 Install the system to SSD7110 1. Install macOS to the Mac’s internal disk. After booting the system, install the SSD7110 driver and WebGUI; 2. Use ‘Disk Utility’ to format/partition the array: 3.
- Page 7 SSD7110 Controller macOS Installation Guide SOURCE = select the disk that you want to clone, DESTINATION = 4. Open ‘Carbon Copy Cloner’, select RAID disk that you created in the EFI interface, then click ‘Clone’; 5. When cloning has finished, restart your Mac, then press and hold the Option (Alt) key immediately;...
- Page 8 SSD7110 Controller macOS Installation Guide b. Press Option-Shift-Command-Period while in Startup Manager (e.g., MacBook Pro 2013/ MacBook Pro 2016). If your RAID disk appears, do that each time you want to start up from it or from another disk connected to it.
Need help?
Do you have a question about the SSD7110 and is the answer not in the manual?
Questions and answers