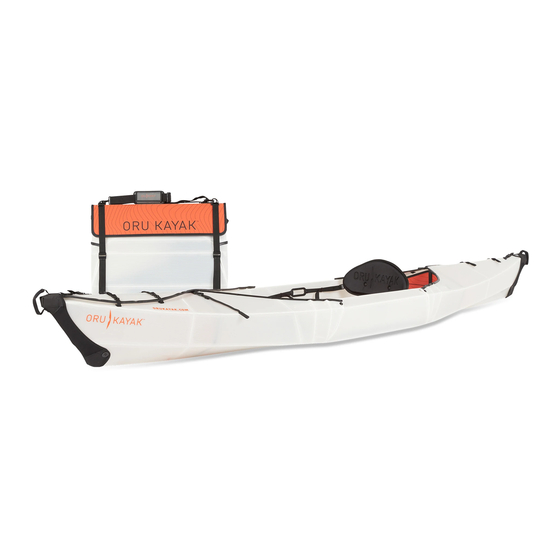
Oru Kayak BEACH LT Assembly And Disassembly Manual
Hide thumbs
Also See for BEACH LT:
- Assembly manual (20 pages) ,
- Assembly manual (12 pages) ,
- Owner's manual (16 pages)
Summary of Contents for Oru Kayak BEACH LT
- Page 1 SCAN AND WATCH ON YOUR PHONE Assembly Guide (Pages 1-10) Disassembly Guide (Pages 11-15) Read this entire Assembly Watch the instruction video: IMPORTANT Guide before assembling www.orukayak.com/assembly/beachlt your Oru Kayak. SERVICE@ORUKAYAK.COM...
- Page 2 Step 1: Open the Oru Kayak box The box contains all the components needed for assembly and includes space to store gear—such as our 4-piece paddle. Loosen and slide off the two loops that go around box. Set shoulder strap aside (you won’t need it while kayaking).
-
Page 3: Getting Familiar
Seat pad: Tucks under the bungee in the floorboard. Footrest Bow (front) bulkhead/Footrest: Attached to the front half of Spare parts kit: Extra hardware for the kayak. Provides structural repairs and upkeep. rigidity and comfort. ORU KAYAK | BEACH LT KAYAK ASSEMBLY GUIDE... - Page 4 Step 2: Unfold the box Pull Hold the two folds at the orange NOTE The double-walled corrugated poly- stickers. Pull as propylene that Oru Kayaks are made indicated in the illustration to from will naturally show marks and open. The skin will be stiff. scratches from use over time.
- Page 5 The box becomes the hull and deck of the kayak. Several key parts are permanently Parts: Hull/deck attached to the hull/deck. The bow (front) and stern (back) of the Oru Kayak are different, so pay attention to orientation throughout the assembly process.
- Page 6 Step 3: Attach the footrest STERN Fold in flaps on sides of cockpit. Pull footrest and bulkhead into hull. Clip footrest to adjustable footrest straps as shown. Footrest WWW.ORUKAYAK.COM...
- Page 7 Place flap with curved Stretch front fairing over the bow, edge (adjustable buckles) and clip the small buckle onto last over flap with straight deck strap and tighten. edge ORU KAYAK | BEACH LT KAYAK ASSEMBLY GUIDE...
- Page 8 Step 5: Close the back of the kayak Closing the back of the kayak is similiar to closing the front (Step 4). Fully tighten the stern (back) end s c r e w strap. ( b e h i v e l c r n d ) Place loose stern bulkhead in ( f r o n...
- Page 9 Place edges of the floorboard into channels. Press center of floorboard down and push floorboard into channels (floorboard may not sit flat until the next step). CROSS-SECTION VIEW FLOORBOARD FLOORBOARD CHANNELS PUSH DOWN ORU KAYAK | BEACH LT KAYAK ASSEMBLY GUIDE...
- Page 10 Step 7: Install the seat and tension strap Insert the bottom of seat column into slot of seat column plate on floorboard. Clip seat back straps into buckles on carrying handles. Conenct the two clips to the cord loops on the back end of CLOSE-UP Pull plate in the direction of the floorboard chanel.
-
Page 11: Final Adjustments
To adjust its distance from you, tighten or loosen adjustable both ends. straps. Congratulations! Your Oru Kayak is ready for the water. ORU KAYAK | BEACH LT KAYAK ASSEMBLY GUIDE... -
Page 12: Disassembly Guide
Some water may collect inside the plastic corrugated flutes. To let it drain, stand the assembled kayak vertically for about 10 minutes. Read this entire Assembly Watch the instruction video: IMPORTANT Guide before assembling www.orukayak.com/beachlt your Oru Kayak. SERVICE@ORUKAYAK.COM WWW.ORUKAYAK.COM... - Page 13 Disassembling the Oru Kayak is basically a reversal of the assembly, however there are a few tricks. Follow these simple directions to learn how to pack your Oru Kayak back into its box quickly and easily. Remove seatback and seat pad.
- Page 14 Back on land: Folding your Oru Kayak into its box DO NOT HOLD PROFILE VIEW BUNGEE TO REMOVE FLORBOARD Lift up on floorboard to remove. If Fold either bow or stern inward like an rubber trim sticks in channels, try accordion.
- Page 15 Back on land: Folding your Oru Kayak into its box MAKE SURE THE BOW BULKHEAD AND FOOTREST ARE OUTSIDE OF THE BOAT BEFORE FOLDING Place footrest and bulkhead into folded boat, Push the black arrow towards the black followed by other loose components, such as the target, and the orange arrow towards seat back.
- Page 16 Back on land: Folding your Oru Kayak into its box WE ARE HERE TO HELP MAKE SURE THE PLATE IS IN THE CORRECT ORIENTATION BEFORE TIGHTENING THE STRAPS For product or assembly Place the floorboard over the top of the box, with graphics facing out.


Need help?
Do you have a question about the BEACH LT and is the answer not in the manual?
Questions and answers