Advertisement
Advertisement
Table of Contents

Related Manuals for Baroness GM2800


Summary of Contents for Baroness GM2800
- Page 1 Technical Information Leaflet TIL: 017 GM2800 Height of Cut Adjustment...
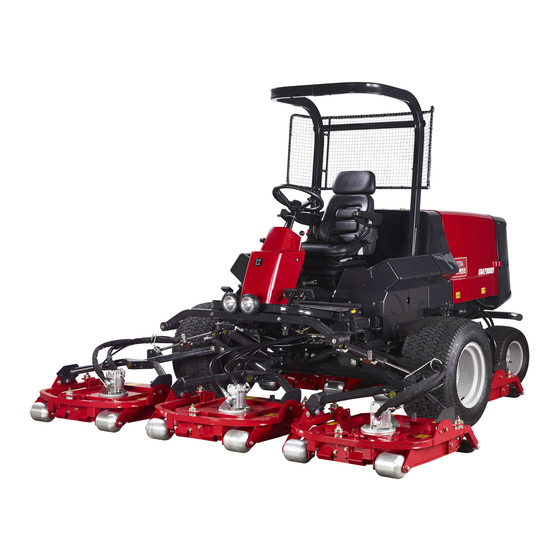
- Page 2 Height of Cut Range The Baroness GM2800 has four height of cut ranges as indicated on the decal which is located to the left of the operators seat. Each range is selected by changing the height adjustment brackets .
- Page 3 Height of cut Adjustment Bracket Height of cut adjustment bracket retaining bolts. This photograph shows the bracket set in the default position with the bolts located ‘top right and middle left’. Adjusting the height of cut range Loosen all three height adjustment shim retaining nuts.
- Page 4 This photograph shows all of the shims removed from above and below the bracket. This should be done on all three units before proceeding. All three adjusting brackets can now be moved to their new position. This can be done one bracket at a time.
- Page 5 You can now see that the bolts have been inserted into their new position of ‘top left and middle right’. If you refer back to the height chart decal you will see that this now puts this deck into the lowest range of 20 to 56mm. Changing height of cut First of all make sure that the height of cut range is correct as explained above.
- Page 6 This photograph shows a shim that has been removed from above the bracket being reinserted below the bracket in order to increase the height of cut. Repeat this exercise for all three height adjustment brackets before attempting to tighten the adjuster shim retaining nuts.
Need help?
Do you have a question about the GM2800 and is the answer not in the manual?
Questions and answers