Table of Contents
Advertisement
Quick Links
INSTALLATION MANUAL
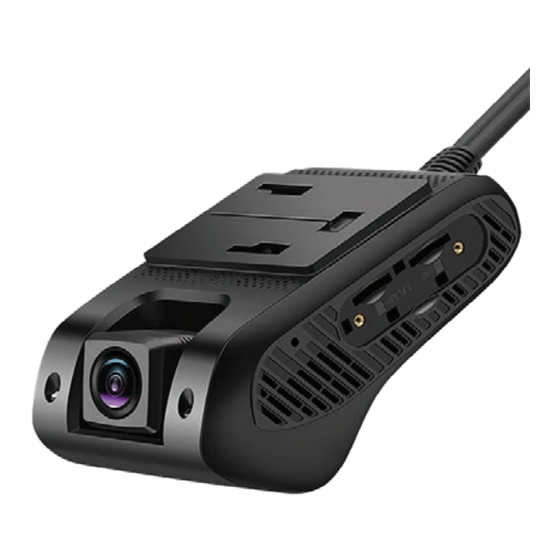
CameraView (JC400 Camera)
Document ID: IM-DC-X3
Last Updated: July 02, 2021
Pedigree Technologies recommends using a professional installer for optimal
results. Please let your Pedigree Technologies representative suggest a provider if
you need help with your hardware installations.
PedigreeTechnologies.com | Support: (701)-499-0022
Advertisement
Table of Contents

Related Manuals for Pedigree Technologies CameraView JC400


Summary of Contents for Pedigree Technologies CameraView JC400
- Page 1 CameraView (JC400 Camera) Document ID: IM-DC-X3 Last Updated: July 02, 2021 Pedigree Technologies recommends using a professional installer for optimal results. Please let your Pedigree Technologies representative suggest a provider if you need help with your hardware installations. PedigreeTechnologies.com | Support: (701)-499-0022...
- Page 2 • The field of view should not have too much “sky”. • Split windows may have to adjust mounting location other than what is recommended in this document. Consult with your implementation manager at Pedigree Technologies. PedigreeTechnologies.com | Support: (701)-499-0022...
- Page 3 CameraView JC400 Installation Steps, Continued Dry Fit Determine proper placement of camera on the front windshield. (Dry fit only. It’s important to run cabling to power source and determine where it will fit properly.) • High on the windshield next to the rearview mirror area or just left or right of center divider •...
- Page 4 CameraView JC400 Installation Steps, Continued Standard Direct Wire Installation STEP ONE Accessory Cable Connect the ground (black) wire of the accessory harness to DC chassis ground. • Always connect the ground wire to an already established ground stud when possible. •...
- Page 5 CameraView JC400 Installation Steps, Continued Standard Direct Wire Installation Continued STEP FOUR Connect the accessory cable and the power bank to the camera. When routing cables, it is recommended to route the power bank cable with the accessory cable to the fuse panel and fasten with zip ties to a wire bundle or any part behind the dash that will secure the device.
- Page 6 CameraView JC400 Installation Steps, Continued Mount Camera STEP ONE Determine proper placement of camera on the front windshield. • Center of the windshield behind the rearview mirror area • Highest possible placement within the wiper blade path • Avoid any overhanging exterior sun visor or other materials on glass including rock chips or cracks.
- Page 7 CameraView JC400 Installation Steps, Continued Optional Check Camera Position STEP ONE On the tablet, open POV, but stay logged out. STEP TWO Tap the ellipsis menu in the upper right corner of POV, and then select “Camera Setup”. STEP THREE Change the camera type to SmartCam (3rd button) and tap Connect.
Need help?
Do you have a question about the CameraView JC400 and is the answer not in the manual?
Questions and answers