Table of Contents
Advertisement
Quick Links
Advertisement
Table of Contents

Summary of Contents for ALIGATOR FIGI NOTE 3
- Page 1 FIGI NOTE 3 / PRO Instruction for use...
-
Page 2: Table Of Contents
Selection of network............15 Photography..............15 PC connection..............16 Selection of SIM card for calls, SMS and internet.....17 Safety and ecology.............17 Declaration of conformity..........18 Before you start Thank you for purchasing an ALIGATOR mobile phone. Before you start please read carefully this instruction manual. -
Page 3: Dual Sim Function
You can get more information, instructions, advice, etc. on the website: https://support.google.com/android DUAL SIM function Your mobile phone can be operated with 1 or 2 SIM cards. (1x „Nano SIM“ and 1x „Micro SIM“). If you insert only one SIM card the mobile phone works as an ordinary mobile phone. - Page 4 Switch off the mobile phone always in the aircraft Do not use mobile phone near the petrol station. Always switch off the mobile phone near explosives Use only the original batteries supplied by the producer. Danger of damage of the mobile phone or explostion Do not throw the battery in the fire nor expose it to the temperatures over +60°C.
- Page 5 SoftwareSoftware and hardware of the mobile phone are continuously innovated. The importer reserves the right to alter the instruction manual or particular functions of the mobile phone without a prior notice...
-
Page 6: Mobile Phone Controls
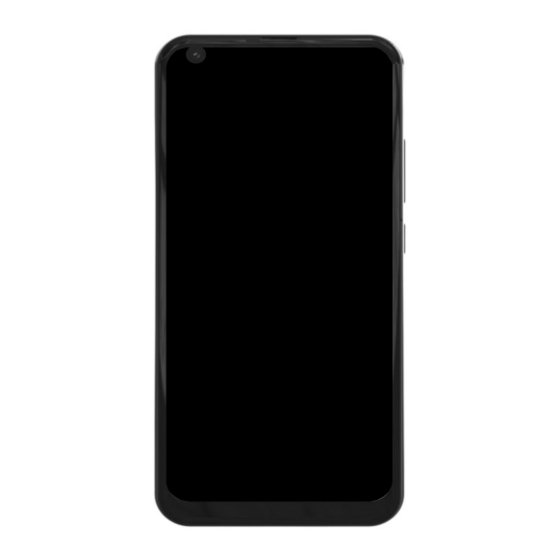
Mobile phone controls 1. Button APK 2. Button : Main screen 3. Button : Backwards 4. Volume 5. Button : Switch On / Off 6. Earphones... -
Page 7: Lnsert Sim Card
7. Headset connector 8. Front camera 9. USB connector 10. SIM / MicroSD Insert SIM card Carefully slide the SIM card drawer on the left side of the phone, using the tool provided, by pushing the tip of the tool into the hole next to the drawer. -
Page 8: Switch On / Off
Finally, carefully slide the drawer back. Switch On / Off To Switch On - press the button (5). Starting of the mobile phone can last few seconds. To Switch Off – press and hold the button (5) till the indicator window of a switch off appears on display. Confirm it and the mobile phone will turn off. -
Page 9: Activation And Screen Unlock
Activation and screen unlock The screen turns off automatically after a certain time of inactivity. Turn on / off the screen by a short press of the button (5). It is necessary to unlock the screen after the activation. Put your finger on a „Lock“... - Page 10 Backwards – serves to return by one level back. (Jump on the preceding screen, closing of offers or dialog windows on the screen, etc.) System control Your phone is operated by using both the buttons above, but mainly using the touch screen. Selecting items on the screen, confirming dialogs and graphical buttons on the screen are done by tapping on them.
- Page 11 thousands of applications for the operating system, but not all of them can work properly. Before buying of any app, always check out its free version to see if your phone is working properly. Information and status display So called „status bar“ is placed in the upper part of the screen.
-
Page 12: Fingerprint Reader
Press the button Settings Select item Accounts in menu and choose Add Account Further follow instructions on the screen Mobile phone set up All individual items of the telephone set up are clearly arranged at the settings menu. In the application menu, tap the Settings icon and make the desired changes. - Page 13 Similarly as on the common telephone there are the letters placed on the buttons so you can enter also the name. The dialled number and all corresponding items of the telephone directory will be displayed after entering of the letters on keys of the screen. At the bottom part of the screen you can find the calling button with a symbol of the head-phone.
-
Page 14: Messages
Volume During a call, you can adjust the volume by using the (4) button on the side of the phone. ATTENTION! The headset can be very loud. Therefore, do not set the volume unnecessarily to the highest level to avoid hearing damage. In addition, when the headset is set to high, the other party may hear the echo of his voice. -
Page 15: Selection Of Network
Selection of network You can choose whether your phone will use 2G , 3G or 4G networks. Select Settings and choose Network and internet. Further select Mobile network and select Preferred network type for each SIM card. Now select item 2G, 3G or 4G. Photography Start the camera by tapping on the camera icon . -
Page 16: Pc Connection
PC connection No drivers are required to connect to a regular PC (applies to Windows Vista, 7 or later). Proceed as follows: Connect the mobile phone with PC with the enclosed cabel Download the status bar and tap the line at the bottom part of the displayed offer A connection mode offer is opened. -
Page 17: Selection Of Sim Card For Calls, Sms And Internet
Selection of SIM card for calls, SMS + internet Start Settings and select Network and Internet. Next, select the SIM card entry. You can now set which SIM card to use for calls, SMS and Internet connections. Safety and ecology Used electric devices Mobile phone is an electronic appliance. -
Page 18: Declaration Of Conformity
Handling with the used batteries in contradiction with given instructions is illegal! Declaration of conformity ADART COMPUTERS s.r.o. hereby declares that the type of the radio deviceALIGATOR FIGI NOTE 3 / PRO is in compliance with Directive 2014/53/EU www.aligator.cz Copyright ©...


Need help?
Do you have a question about the FIGI NOTE 3 and is the answer not in the manual?
Questions and answers