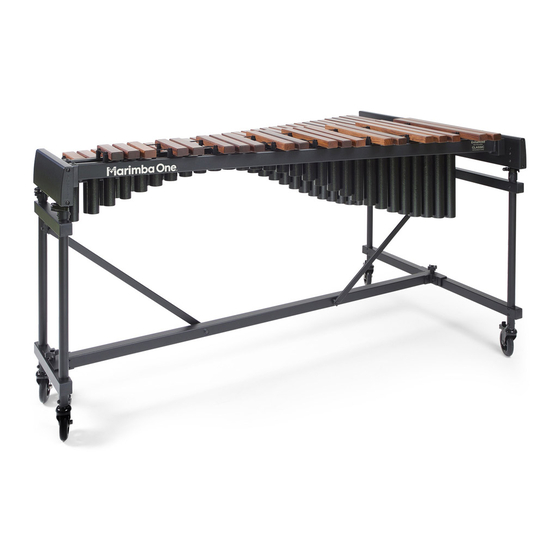
Summary of Contents for Marimba One WAVE Xylophone
- Page 1 WAVE Xylophone OWNER'S MANUAL 3.5 octave 4.0 octave www.marimbaone.com tel 707 822 9570 fax 707 822 6256...
- Page 2 ASSEMBLY INSTRUCTIONS & OWNER'S MANUAL ™ • A large open space with carpet (or a blanket to cover the floor) FOR ASSEMBLY, • An assistant to help you with assembly YOU WILL NEED: CAREFULLY UNPACK YOUR CRATE Compare the components as shown on this page. Rails Accessory Bar Bass Frame...
- Page 3 ARRANGE FRAME COMPONENTS In a large open space with carpeting (or a blanket), arrange the frame components. Treble Frame Bass Frame Girder LOOSEN KNOBS Turn knobs counterclockwise. Bass Frame Treble Frame OPEN WAVE-LOCK LEVERS Push WAVE-lock levers into open position. Bass Frame Treble Frame 100320 - Rev.
-
Page 4: Center Support
CENTER SUPPORT LIFT DIAGONAL BRACE ATTACH DIAGONAL BRACE Have assistant hold bass frame upright. Lower slot onto clamp rod. Lift brace into open position. diagonal brace ATTACH GIRDER PLATE SECURE DIAGONAL BRACE Lower girder plate notches onto frame knobs. Push WAVE-lock lever into closed position. - Page 5 RESONATORS INSTALL NATURAL RESONATOR BANK With your assistant, carefully lift the natural resonator bank. Slide bass end into slots. Set treble end on block. Bass Frame Treble Frame INSTALL ACCIDENTAL RESONATOR BANK Repeat steps for the second resonator bank. RAILS IDENTIFY RAILS 1 –...
- Page 6 INSTALL RAIL 1 Lower Rail 1 into slots and onto pegs. Bass Frame Treble Frame Make sure the rail is fully engaged onto the flexible pegs. REPEAT FOR RAILS 2 – 4 Bass Frame Treble Frame 100320 - Rev. A Page 5 of 11...
- Page 7 KEYBOARDS POSITION NATURAL KEYBOARD SECURE TREBLE END Holding cords, lift keyboard, and lay Slide cord around hooks on treble end. keyboard onto rails 1 and 2. treble end close-up POSITION BARS ON RAILS treble end close-up rail jacks Place bars between rail jacks. Set cord into slots on rail jacks.
- Page 8 ACCESSORY BAR SECURE BAR INSTALL ACCESSORY BAR Push WAVE-lock levers into With an assistant, lower slotted ends closed position. of accessory bar onto clamp-rods. 100320 - Rev. A Page 7 of 11...
- Page 9 bar cord tension Over time, as you play your instrument, the cord that suspends the bars may loosen and need to be adjusted. To increase tension in the bar cord, use the cleats behind the springs to hold the slack in the cord. UNHOOK SPRINGS cleat cleat...
-
Page 10: Height Adjustment
height adjustment CAUTION! DO NOT RELEASE LEVERS To prevent damage, always adjust the AT THE SAME TIME. height of the marimba with all rails, resonators and bars INSTALLED. RELEASE LEVERS ONE AT A TIME. Use gauges to ensure that Locate the height Raise or lower Close levers when both ends are always at... -
Page 11: Clamping Pressure Adjustment
clamping pressure adjustment To increase clamping pressure turn wheel clockwise. To decrease clamping pressure turn wheel counter-clockwise. height adjustment warnings • Always adjust the height of the marimba with rails, resonators and bars installed. • Release the levers one end at a time. •... -
Page 12: Warranty
THAT THIS INSTRUMENT IS FREE FROM DEFECTS IN MATERIALS AND/OR WORKMANSHIP AS FOLLOWS: 1. During a period of twelve (12) months from the date of receiving your instrument, Marimba One will pay all labor and materials necessary to repair any defective instrument or part thereof. We will repair a defective instrument or part at the location of our factory.


Need help?
Do you have a question about the WAVE Xylophone and is the answer not in the manual?
Questions and answers