Table of Contents
Advertisement
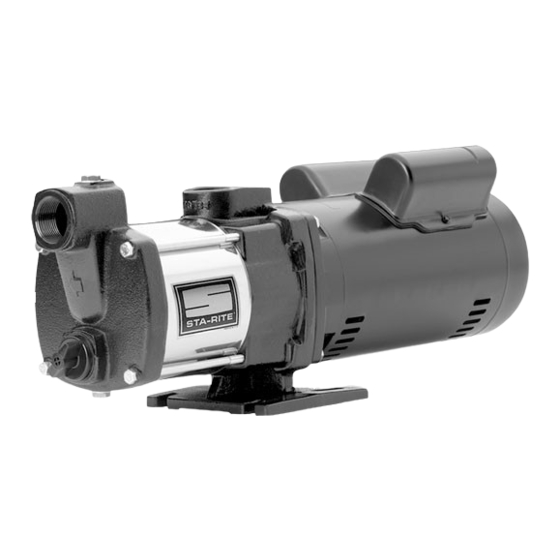
OWNER'S MANUAL
Self-Priming Horizontal Three
and Four Stage Pumps
DSS3HG, DSS3HG3T,
DSS4HG, DSS4HG3T
Installation/Operation/Parts
For further operating, installation, or maintenance assistance:
Call 1-888-782-7483
293 WRIGHT STREET, DELAVAN, WI 53115 WWW.STA-RITE.COM
PH: 888-782-7483
S682 (Rev. 01/28/13)
© 2013 Pentair, Ltd. All Rights Reserved.
Advertisement
Table of Contents

Related Manuals for Pentair STA-RITE DSS3HG


Summary of Contents for Pentair STA-RITE DSS3HG
- Page 1 OWNER’S MANUAL Self-Priming Horizontal Three and Four Stage Pumps DSS3HG, DSS3HG3T, DSS4HG, DSS4HG3T Installation/Operation/Parts For further operating, installation, or maintenance assistance: Call 1-888-782-7483 293 WRIGHT STREET, DELAVAN, WI 53115 WWW.STA-RITE.COM PH: 888-782-7483 S682 (Rev. 01/28/13) © 2013 Pentair, Ltd. All Rights Reserved.
-
Page 2: Important Safety Instructions
Safety Important Safety Instructions WARNING SAVE THESE INSTRUCTIONS - This manual contains important instructions that should be followed during Hazardous voltage. installation, operation, and maintenance of the product. Can shock, burn, or cause Save this manual for future reference. death. Ground pump before This is the safety alert symbol. -
Page 3: Limited Warranty
Warranty Limited Warranty STA-RITE warrants to the original consumer purchaser (“Purchaser” or “You”) of the products listed below, that they will be free from defects in material and workmanship for the Warranty Period shown below. Product Warranty Period whichever occurs first: Water Systems Products — jet pumps, small centrifugal pumps, 12 months from date of original installation, submersible pumps and related accessories or 18 months from date of manufacture Pro-Source™... -
Page 4: Installation
Installation Before you install your pump Dirt and Scale Plug Pump and Pipes! NOTICE: Well must not be more than 20’ depth to water. 1. Long runs and many fittings increase friction and reduce flow. Locate pump as close to well as possible: use as few elbows and fittings as possible. 2. Be sure well is clear of sand. Sand will plug the pump and void the warranty. 3. Protect pump and all piping from freezing. Freezing will split pipe, Use New Pipe for Best Results. - Page 5 Installation Cased Well Installation Priming plug 1. Inspect foot valve to be sure it works freely. Inspect strainer to be sure it is clean. Priming tee Suction 2. Connect foot valve and strainer to the first length of suction pipe and pipe lower pipe into well. Add sections of pipe as needed, using PTFE tape on male threads. Be sure that all suction pipe is leakproof or pump...
-
Page 6: Pump Installation
Installation Pump Installation Make sure that all pipe joints in the suction pipe are air tight as well as water tight. If the suction pipe can suck air, the pump will not be able to pull water from the well. 1 Bolt pump to solid, level foundation. 2. Support all piping connected to the pump. 3. Wrap 1-1/2 to two layers of PTFE tape clockwise (as you face end of pipe) on all male threads being attached to pump. 4. - Page 7 Electrical Connection Diagram for Single-Phase Motors Green Ground Your motor’s terminal board (under the motor end cover) should match the Screw diagram in Figure 12A or 12B. For single-phase motors, follow Figure 12A. For 3-phase motors, follow Figure 12B. If motor does not match this picture, follow the connection diagram on the motor nameplate or in the motor connection box. Hazardous voltage. Can shock, burn, or cause death. Disconnect power to motor before working on pump or motor. Ground motor before con necting to power supply.
-
Page 8: Operation
Operation Priming The Pump NOTICE: The term ‘priming’ refers to the process of pumping all the air out of the system, filling the pump and suction piping with water, and beginning to move water through the pump and out into the system. A ‘self- priming’ pump generally will repeat this process without attention once the pump and system are full of water. If the water drains out of the pump (back into the well, for example), then the whole priming process must be repeated before operating the pump again. -
Page 9: Maintenance
Maintenance Maintenance If motor is replaced, replace the shaft seal and O-Rings. Keep a seal and O-Rings on hand for future use. Vent Plug Be sure to prime pump before starting. NOTICE: The mechanical shaft seal in the pump is water lubricated and Recirculation Valve: Do not disturb when self-adjusting. -
Page 10: Seal Removal
Maintenance Seal Removal 1. Follow the instructions under “Pump Disassembly”, above. 2. Remove the discharge pipe from the bracket (Ref. No. 4). 3. Remove the hold down bolts from the bracket. 4. Turn the bracket motor side up on the bench and use a screwdriver to carefully tap the stationary seal half out of the bracket (see Figure 21). 5. -
Page 11: Maintenance & Troubleshooting
Maintenance • Troubleshooting 8. Reinstall the sleeve on the bracket and the pump suction body in the sleeve. Be sure that you do not pinch or damage the O-Ring. See Figure 27. 9. Install four capscrews (Ref. No. 18) through the pump head and into the bracket. Tighten the capscrews to 22 ft.-lbs. torque. 10. Reinstall the drain plug and washer (Ref. Nos. 17 and 16) in the suction body. Recirculation Valve NOTICE: Do not disturb the recirculation valve. -
Page 12: Repair Parts
Repair Parts Exploded View 1 ø 3 ø 3 Stage DSS3HG DSS3HG3T 4 Stage DSS4HG DSS4HG3T 4311 0212 Ref. Part Description Qty. DSS4HG DSS4HG3T DSS3HG DSS3HG3T Motor B85740 B86076 B86075 B86077 Socket Head Capscrew U30-104ZP Slinger 17351-0009 Bracket M13784 Impeller Repair Kit (Includes Ref. Nos. 6–8 and 10–14) B85604 B86078 Shaft Seal U9-469 Spacer...
Need help?
Do you have a question about the STA-RITE DSS3HG and is the answer not in the manual?
Questions and answers