Table of Contents
Advertisement
Advertisement
Table of Contents

Summary of Contents for Viotek FI24D
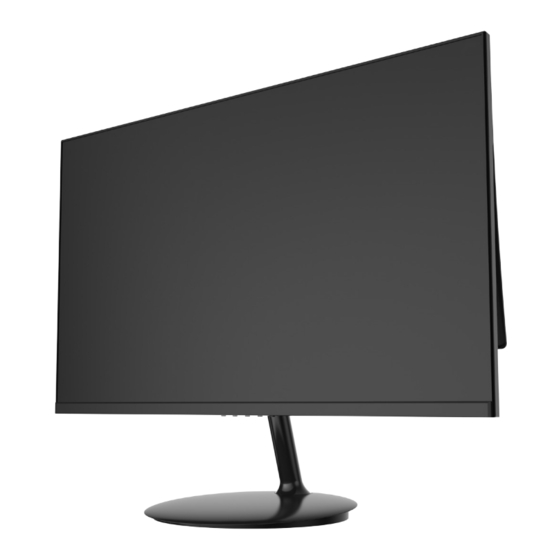
- Page 1 FI24D 23.8" LED MONITOR USER MANUAL In order to continue serving our customers and providing the best products, our product information including our user manuals may receive updates from time to time. Please check our website for the latest user manuals and product materials.
-
Page 3: Table Of Contents
Table of Contents Section 1: Safety Precautions ..........4 Section 2: Box Contents ............. 5 Section 3: Product Overview ..........6 3.1 – Monitor Buttons ............6 3.2 – Monitor Ports ............6 Section 4: Stand Installation ..........7 Section 5: Wall Mounting ............ 8 Section 6: Basic Operation .......... -
Page 4: Section 1: Safety Precautions
VIOTEK shall not be held responsible for injury or damage of products or persons ®... -
Page 5: Section 2: Box Contents
Section 2: Box Contents Monitor x 1 Stand Stem x 1 Stand Base x 1 NO. 1 Screws x 2 NO. 2 Screws x 4 Screw Driver x 1 (for Stand Installation) (for Wall Mounting) Power Cable x 1 HDMI Cable x 1 User Manual x 1 Extra screws may be included as backup. -
Page 6: Section 3: Product Overview
Section 3: Product Overview 3.1 – Monitor Buttons M Menu Button: Press to display the OSD menu or enter sub-menus. Down Button: Press to move down in the menus. Up Button: Press to move up in the menus. E Exit Button: Press to exit. Power Button: Press to turn the monitor on/off. -
Page 7: Section 4: Stand Installation
Section 4: Stand Installation 1. Open the package and take out the product with foam still attached. Gently place it on a desktop or table. 2. Take out the stem and base. Insert the stem into the base opening and turn it counterclockwise to lock in place. -
Page 8: Section 5: Wall Mounting
Section 5: Wall Mounting VESA and/or mounting accessories not included. 1. Open the package, take out the monitor with the foam still attached, and gently place it on a desktop or table. If the monitor is attached to the stand, remove the stand by pressing the button on the back of the monitor just above the stand. -
Page 9: Section 6: Basic Operation
Section 6: Basic Operation 1. Insert one end of the HDMI cable into your PC’s graphics card. A DP cable may also be used. DP cable not included. For optimal refresh rate (or “performance”), it is recommended to use an DP cable with the monitor’s corresponding connector. -
Page 10: Section 7: Indicator Light
Section 7: Indicator Light Solid blue light indicates power is on and the monitor is operating normally. Flashing blue light indicates no video source, no horizontal or vertical signal has been detected or voltage is low. Please ensure your computer is on and all video cables are fully inserted and/or connected. -
Page 11: Osd Menu Functions
8.1 – OSD Menu Functions Main Menu Sub-Menu Options Description Brightness 0~100 Adjust display brightness Contrast 0~100 Adjust display contrast Standard, Game, Brightness RTS, FPS, Movie, Set visual mode Text Turn on DCR function Turn off DCR function Auto Best for overall use Set image aspect ratio to Wide Image... -
Page 12: Section 9: Eco Modes And Gameplus
Section 9: ECO Modes and Gameplus 1. Press any one of the buttons (M, , , E, ) to activate the navigation window. 2. Press ) to switch Gameplus modes. Choose the crosshair icon best suited for your game. These game icons are primarily designed to optimize your aim during shooting games, though they can be used for other scenarios. -
Page 13: Section 10: Troubleshooting
Section 10: Troubleshooting The screen is blank • Press power button to turn the monitor on. • Confirm the brightness and contrast settings are set normally. • Check if the Indicator Light is flashing. If so, there is no signal from your video source. - Page 14 Cannot plug and play. • Inspect if the monitor is compatible with PC. • Inspect if the graphics card is compatible with the monitor. • Inspect if the pins in the interface are curved. Dim image • Adjust the brightness and contrast ratio. Image jitter/moire pattern •...
-
Page 15: Section 11: Specifications
Section 11: Specifications Item Detail Model Number FI24D Screen Size 23.8’’ Display Panel Viewing Angle 178° (H) / 178° (V) Aspect Ratio 16:9 Resolution 2560×1440p Refresh Rate 60Hz (Overclock: 75Hz) LED Indicator Power on: Blue (solid); Power saving: Blue (flashing) -
Page 16: Section 12: One-Year Limited Hardware Warranty
We may change the availability of this limited warranty at our discretion, but any changes will not be retroactive. Warranty services are provided by Viotek Warranty Pro (“WP”). If a hardware defect arises and a valid claim is received within the Warranty Period, at its option and to the extent permitted by law, WP will: (1) repair the hardware defect by using new or refurbished parts that are equivalent to new in performance and reliability;... - Page 17 MAY NOT APPLY TO YOU. THE DURATION AND REMEDIES OF ALL IMPLIED WARRANTIES, INCLUDING WITHOUT LIMITATION THE WARRANTIES OF MERCHANTABILITY AND FITNESS FOR A PARTICULAR PURPOSE ARE LIMITED TO THE DURATION OF THIS EXPRESS LIMITED WARRANTY. DECLARATION OF CONFORMITY This device complies with Part 15 of the FCC Rules. Operation is subject to the following two conditions: (1) This device may not cause harmful interference, and (2) this device must accept any interference received, including interference that may cause undesired operation.
- Page 20 COPYRIGHT © 2020 VIOTEK. ALL RIGHTS RESERVED.


Need help?
Do you have a question about the FI24D and is the answer not in the manual?
Questions and answers