Sign In
Upload
Download
Table of Contents
Contents
Add to my manuals
Delete from my manuals
Share
URL of this page:
HTML Link:
Bookmark this page
Add
Manual will be automatically added to "My Manuals"
Print this page
×
Bookmark added
×
Added to my manuals
Manuals
Brands
Bertazzoni Manuals
Oven
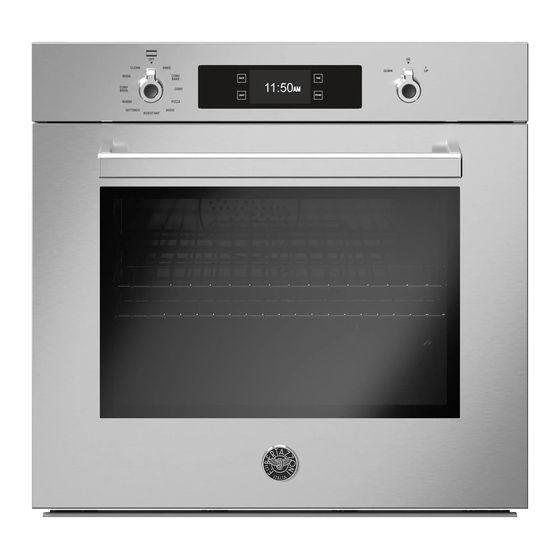
PROF30FSEXT
Installation manual
Bertazzoni PROF30FSEXT Installation Manual
30” electric
Hide thumbs
1
Table Of Contents
2
3
4
5
6
7
8
9
10
11
12
13
14
15
16
17
page
of
17
Go
/
17
Contents
Table of Contents
Bookmarks
Table of Contents
Table of Contents
Warnings
Data Rating Label
Before Installation
Room Ventilation
Cabinet Requirement
Installing the Oven in the Unit
Important Information
Specifications
Installing the Oven in a Tall Appliance Housing
Installation Underneath a Built-In Hob
Installation Requirements
Electrical
Electrical Connection
Wiring Diagram
Installation
Appliance Installation
Removing the Oven Door
Installation Checklist
Final Preparation
Bertazzoni Service
Advertisement
Quick Links
1
Cabinet Requirement
2
Installing the Oven in the Unit
3
Electrical
4
Appliance Installation
5
Final Preparation
6
Bertazzoni Service
Download this manual
BERTAZZONI
INSTALLATION MANUAL
30" ELECTRIC BUILT-IN OVEN
3100568
WWW.BERTAZZONI.COM
Table of
Contents
Previous
Page
Next
Page
1
2
3
4
5
Advertisement
Table of Contents
Need help?
Do you have a question about the PROF30FSEXT and is the answer not in the manual?
Ask a question
Questions and answers
Related Manuals for Bertazzoni PROF30FSEXT
Oven Bertazzoni FD30PROXV Installation, Use & Care Manual
30” double built?in oven (28 pages)
Oven Bertazzoni PROCS30X Instruction Manual
Convection steam oven (8 pages)
Oven Bertazzoni F30PROX Installation, Use & Care Manual
30” built‐in oven (46 pages)
Oven Bertazzoni F30PROXV Installation, Use & Care Manual
30” built-in oven (29 pages)
Oven Bertazzoni PROFS30XV Installation, Use & Care Manual
30” built-in oven (27 pages)
Oven Bertazzoni PROFS24XV User & Care Manual
24" built-in electric oven (37 pages)
Oven Bertazzoni PROF24FSEXV Installation Manual
24" electric (18 pages)
Oven Bertazzoni Professional Series Installation Manual
24” electric built-in oven (44 pages)
Oven Bertazzoni PROF30FSEXV Installation Manual
30” electric (17 pages)
Oven Bertazzoni PROF30FDEXT Installation Manual
30” electric (17 pages)
Oven Bertazzoni MAST30CSEX Instruction Manual
(76 pages)
Oven Bertazzoni FD30CONXE Installation, Use & Care Manual
30 double built-in oven (48 pages)
Oven Bertazzoni PROF24SOEX Instruction Manual
(84 pages)
Oven Bertazzoni F60CONXT Installation, Maintenance And User Manual
Bertazzoni built in ovens installation, maintenance and user manual (35 pages)
Oven Bertazzoni FD30CON Installation, Use & Care Manual
30” double built‐in oven (49 pages)
Oven Bertazzoni F6M9PX Installation, Use & Care Manual
Built-in (16 pages)
This manual is also suitable for:
Prof30fsexv
Mast30fsext
Mast30fsexv
Table of Contents
Print
Rename the bookmark
Delete bookmark?
Delete from my manuals?
Login
Sign In
OR
Sign in with Facebook
Sign in with Google
Upload manual
Upload from disk
Upload from URL


Need help?
Do you have a question about the PROF30FSEXT and is the answer not in the manual?
Questions and answers