Subscribe to Our Youtube Channel
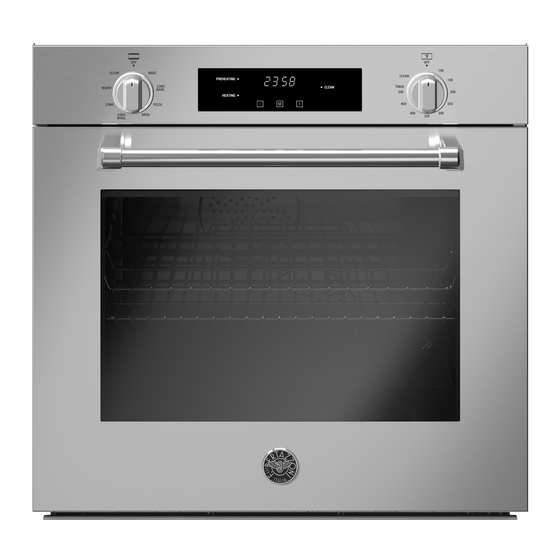
Summary of Contents for Bertazzoni PROF24FSEXV
- Page 1 BERTAZZONI INSTALLATION MANUAL 24” ELECTRIC BUILT-IN OVEN 3100601 WWW.BERTAZZONI.COM...
-
Page 2: Table Of Contents
_____________________________________ Installation underneath a built-in hob ____________________________________________ INSTALLATION REQUIREMENTS _________________________________________________ Electrical ___________________________________________________________________ ELECTRICAL CONNECTION _____________________________________________________ WIRING DIAGRAM _____________________________________________________________ INSTALLATION ________________________________________________________________ Appliance installation ________________________________________________________ Oven fastening _______________________________________________________________ Removing the oven door _______________________________________________________ INSTALLATION CHECKLIST ______________________________________________________ FINAL PREPARATION ___________________________________________________________ BERTAZZONI SERVICE _________________________________________________________... - Page 3 / Models Models Models PROF24FSEXV...
-
Page 4: Warnings
/ Warnings WARNINGS To ensure proper and safe operation, the applian- Warning! ce must be properly installed and grounded by a To avoid risk of property damage, personal qualifi ed technician. injury or death; follow information in this ma- DO NOT attempt to adjust, repair, service, or re- nual exactly to prevent a fi... -
Page 5: Data Rating Label
/ Warnings/ Data rating label DATA RATING LABEL DO NOT lift the applince by the oven door’s hand- le, as this may damage the door hinges and cause the door to fi t incorrectly. The data rating label shows the model and serial DO NOT lift the appliance by the appliance’s con- number of the range. -
Page 6: Before Installation
/ Before installation BEFORE INSTALLATION CABINET REQUIREMENT • This appliance shall only be installed by an To prevent possible damage to cabinets and ca- authorized professional. binet fi nishes, use only materials and fi nishes that If the installation requires alterations to the dome- will not discolor or delaminate and will withstand stic electrical system, call a qualifi... -
Page 7: Installing The Oven In The Unit
/ Ventilation preparation / Specifi cations IMPORTANT INFORMATION INSTALLING THE OVEN IN A CABINET Some environmental factors and cooking habits Ensure that the oven is fully present and can cause condensation in and around the oven undamaged after removing all loose parts from during use. -
Page 8: Installing The Oven In A Tall Appliance Housing
/ Before installation BEFORE INSTALLATION INSTALLING THE OVEN IN A TALL APPLIANCE HOUSING The oven can be installed in a standard or fl ush application. Finish the edges of the opening because they may be visible when the door is open. The clearance between the oven and the kitchen units must be enough to ensure suffi... - Page 9 / Before installation Flush installation...
-
Page 10: Installation Underneath A Built-In Hob
See the design guide for the combination between Finish the edges of the opening because they the Bertazzoni Oven and Bertazzoni Hob. may be visible when the door is open. The manufacturer shall bear no liability in the The clearance between the oven and the kitchen... - Page 11 / Before installation Flush installation...
-
Page 12: Installation Requirements
/ Installation requirements / Electrical connection INSTALLATION REQUIREMENTS ELECTRICAL CONNECTION ELECTRICAL Warrning! ELECTRICAL SHOCK HAZARD A properly-grounded horizontally- mounted electri- Disconnect electrical power at the circuit bre- cal receptacle should be installed no higher than aker box or fuse box before installing the ap- 3”... - Page 13 / Installation requirements / Electrical connection FOUR-WIRE CONNECTION. Power supply Junction box Black wires White wires UL-listed wire connectors Red wires Green wires UL or CSA listed connector Flexible metal conduit from oven Check your local code for which of the options be- low should be used in grounding the receptacle power supply connections.
-
Page 14: Wiring Diagram
/ Wiring diagram WIRING DIAGRAM The electric wiring diagrams and schematics are attached behind the oven, and should not be removed except by a service technician, then replaced after service. -
Page 15: Installation
/ Installation INSTALLATION APPLIANCE INSTALLATION Unpacking the oven The misuse of the oven door ( placing heavy objects on the oven doo, hanging off the handle, To avoid risk of severe personal injury and da- stepping or hiting on the door) can result in dama- mage to the unit and fl... -
Page 16: Oven Fastening
/ Installation REMOVING THE OVEN DOOR Prepare the door for removal. Flip up the locking clamps on each door hinge. Slowly shut the door until the protruding clamps stop the movement. • Fully open the oven door. • Fully open the blocking levers for both hinges. •... -
Page 17: Installation Checklist
/ Installation checklist / fi nal preparation INSTALLATION CHECKLIST FINAL PREPARATION A qualifi ed installer should carry out the following • Before using the oven, remove any protective checks: wrap from the stainless steel. • All stainless steel parts should be wiped with Make sure the clearance to cabinet surfaces cur- hot, soapy water and with a liquid stainless responds to manufacturers guidelines. -
Page 18: Bertazzoni Service
We have a dedicated team of trained professionals to answer your ne- eds. If you own a Bertazzoni appliance and need ser- vice in the US or Canada please use the following contact information: e-mail: aftersaleservice@bertazzoni.com Telephone - Monday through Friday, 7.30am to 7.30pm EST (except US public holidays).


Need help?
Do you have a question about the PROF24FSEXV and is the answer not in the manual?
Questions and answers