Table of Contents
Advertisement
Quick Links
Quick Start Guide
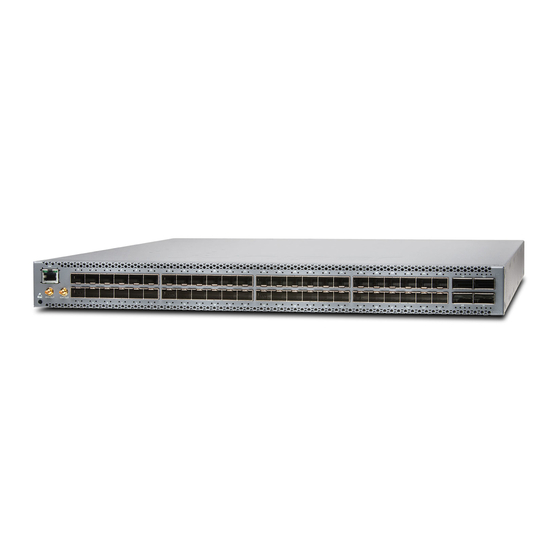
QFX5110-32Q
IN THIS GUIDE
Step 1: Begin | 1
Step 1: Begin
IN THIS SECTION
To mount, connect power to, and perform the initial configuration of a Juniper Networks QFX5110-32Q, you need:
Electrostatic discharge (ESD) grounding strap (not provided)
One pair of side-mounting rails (provided)
One pair of rear-mounting blades (provided)
Twelve screws to secure the mounting rails and mounting blades to the chassis (provided)
Eight screws to secure the chassis and mounting blades to the rack (not provided)
Screwdriver appropriate for your rack mounting screws (not provided)
Two power cords with plugs appropriate for your geographical location (provided)
Advertisement
Table of Contents

Related Manuals for Juniper QFX5110-32Q


Summary of Contents for Juniper QFX5110-32Q
- Page 1 Mount the QFX5110-32Q | 2 Connect Power to the QFX5110-32Q | 3 To mount, connect power to, and perform the initial configuration of a Juniper Networks QFX5110-32Q, you need: Electrostatic discharge (ESD) grounding strap (not provided) One pair of side-mounting rails (provided)
- Page 2 If you are mounting multiple units in the rack, mount the heaviest unit at the bottom and mount the others from bottom to top in order of decreasing weight. The switch weighs approximately 24.6 lb (11.2 kg). Installing the QFX5110-32Q in a rack or cabinet requires two persons to lift the switch and secure it to the rack.
- Page 3 11. Attach a grounding cable to earth ground and then attach it to the chassis grounding points. Connect Power to the QFX5110-32Q The switch is supplied with two factory-installed power supplies. Connecting QFX5110-32Q to AC power To connect power to an AC-powered switch: 1.
- Page 4 Step 2: Up and Running IN THIS SECTION Set Parameter Values | 4 Perform the Initial Configuration | 4 Set Parameter Values You must perform the initial configuration of the switch through the console port. Before you begin, set the following parameter values in the console server or PC: Baud Rate—9600 Flow Control—None...
- Page 5 0 family inet address address/prefix-length NOTE: The management ports, em0 (C0) and em1 (C1), are located on the FRU end of the QFX5110-32Q. 9. (Optional) Configure the static routes to remote prefixes with access to the management port.
- Page 6 IN THIS SECTION Safety Warnings Summary | 6 Power Cable Warning (Japanese) | 7 Contacting Juniper Networks | 7 This is a summary of safety warnings. For a complete list of warnings, including translations, see the QFX5110 switch documentation athttps://www.juniper.net/documentation/product/en_US/qfx5110.
- Page 7 For technical support, see: http://www.juniper.net/support/requesting-support.html Juniper Networks, the Juniper Networks logo, Juniper, and Junos are registered trademarks of Juniper Networks, Inc. in the United States and other countries. All other trademarks, service marks, registered marks, or registered service marks are the property of their respective owners.
Need help?
Do you have a question about the QFX5110-32Q and is the answer not in the manual?
Questions and answers