Table of Contents
Advertisement
Quick Links
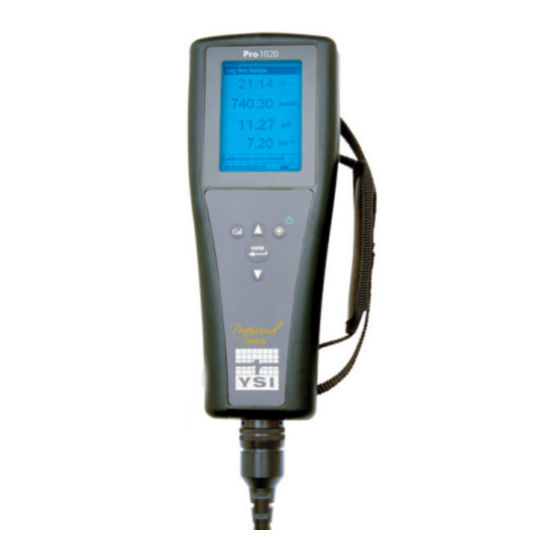
Pro1020
Quick Start Guide
This Quick Start Guide is meant to serve as a quick reference in calibrating and
operating the Pro1020. It is not intended to replace the information found in the User
Manual.
Getting Started
Unpack the instrument and install (2) C size batteries in the back of the instrument.
Tighten the four screws of the battery plate on to the back of the instrument.
Installing the DO Sensor
Prior to use, install the sensors into the cable assembly. Remove the temporary plastic
plugs from the cable's ports by pulling them straight out of the port. Remove the plastic
plug from the sensor's connector by pulling it straight off the sensor. Install the sensor
by inserting the sensor into the port and then hand tightening it. Do not use a tool and
do not over tighten. Install a pH, pH-amplified or ORP sensor in port 1 and a DO sensor
in port 2. Install a port plug into any port that does not have an installed sensor.
Enable the correct ISE (either pH or ORP) and Dissolved Oxygen (either galvanic - gray
sensor body or polarographic - black sensor body) sensor in the instrument's System
Setup menu. Attach the cable assembly to your instrument.
Installing the DO Membrane
The DO sensor is shipped with a red protective cap to protect the electrode. A new
membrane cap must be installed before the first use.
1.
Prepare the O2 probe solution according to the instructions on the bottle. After
mixing, allow the solution to sit for 1 hour. This will help prevent air bubbles
from later developing under the membrane.
2.
Remove, and discard or save the red protective cap.
3.
Thoroughly rinse the sensor tip with distilled or deionized water.
4.
Fill a new membrane cap with probe solution. Avoid touching the membrane
portion of the cap.
5.
Thread the membrane cap onto the sensor, moderately tight. A small amount of
electrolyte will overflow.
Item #605188
Advertisement
Table of Contents

Subscribe to Our Youtube Channel
Related Manuals for Xylem YSI Pro1020


Summary of Contents for Xylem YSI Pro1020
- Page 1 Pro1020 Item #605188 Quick Start Guide This Quick Start Guide is meant to serve as a quick reference in calibrating and operating the Pro1020. It is not intended to replace the information found in the User Manual. Getting Started Unpack the instrument and install (2) C size batteries in the back of the instrument. Tighten the four screws of the battery plate on to the back of the instrument.
- Page 2 pH Calibration The Pro1020 pH sensor can be calibrated by performing a 1, 2 or 3-point calibration. At least one of the calibration points must be done with pH buffer 7 or 6.86. For highest accuracy, perform at least a 2-point calibration. 2 or 3-Point Calibration Place the sensor in pH buffer 7 or 6.86 and allow the temperature and pH readings to stabilize.
- Page 3 Wait for the temperature reading to stabilize, then press Enter to complete the calibration or press Cal to cancel. ‘Calibration Successful’ will display for a few seconds to indicate a successful calibration and then the instrument will return to the Run screen. If the calibration is unsuccessful, an error message will display on the screen.
- Page 4 If Quick DO Cal is not enabled, highlight % or %Local and press Enter. The Pro1020 will display the current DO% and temperature readings along with the % calibration value. Wait at least 3 seconds, then, once the DO% and temperature readings are stable, press Enter to complete the calibration.
Need help?
Do you have a question about the YSI Pro1020 and is the answer not in the manual?
Questions and answers