Makita CG100D Instruction Manual
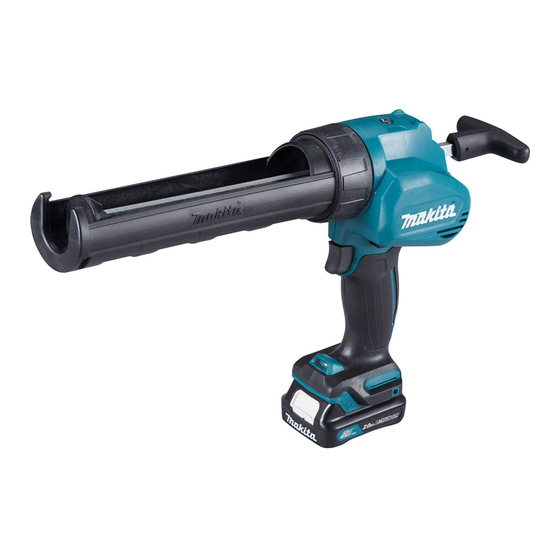
Cordless caulking gun
Hide thumbs
Also See for CG100D:
- Instruction manual (85 pages) ,
- Instruction manual (73 pages) ,
- Instruction manual (41 pages)
Table of Contents
Advertisement
Quick Links
Advertisement
Table of Contents

Related Manuals for Makita CG100D


Summary of Contents for Makita CG100D
- Page 1 INSTRUCTION MANUAL Cordless Caulking Gun CG100D Read before use.
-
Page 2: Specifications
SPECIFICATIONS Model: CG100D Maximum feed force 5,000 N Feed speed 0 - 28 mm/s Stroke 300 ml size holder 214 mm 600 ml size holder 350 mm 800 ml size holder 294 mm Overall length 300ml size holder 404 mm... - Page 3 If operating a power tool in a damp location is unavoid- It is an employer's responsibility to enforce able, use a residual current device (RCD) protected the use of appropriate safety protective equip- supply. Use of an RCD reduces the risk of electric shock. ments by the tool operators and by other per- sons in the immediate working area.
- Page 4 Use of non-genuine Makita batteries, or batteries that usage. have been altered, may result in the battery bursting SAVE THESE INSTRUCTIONS. causing fires, personal injury and damage. It will also void the Makita warranty for the Makita tool and charger. WARNING: DO NOT let comfort or familiarity with product (gained from repeated use) replace...
-
Page 5: Functional Description
Overloaded: FUNCTIONAL The tool is operated in a manner that causes it to draw an abnormally high current. DESCRIPTION In this situation, turn the tool off and stop the application that caused the tool to become overloaded. Then turn the tool on to restart. CAUTION: Always be sure that the tool is If the tool does not start, the battery is overheated. In switched off and the battery cartridge is removed this situation, let the battery cool before turning the tool before adjusting or checking function on the tool. - Page 6 ► 1 . Switch trigger 2. Trigger-lock button ► 1 . Lamp To prevent the switch trigger from accidentally pulled, To turn on the lamp, slightly pull the switch trigger, and the trigger-lock button is provided. then release it. The lamp goes out approximately 10 To start the tool, depress the trigger-lock button from A seconds after releasing the switch trigger. side and pull the switch trigger. Tool speed is increased NOTICE: When the tool is overheated, the lamp by increasing pressure on the switch trigger. Release flickers.
- Page 7 ASSEMBLY CAUTION: Always be sure that the tool is switched off and the battery cartridge is removed before carrying out any work on the tool. Installing or removing 300 ml size holder Installing or removing the holder joint ► 1 . Screw 2. Piston A 3. Short rod Attach the holder joint and plate by securing the screws firmly. To remove the holder joint, follow the installation NOTICE:...
- Page 8 For 600 ml size holder ► 1 . Long rod or black rod ► 1 . Screw 2. Plate 3. Holder joint NOTICE: For 600 ml size holder, use the long rod. For 800 ml size holder, use the black rod. For 800 ml size holder Attach the piston with the screw.
-
Page 9: Operation
OPERATION Using cartridge Preparing cartridge for use Cut the tip of the cartridge nozzle so that the suit- able amount of caulking material is fed. ► 1 . Rod handle Insert the cartridge into the holder as shown in the figure. - Page 10 Installing film type package to 600 ml or 800 ml size holder NOTICE: Make sure that piston B (for 600 ml size holder) or piston E (for 800 ml size holder) is attached to the rod. Do not use other type of pis- ton for film type package.
-
Page 11: Maintenance
Attach the rubber ring, nozzle, and holder cap by NOTICE: Never use gasoline, benzine, thinner, turning the holder cap firmly. alcohol or the like. Discoloration, deformation or cracks may result. To maintain product SAFETY and RELIABILITY, repairs, any other maintenance or adjustment should be performed by Makita Authorized or Factory Service Centers, always using Makita replacement parts. 11 ENGLISH... -
Page 12: Optional Accessories
OPTIONAL ACCESSORIES CAUTION: These accessories or attachments are recommended for use with your Makita tool spec- ified in this manual. The use of any other accessories or attachments might present a risk of injury to persons. Only use accessory or attachment for its stated purpose. If you need any assistance for more details regarding these accessories, ask your local Makita Service Center.
Need help?
Do you have a question about the CG100D and is the answer not in the manual?
Questions and answers