
Related Manuals for Speco O3FB68


Summary of Contents for Speco O3FB68
- Page 1 Flexible Intensifier® Technology Bullet IP Camera QUICK INSTALLATION GUIDE O3FB68 Please read this guide carefully before installation and operation of the product.
- Page 2 Thank you for purchasing this product. This guide is designed to be a reference tool for the product. Please read it carefully before operating the product and retain it for future reference. Should you require any technical assistance, please contact Speco Technologies Technical Support. CAUTION...
-
Page 3: Limitation Of Liability
PRECAUTIONS Please read the manual carefully before the installation in order to set up the camera correctly and to obtain the best picture quality. Installation and services should only be carried out by an authorized personnel according to local safety regulations. -
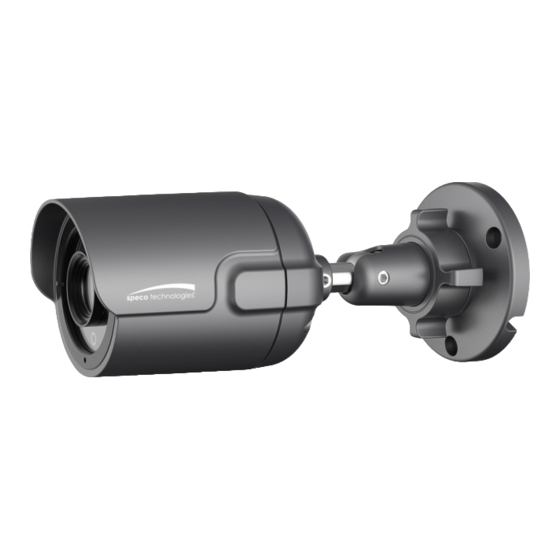
Page 4: Product Overview
Auto White Balance Image Setting Auto Exposure Privacy Mask DSS, Corridor-view (in H.264), Mirror / V-Flip, etc. Backlight Shutter Speed 1/4 ~ 1/2000 Noise Reduction 2D / 3DNR Dynamic IP SPECO DDNS (Free of Charge) Network Password Protection Security User Access log... - Page 5 HTTPS Encryption Supported Protocol HTTP, HTTPS, DNS, RTSP, RTP, TCP, UDP, ICMP, DHCP Intelligent Video Motion detection 12 x 12 blocks System Alarm Trigger Motion Detection, Tampering Alarm Integration Firmware Upgrade Remote Upgrade via Network 1 x Factory Reset Button Memory Slot Save to Micro SD card with event mode and continuous mode Power Source...
-
Page 6: Name And Function Of Each Part
2. NAME AND FUNCTION OF EACH PART 2.1 Package Contents APPEARANCE DESCRIPTION IP Camera x 1 Installation Guide x 1 Tapping screw (Ø4 x 30) x 3 Plastic anchor x 3 L-Wrench (3mm) x 1 CD x 1... -
Page 7: Name And Function
2.2 Name and Function ITEM DESCRIPTION DC12V Caution : If O3FB68 is powered by PoE, do not Power Connector plug in DC Jack with active DC power into DC power connector. Network and POE (Power over Ethernet) and LAN cable... -
Page 8: Installation
3. INSTALLATION 3.1 How to mount to ceiling / wall Ceiling LAN Cable Power Plastic anchor x 3 (B) Bracket nut (A) L-Wrench Tapping screw (Ø4 x 30) x 3 Wall Tapping screw (Ø4 x 30) x 3 Plastic anchor LAN Cable Power Bracket nut... -
Page 9: 3-Axis Adjustment
3.2 3-Axis Adjustment Tilt 90° Panning 360˚ Slightly loosen Pan Bracket nut then Bracket nut adjust pan of the camera and 360° P a n n i n g tighten the Bracket nut. Tilt 90˚ Slightly loosen Tilt bolt then adjust tilt of the camera and tighten the bolt firmly. - Page 10 3.3.3 Accessing the Camera or video server’s Homepage 3.3.3 Accessing the Camera or video server’s Homepage 1) Open the browser and input network camera address in the address bar or double click the device in IP Open the browser and input network camera address in the address bar or double click the device in IP Open the browser and input network camera address in the address bar or double click the device in IP Scanner.
-
Page 11: Dimensions (Mm)
4. DIMENSIONS (mm)
Need help?
Do you have a question about the O3FB68 and is the answer not in the manual?
Questions and answers