Advertisement
Table of Contents
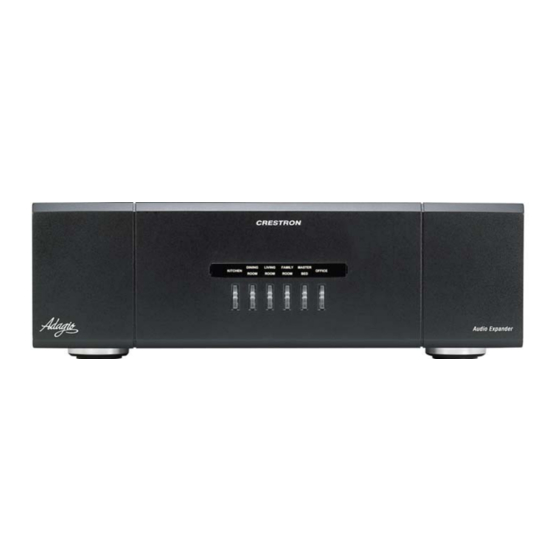
Adagio™ Label Strip Installation
Congratulations on purchasing your custom-engraved label strip from Crestron. Prior to installing your new
label strip, you must first remove the label strip that is included from the factory. The only tool required is a
small flat-edged screwdriver approximately 1/8" to 1/4" wide (or other flat-bladed tool).
Removing the Old Label Strip
1. Remove the blank label with a small, flat-head screwdriver. The blank label is magnetically attached to
the front panel of the Adagio component. The label strip will be exposed.
2. Insert the screwdriver behind the label strip as shown in the diagram below.
3. Continue sliding the screwdriver behind the label strip until the top of the label strip slides out as shown
below.
4. Continue sliding the screwdriver until the entire top of the label strip is visible. Remove the label strip by
pulling the top of the label strip up from the Adagio component as shown below.
5. Repeat steps 1 through 4 for any other label strips.
Installation Guide – DOC. 6504
Adagio: Label Strip • 1
Advertisement
Table of Contents

Subscribe to Our Youtube Channel
Related Manuals for Crestron AAE


Summary of Contents for Crestron AAE
- Page 1 Adagio™ Label Strip Installation Congratulations on purchasing your custom-engraved label strip from Crestron. Prior to installing your new label strip, you must first remove the label strip that is included from the factory. The only tool required is a small flat-edged screwdriver approximately 1/8” to 1/4" wide (or other flat-bladed tool).
-
Page 2: Further Inquiries
(www.crestron.com) for a listing of Crestron worldwide offices. You can also log onto the online help section of the Crestron website to ask questions about Crestron products. First-time users will need to establish a user account to fully benefit from all available features.
Need help?
Do you have a question about the AAE and is the answer not in the manual?
Questions and answers