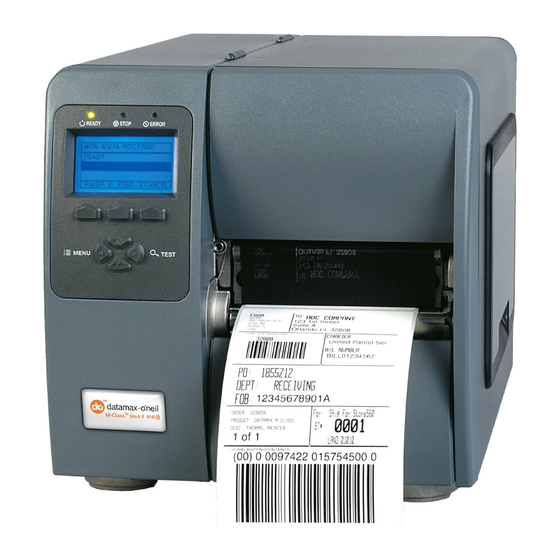
Datamax M-Class Mark II Manual
Peel & present option
Hide thumbs
Also See for M-Class Mark II:
- Operator's manual (100 pages) ,
- Maintenance manual (94 pages) ,
- Manual (9 pages)
Table of Contents
Advertisement
Quick Links
Advertisement
Table of Contents

Related Manuals for Datamax M-Class Mark II


Summary of Contents for Datamax M-Class Mark II
- Page 1 92-2479-01 Rev.E Peel & Present Option...
-
Page 3: Other Requirements
Contents of the Peel & Present Kit This kit contains the following items: Peel and Present Mechanism Assist Roller and Bushing NOTE: If this option was ordered with the printer the Assist Roller and Bushing will already be installed in the printer. Proceed to Step 3: Installing the Peel &... - Page 4 Using a #2 Philips head screwdriver, remove the Screw that secures the Side Plate to the printer. Remove the Side Plate. Side Plate Screw Using a #2 Philips head screwdriver, remove the Screw that secures the Bearing Cap to the printer.
- Page 5 Insert the Bushing completely into the Bearing Block. Bearing Block Assist Roller Bushing While holding the Assist Roller Bearing against the Centerplate, replace the Bearing Cap. Hold the Bearing Cap in place and Side Plate secure it with the Screw. Bearing Cap Screw Screw...
- Page 6 Ensure that the Leveling Cam is loose, and then close and latch the Printhead Assembly. Printhead Assembly While pushing down on the Leveling Cam Printhead Assembly, as shown, pull down on the Side Plate and tighten Screw the Screw. Side Plate Verify Latch Operation: - Open and close the printhead assembly, verify that the latch is fully engaged.
-
Page 7: Loading Media
Loading Media With the Peel and Present option, labels printed in a batch will be automatically be separated from the backing material and dispensed “on-demand”– that is, printing will occur only after a previously printed label has been removed from the printer. ... - Page 8 Route the Backing Material under the Assist Roller and around the Internal Rewinder, as shown below. Backing Material Slots Media Clip Retainer Backing Material Internal Rewinder Thumbscrew Assist Roller Note: The Media Retainer can be used in place of the Media Clip for a more consistent rewound roll. The Media Clip and Media Retainer cannot be used together.
-
Page 9: Periodic Maintenance
Setup, Configuration, and Operation The Peel and Present option is plug and play; no setup or configuration is required. As soon as power is applied, the printer senses and enables the Present Sensor for operation. During operation, when a label is present (blocking the sensor), the yellow Stop Light on the front panel of the printer will flash to prompt you that a label awaits removal. - Page 10 Upper Roller Shaft Remove Upper Roller Shaft and associated Rollers Rollers. Clean all surfaces of the Rollers and the Upper Roller Shaft. Isopropyl Alcohol can be used, for heavy or stubborn deposits WD-40 or an adhesive remover can be used. Be sure all the ridges on the rollers are free of debris.
Need help?
Do you have a question about the M-Class Mark II and is the answer not in the manual?
Questions and answers